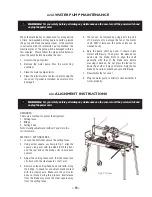
When the machine has not been used for a long period
of time, hard packed dirt may begin to build up inside
the pump and block the pump wheel. If the machine
is activated with the immersion pump blocked, the
electric motor of the pump will be damaged within a
few minutes. Please follow the steps listed below to
clean the pump before operating the saw.
1. Unscrew the pump filter.
2. Remove the water pump from the water tray/
container.
3. Clean the water pump exterior.
4. Clean the interior where the fan is by removing the
fan cover. If gasket is installed, be careful not to
damage it.
5. The fan can be removed by using pliers to pull it
off. Careful not to damage the fan or the motor
shaft. With it removed, the entire volute can be
cleaned easily.
6. Spin the pump shaft by hand. It should rotate
almost effortlessly. Then press the cleaned fan
back onto the blade. Note to align the shaft
geometry with that of the blade bore before
pressing it back on. Do not press the fan too far
down the shaft or it may not rotate. Spin the fan
blade by hand to confirmit can spin effortlessly.
7. Reassemble the fan cover.
8. Plug the water pump in briefly to check whether it
works properly.
For your safety before performing any maintenance on the saw, turn off the power switch and
unplug the power cord.
WARNING!
For your safety before performing any maintenance on the saw, turn off the power switch and
unplug the power cord.
WARNING!
xviii. WATER PUMP MAINTENANCE
REMINDER:
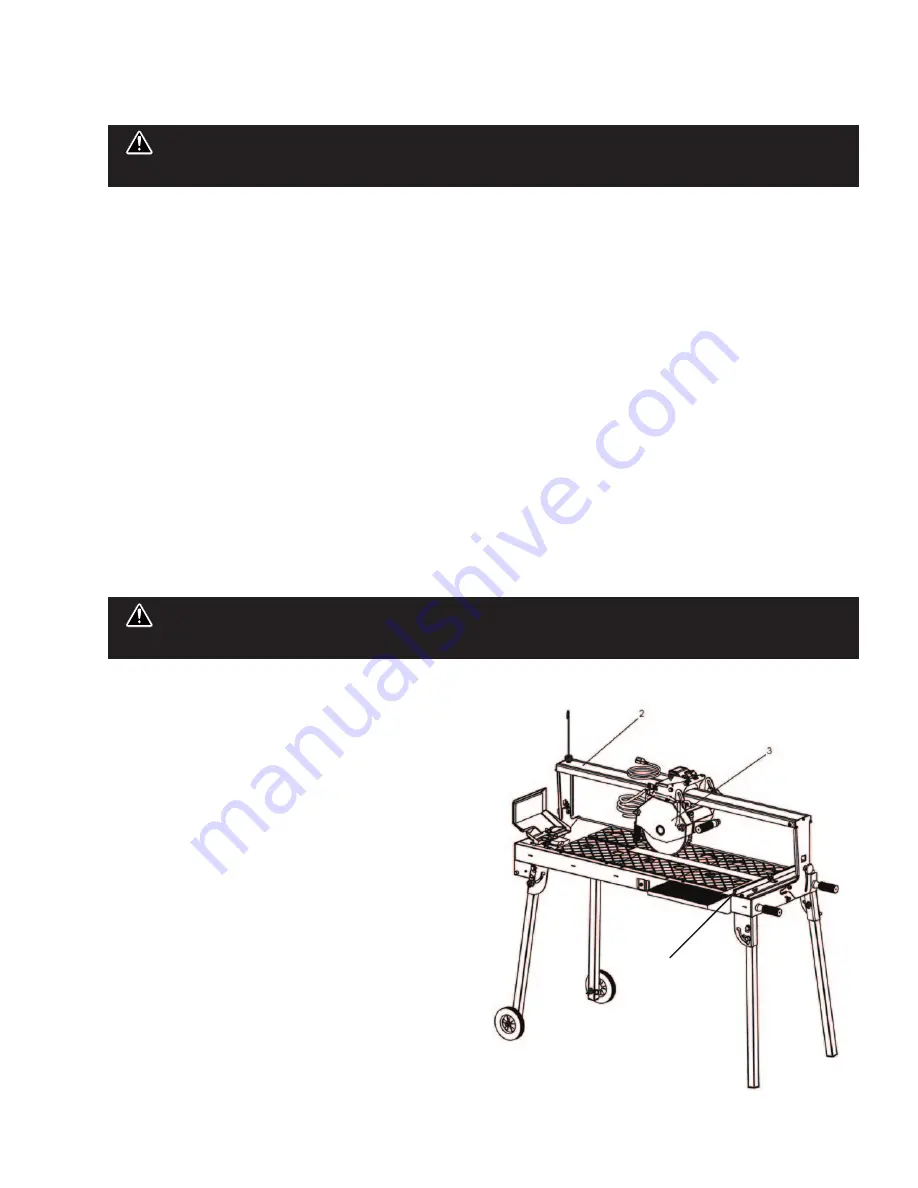
There are 3 methods to adjust the alignment:
1. Cutting fence.
2. Bridge.
3. Cutting head
Note: Usually adjustment method 1 and 2 are the
most common.
METHOD 1: CUTTING FENCE
1. Loosen the bolts that secure the cutting fence.
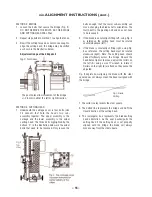
2. Using a steel square, as shown in Fig. 1, align the
square's long arm with the blade. Both the front
and the rear end of the blade's rim should have
contact.
3. Adjust the cutting fence such that the fence face
sits flush with the steel square's short arm.
4. Now move the cutting head back and forth, along
the bridge, to check for consistent blade contact
with the steel square. Make sure the short arm
does not move during this process. Interference
from the blade may move the steel square away
from the cutting fence.
xix. ALIGNMENT INSTRUCTIONS
Fig.1 3D View
1
– 15 –


