THE CENTER POLE ALL THE WAY OUT, AS THE LOCK KNOB FRICTION PLATE MAY COME LOOSE
AND NEED TO BE RE-INSTALLED IN PLACE. There are five sets of position holes, so once the fifth set is
exposed, do not pull the center pole out any further.
With this model XS-Sub, the bottom most two sets of position holes will not be used due to safety consider-
ations.
3. Once the desired set of position holes is selected, insert the pin into both holes, and let the center pole slide
down till the pin is butted up against the base pole.
4. Tighten the position hold knob till it is firmly holding the center pole. Do not over tighten, or use pliers or
other mechanical aids to tighten the knob, as this may damage it or damage the lock knob friction plate.
5. Now the adjustable pole can be inserted and threaded into place on the PVs 12 Sub. Tighten firmly by hand
using the base portion of the pole, do not over tighten, or use pliers or other mechanical aids to tighten the pole
into the Sub mounting plate.
The PVs 12 Sub must be placed on firm and level ground, in order for the pole mounted speaker to be safe from
tipping. When installing or de-installing the speaker on the pole, it is a good practice to have a helper if possi-
ble, it can be hard to “thread the needle” and mate the pole cup to the Subwoofer pole while holding the speaker
system at arm’s length.
When using the PVs 12 Sub and pole outdoors, never attach banners or flags to the pole or the pole mounted
speaker system, strong winds may cause the speaker to blow over. If there is a possibility of strong windy condi-
tions, then it may be prudent to consider removing the speaker from the pole to prevent the PVs 12 Sub and pole
mounted speaker system from being blown over.
Summary of Contents for PVs 12 Sub
Page 1: ...www peavey com PVs 12 Sub Enclosure Operating Manual ...
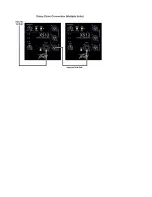
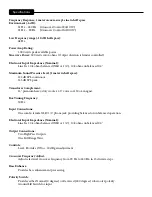
Page 17: ...Typical Hook up Connections Loudspeaker System Specifications ...
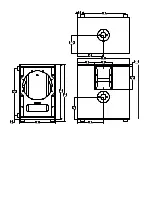
Page 20: ...19 50 768 224 8 819 ...
Page 23: ......
Page 24: ......


