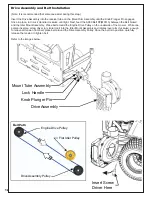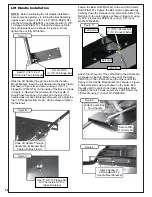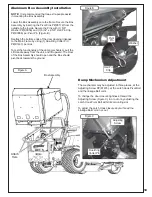
7
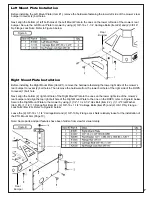
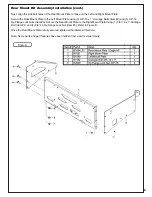
Left Mount Plate Installation
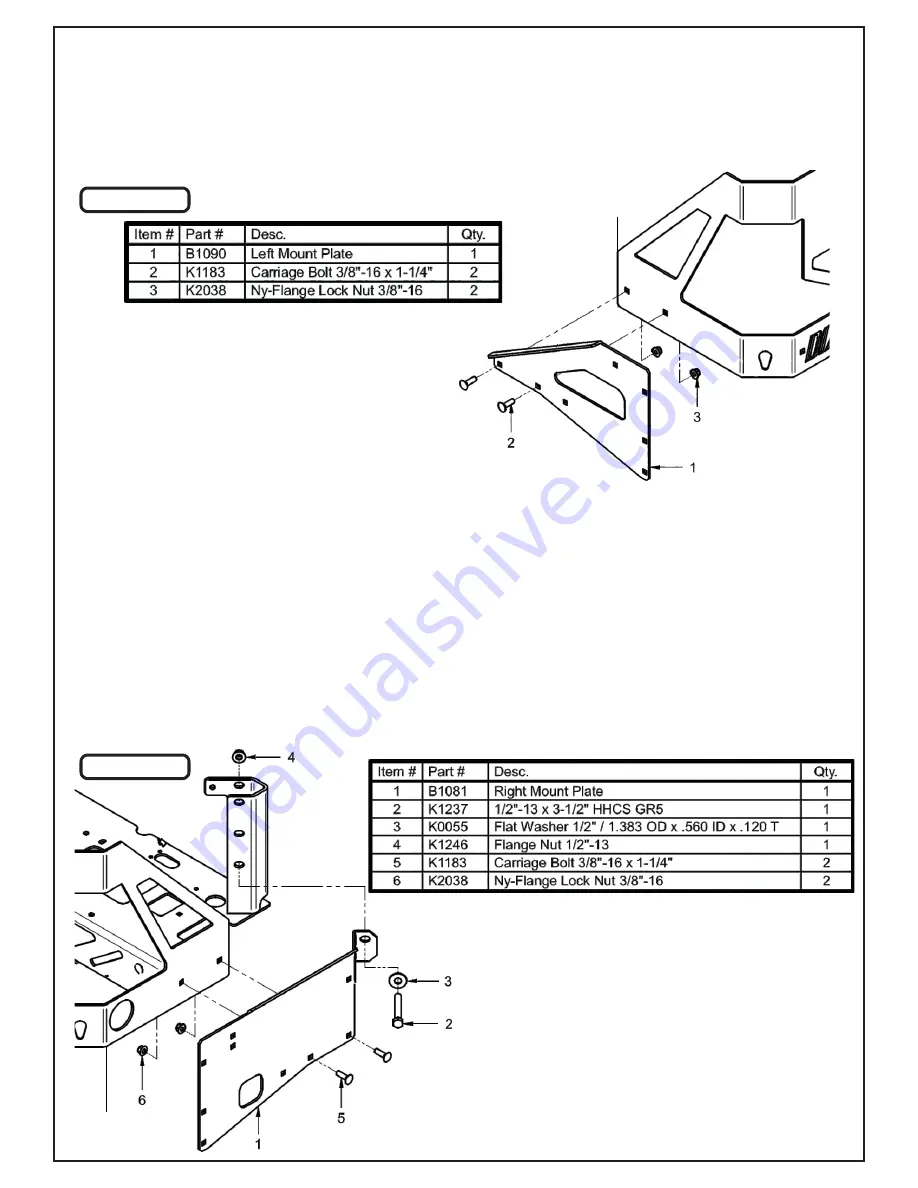
Before installing the Left Mount Plate (Item #1), remove the hardware fastening the lower left side of the mower’s rear
bumper to reveal (2) bolt holes.
Next, align the bottom (2) left bolt holes of the Left Mount Plate to the ones on the lower left side of the mower’s rear
bumper. Secure the Left Mount Plate to mower by using (2) 3/8”-16 x 1-1/4” Carriage Bolts (Item #2) and (2) 3/8-16”
Ny-Flange Lock Nuts. Refer to Figure A below.
Rear
Bumper
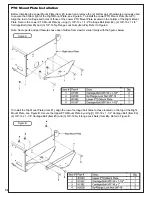
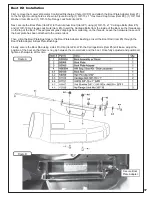
Right Mount Plate Installation
Before installing the Right Mount Plate (Item #1), remove the hardware fastening the lower right side of the mower’s
rear bumper to reveal (2) bolt holes. Then remove the hardware from the lower bolt hole of the right side of the ROPS
to reveal (1) bolt hole.
Next, align the bottom (2) right bolt hole of the Right Mount Plate to the ones on the lower right side of the mower’s
rear bumper and align the top right bolt hole of the Right Mount Plate to the one on the ROPS, refer to Figure B below.
Secure the Right Mount Plate to the mower by using (1) 1/2”-13 x 3-1/2” Hex Bolt (Item # 2), (1) 1/2” Flat Washer
(Item #3), (1) 1/2”-13 Flange Nut (Item #4), (2) 3/8”-16 x 1-1/4” Carriage Bolts (Item #5) and (2) 3/8-16” Ny-Flange
Lock Nuts (Item #6). Refer to Figure B below.
Leave the (2) 3/8”-16 x 1-1/4” Carriage Bolt and (2) 3/8”-16 Ny-Flange Lock Nuts relatively loose for the installation of
the PTO Mount Arm (Page 10).
Note: Some parts and part features have been hidden from view for visual clarity.
Rear
Bumper
Figure A
Figure B
Summary of Contents for 38651202
Page 28: ...28 A2207 Mount Arm Tube Assembly Exploded Parts View...
Page 29: ...29 A2092 Idler Arm Assembly A2067_02 Idler Mount Assembly...
Page 30: ...30 A2058 Gearbox Sub Assembly...
Page 31: ...31 A2059_01 Clutch Sub Assembly...
Page 32: ...32 A2057_01 Drive Assembly Exploded Parts View...
Page 33: ...33 A2060_01 Mounted Drive Assembly...
Page 34: ...34 A2039_02 Base Drive Assembly...
Page 35: ...35 A2061_02 Drive Assembly 4 Blade Impeller...
Page 36: ...36 A2100 6512 Box Assembly Standard Model Exploded Parts View...
Page 37: ...37 A2226 6512 Box Assembly Base Model Exploded Parts View...
Page 38: ...38 A2226 6512 Box Assembly Base Model Exploded Parts List...
Page 39: ...39 A2107 Latch Rod Assembly...
Page 40: ...40...
Page 44: ...44...

