14
IV. SELECT ING NUMERIC DISPLA Y FUNCT IONS
The Numeric Displays of the WEATHER PICTURE are
individually set to display one of sixty different weather functions.
The desired function and the measurement units are selected by
setting a series of switches (DIP switch), inside the WEATHER
PICTURE on the Numeric Display modules.
To access the DIP switches, first remove power from the
WEATHER PICTURE by unplugging it from its AC adapter.
Then, remove the back plate by removing the 8 screws (the large
WEATHER PICTURE has 11 screws).
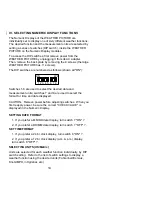
The DIP switches are numbered as follows (shown all "ON"):
1 2 3 4 5 6 7 8
ON
WP
Switches 1-6 are used to select the desired data and
measurement units; switches 7 and 8 are used to select the
format for time and date displayed.
CAUTION: Remove power before adjusting switches. When you
first reapply power, be sure the correct "CHECK VALUE" is
displayed in the Numeric Display.
SETTING DATE FORMA T
1. If you prefer a MM/DD date display, turn switch 7 "ON"
?
.
2. If you prefer a DD/MM date display, turn switch 7 "OFF"
?
.
SET TIME FORMA T
1. If you prefer a 24-hr clock display, turn switch 8 "ON"
?
.
2. If you prefer a 12-hr clock display (a.m. & p.m.) display,
turn switch 8 "OFF"
?
.
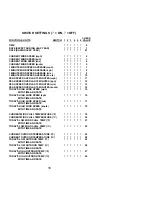
SELECT ING UNITS (US/Metric)
Units are selected for each weather function individually, by DIP
switch setting. Refer to the list of switch settings to display a
weather function using the desired units (Fahrenheit/Celsius,
Knots/MPH, inHg/mbar, etc.).


