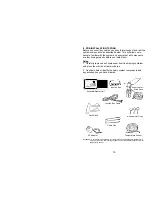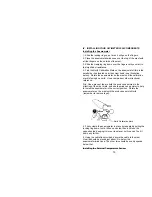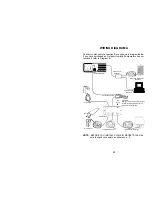
5. Without uncoiling the cables, plug the wind vane cable and the
temperature cable into the junction box, in accordance with the
markings on top of the junction box.
NOTE
: If you have ordered any extension cables, do not
uncoil them, but insert each between the junction box and
the thermometer or anemometer/wind vane, just as it will be
used in your actual installation.
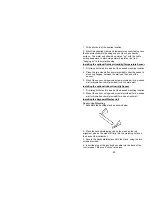
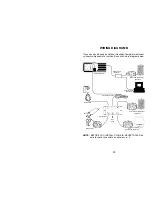
5. Uncoil the 8 ft. junction box cable and plug one end into the
receptacle on the back of the keyboard/display unit. Plug the
other end into the junction box, opposite the temperature cable.
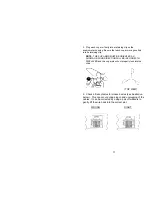
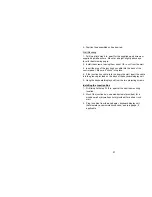
6. Plug the ac adapter cable into the junction box, then plug the
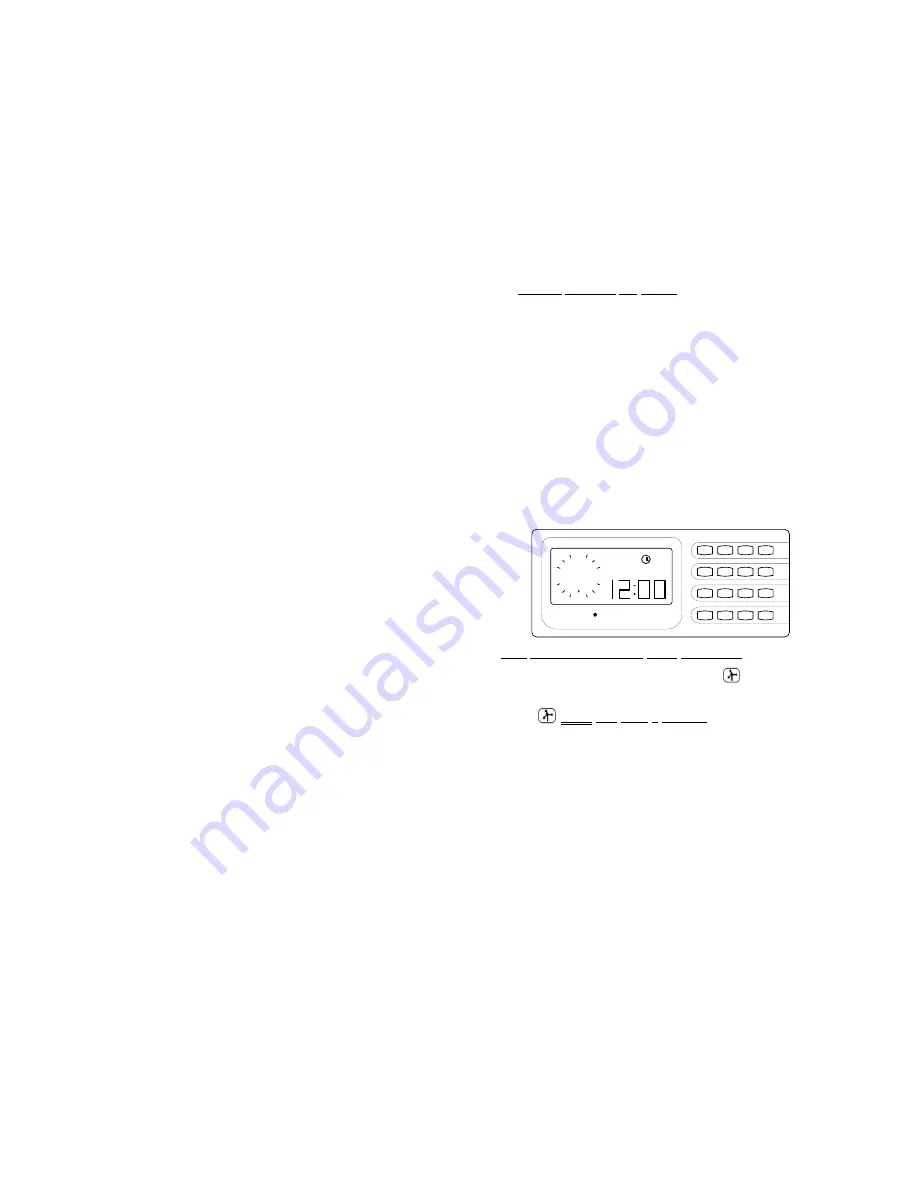
adapter itself into a 110 volt 60 cycle outlet. After 2 or 3 seconds,
the liquid crystal screen will come on, displaying the clock symbol,
"12:00" and the compass rose for wind direction, as shown below.
ULTIMETER
W
N
S
E
2000
R
Test Anemometer/Wind Vane Functions
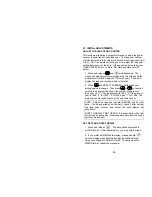
1. Press the wind speed key, marked
.
2. If you wish to display wind speed in units other than mph,
press
again
and keep it pressed. The screen will flash 3
times, then display wind speed in m/s. Each time you repeat the
procedure, wind speed will be displayed in alternate measurement
units; mph, m/s, knots, or km/h.
3. Blow gently and steadily on the anemometer cups, so they
rotate clockwise when viewed from above and the screen displays
a fairly steady wind speed reading of 4 mph or more (8 km/h or 4
knots). Stop blowing when a wind direction arrow is displayed
within the compass rose. The wind direction sensor works only
while the anemometer cups are spinning. This prevents any false
indication of the last wind direction.
12

