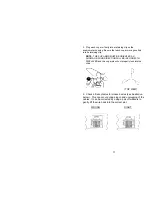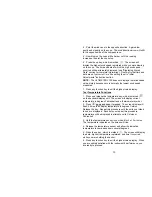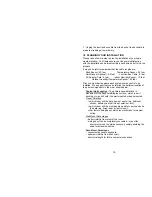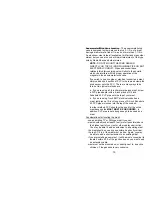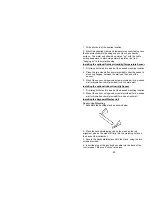
1. Drill a pilot hole at the desired location.
2. Mount the supplied clamp and temperature sensor taking care
that its protective metal housing does not touch any nearby
surface. The metal end should be pointed "up", with the cable
exiting downward, to discourage water droplets or ice from
"hanging on" to the metal housing.
Installing the optional Outdoor Humidity/Temperature Sensor
1. Drill two pilot holes 6 in. apart at the desired mounting location.
2. Place the two stand-off spacers (provided) under the sensor's
mounting flanges, between the wall and the back of the
sensor.
3. Mount the sensor, using wood screws (provided) for a wooden
wall or drywall anchors (provided) for a concrete wall.
Installing the optional Indoor Humidity Sensor
1. Drill two pilot holes 6 in. apart at the desired mounting location.
2. Mount the sensor, using wood screws (provided) for a wooden
wall or drywall anchors (provided) for a sheet rock wall.
Installing the Keyboard/Display Unit
Desk or Shelf Mounting
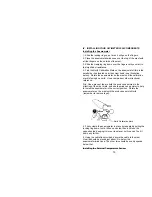
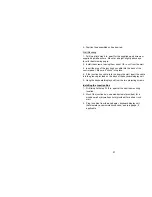
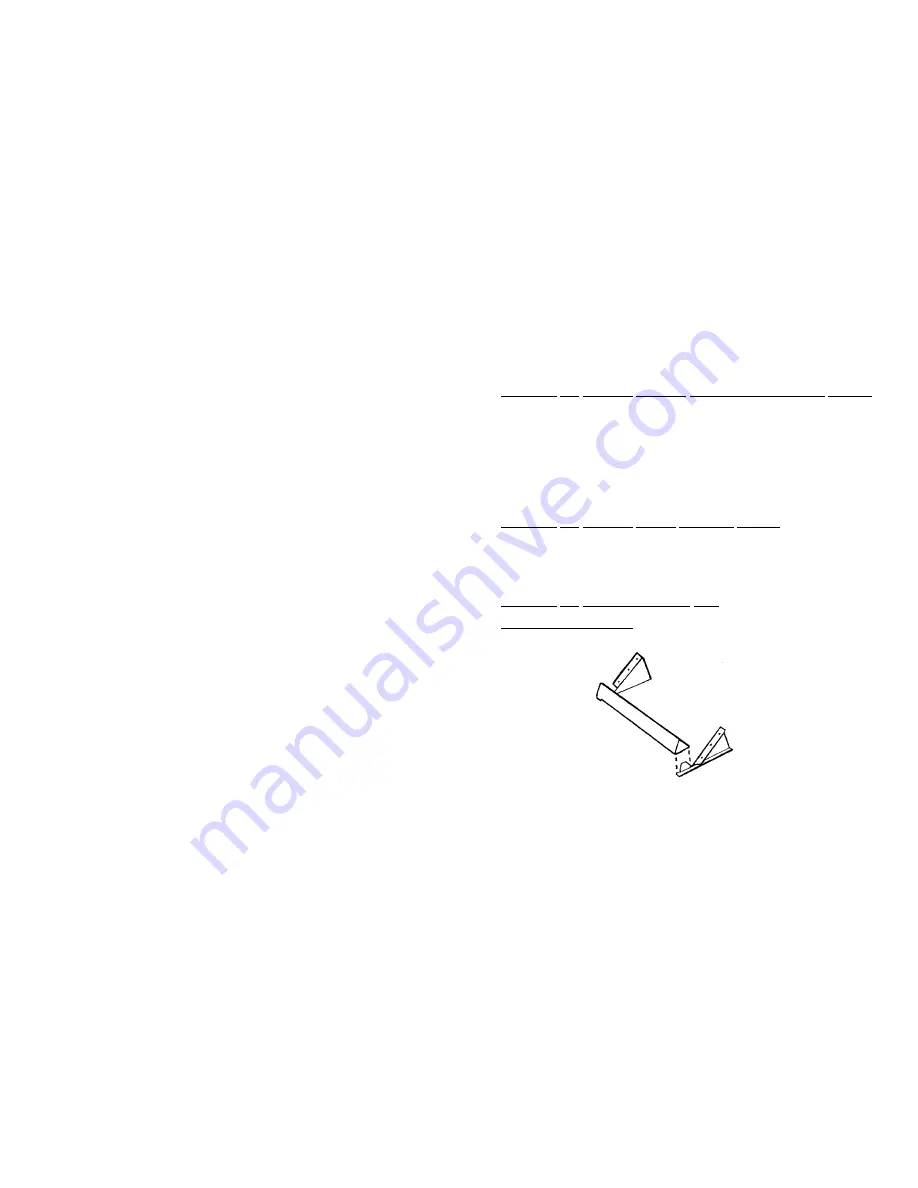
1. Assemble the desktop stand as shown below.
2. Place the keyboard/display unit on the stand so the two
alignment pins on the stand fit firmly into the matching holes on
the back of the instrument.
3. Secure the Keyboard/display unit to the stand, using the two
screws provided.
4. Insert the plug of the junction box cable into the back of the
control panel. Be sure it "clicks" into place.
20

