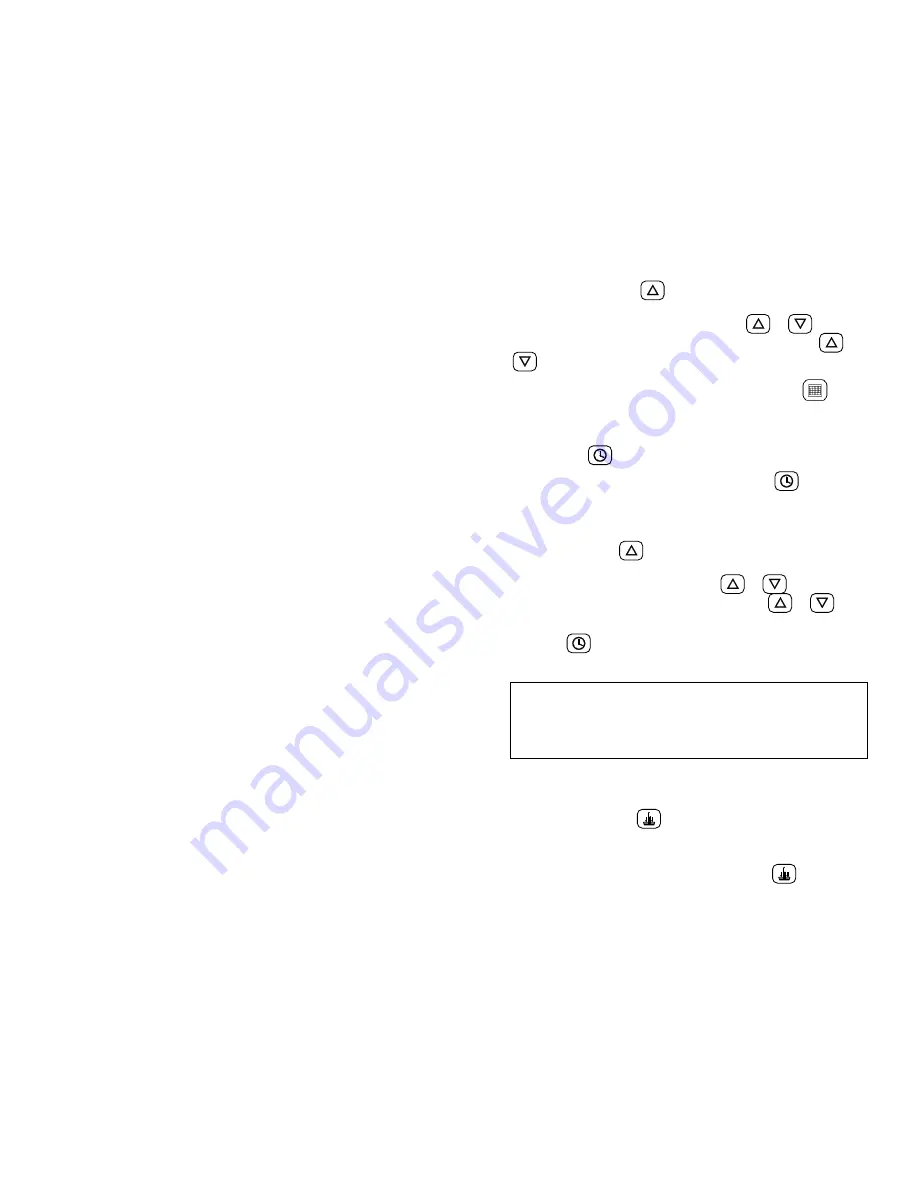
3. Press and hold the
for at least three seconds. The
date display will flash three times, then enter a setting mode
and the date will begin to change. Press
or
as
required to set the correct date. If you press and hold
or
, the display will change rapidly.
4. When you have finished setting the date, press
to
return to normal operation.
SET TIME AND TIME FORMAT
1. Press the
key.
2. If you prefer a 24-hour clock display, press
again and
hold until the display stops flashing (the display will flash three
times, then change to 24-hr format). To change back to 12-hr
format, repeat this procedure.
3. Press and hold
for at least 3 seconds. The time
display will flash three times, then enter a setting mode and
the time will begin to change. Press
or
as required
to set the correct time. If you press and hold
or
, the
display will change rapidly.
4. Press
to return to normal operation.
SET BAROMETRIC PRESSURE AND PRESSURE UNITS
NOTE: The keyboard display unit's barometric pressure must
initially be set for your location before a pressure reading can
be displayed (to be performed at power-up only). Wait at
least one minute after power-up to allow the sensor to
stabilize before performing this procedure.
Perform initial barometric pressure setting as follows:
1. Obtain the current local barometric pressure from a nearby
Weather Service, Airport, or TV/Radio Station.
2. Press and release
.
The barometer icon will be
displayed, and also "--.--" and "in" (for inches of mercury).
3. If the current local barometric pressure reading obtained in
step (a) was not in "inches of mercury", press
again and
hold for at least three seconds. The display will flash three
27

