T
D
C
R
A
A
B
B
C
C
TA1 Temperature and Alarm Sensor
Installation Guide
Caution
Failure to follow these instructions can damage the product or cause a hazardous
condition. Disconnect power during the installation of this product. All wiring must
conform to local codes and ordinances. The TA1 sensor is designed for use with a 24
VAC Pelican thermostats only. After installation, if the TA1 Sensor does not show up on
your Pelican Site Manager you will need to contact Pelican Wireless Support and
request a thermostat TS200(H) upgrade.
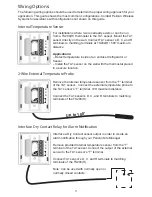
Mount the back plate of the TA1 sensor to a flat surface. Position it so that wires can be fed
through either the oval opening in the back or the small opening on the bottom of the TA1
sensor. Drill 3/16" holes into the wall at the provided mounting locations on the TA1 sensor.
Insert anchors into the wall and attach the back plate to the wall using the included mounting
screws. Follow the wiring instructions on page 2.
After the TA1 sensor is mounted simply line up the front cover to the back cover and snap
into place. To remove the front cover from the back plate, use a flat head screw driver and lightly
twist in the provided slots on each side of the TA1 sensor.
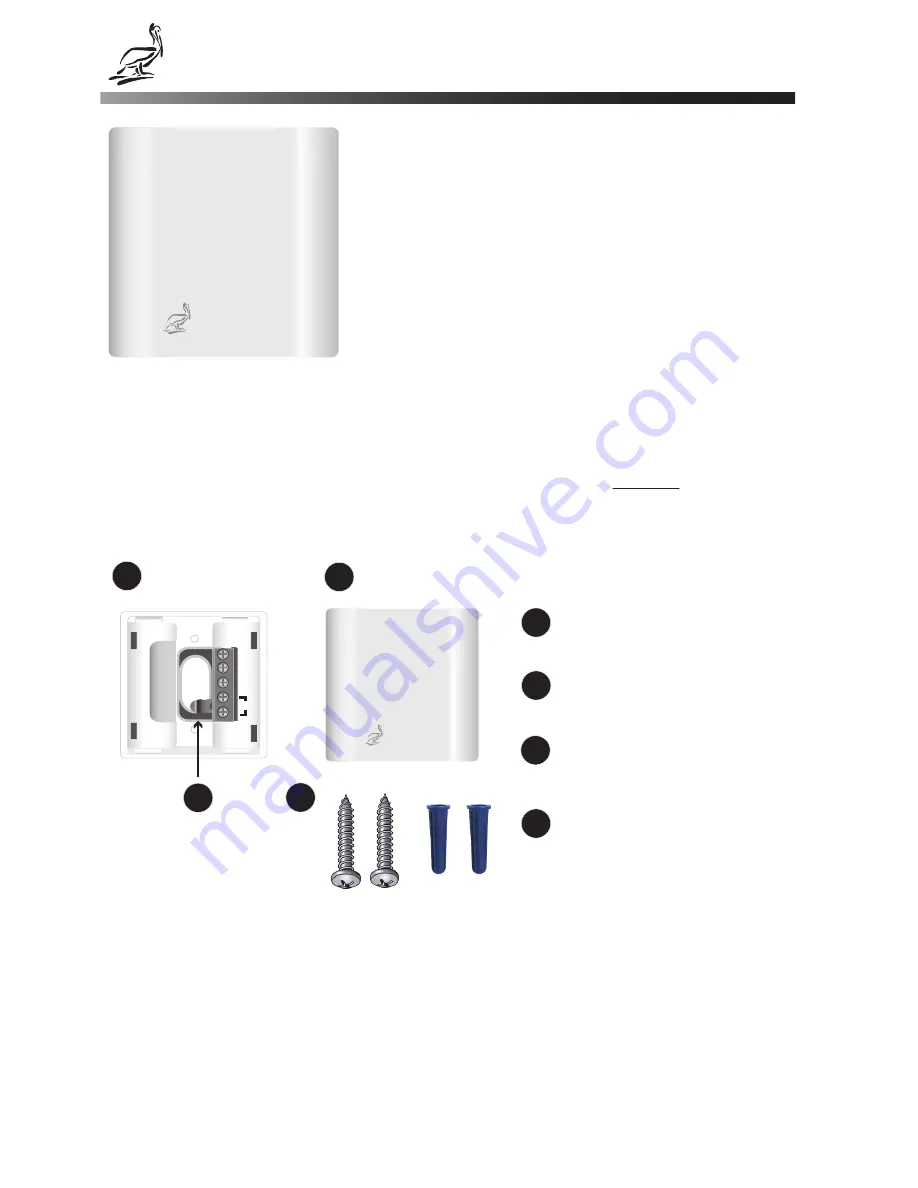
The Temperature and Alarm sensor is
an add-on accessory to the Pelican TS200
and TS200H Thermostats.
Uses:
1. External Temperature Sensing
2. Refrigeration Monitoring & Control
3. Dry Contact Alarm Interface
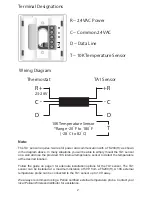
Wall Mounted Back Plate
Face Cover
Internal Temperature
Sensor
D
D
Mounting Hardware
Hardware Provided
Wall Mounting
1
Pelican
Wireless Systems
Pelican
Wireless Systems
Pelican
Wireless Systems


