Install Drivers for 9000 Boards
17
3.3.2.
Configure PenMount Windows 95 Driver
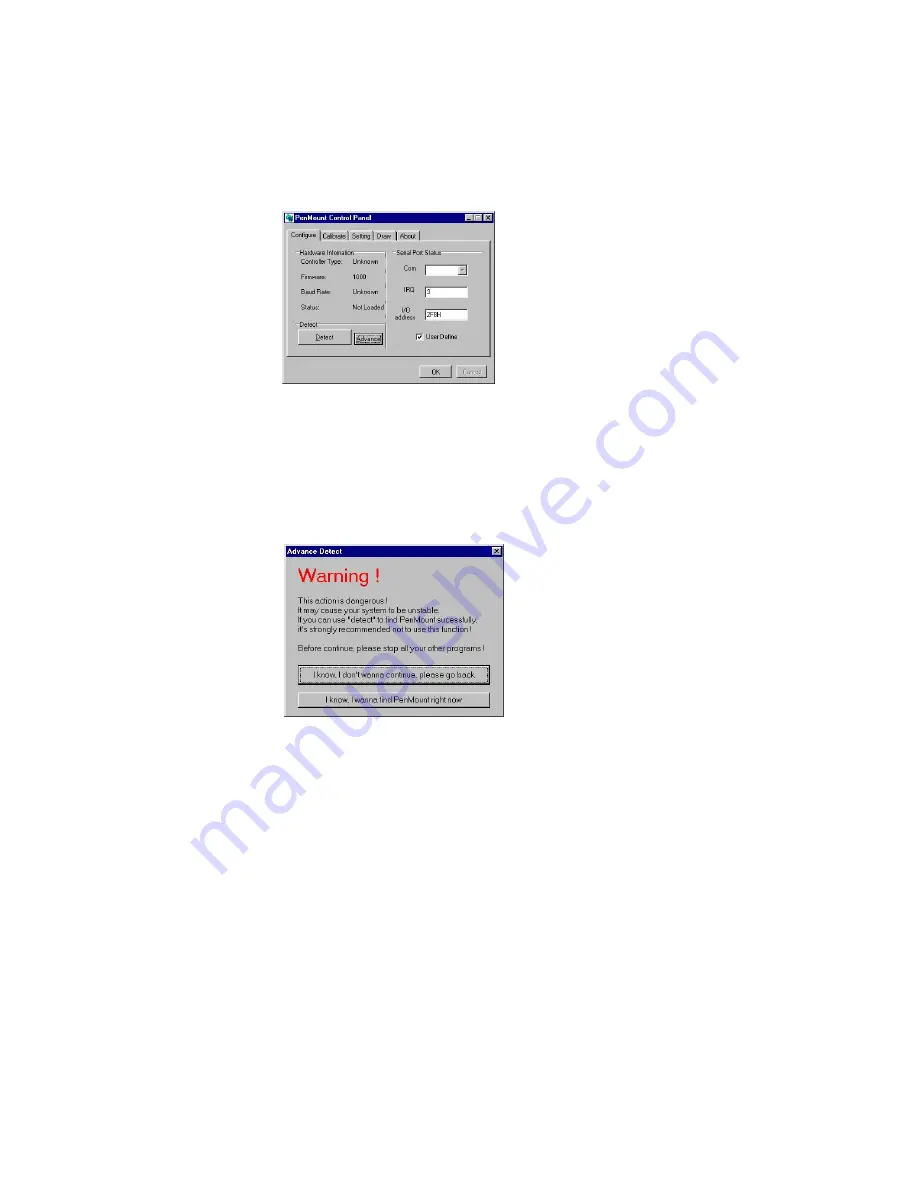
After you install the software, PenMount Control Panel appears. In the
“Configure” panel set the correct COM port, IRQ number and base address.
Each of the functions in the PenMount Control Panel is explained in the
following section.
If your touch screen is connected to the COM1 or COM2, use the “
Detect
”
button to auto-detect the COM port. If you do not know which COM port is
connected, the “
Advance
” detect button helps you find the correct data.
Before selecting the “
Advance
” button you must close all other programs
first, otherwise it may cause these programs to crash. A third way to define
the COM port is to input the data directly by selecting “
User Define
”. After
making selections click OK and the system asks to reboot. Once the
system reboots, the PenMount touch screen should be working.
You must perform a calibration after rebooting the system. Select
‘
PenMount Control Panel
’ from ‘
PenMount Utilities
’ that is in ‘
Programs
’,
or select the ‘
PM Control Panel
’ by clicking the ‘
PM
’ icon in the notification
area. Refer to the PenMount Windows 95 Driver Functions below on how to
perform a calibration.
3.3.3. PenMount
Windows 95 Driver Functions
Windows 95 driver functions are described below.
3.3.3.1. PenMount Control Panel
Configure
This item screen sets hardware connections, such as the RS-232
port, the IRQ number and the base address.
Controller Type
This shows the PenMount controller type, which is
DMC9000.


