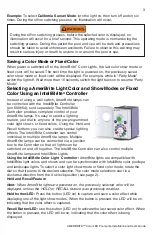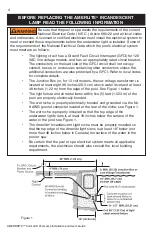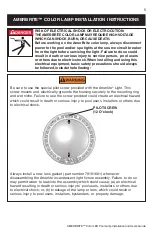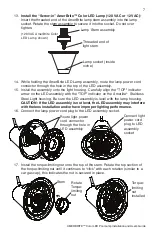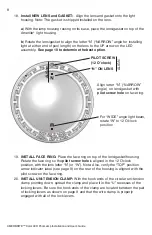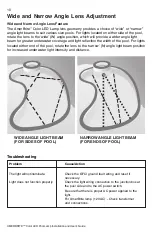
AMERBRITE™ Color LED Pool Lamp Installation and User’s Guide
9
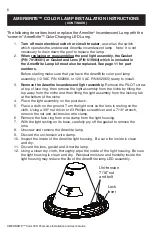
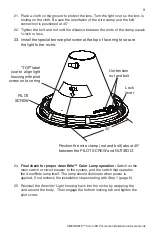
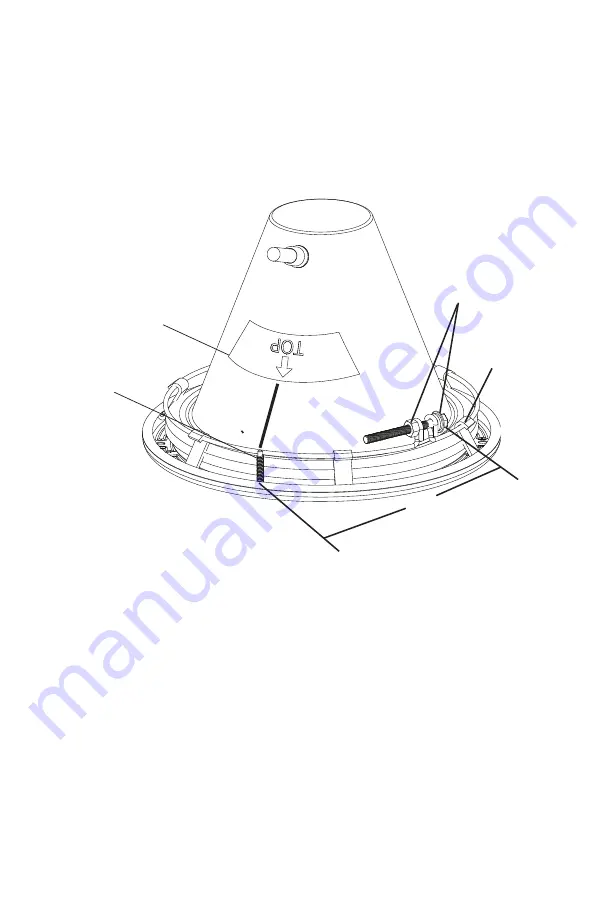
Position the wire clamp (nut and bolt) about 45°
between the PILOT SCREW and NUT/BOLT.
45°
PILOT
SCREW
Lock
lever
“TOP” label
(use to align light
housing with pilot
screw on face ring
Uni-tension
nut and bolt
21. Place a cloth on the ground to protect the lens. Turn the light over so the lens is
resting on the cloth. Be sure the orientation of the wire clamp and the bolt
connection is positioned at 45°.
22. Tighten the bolt and nut until the distance between the ends of the clamp equals
¼
-inch or less.
23. Install the special bronze pilot screw at the top of face ring to secure
the light to the niche.
24.
Final check for proper AmerBrite™ Color Lamp operation:
Switch on the
main switch or circuit breaker to the system, and the switch that operates
the AmerBrite lamp itself. The lamp should illuminate when power is
applied. If not recheck the installation steps starting with Step 1 (page 6).
25. Reinstall the Amerlite
®
Light housing back into the niche by wrapping the
cord around the body. Then engage the bottom locking tab and tighten the
pilot screw.


