KREEPY KRAULY
®
KRUISER™ Inground Suction Pool Cleaner Installation and User’s Guide
S U C T I O N E N T R A P M E N T, I N J U RY, A N D
DROWNING HAZARD.
If your pool has a dedicated
suction port (“vac port”) for vacuuming or for an
automatic pool cleaner, it must be covered when
not in use. A spring loaded safety cover (a “vac port
fitting”) is included with your cleaner. Install it on the
suction port to prevent entrapment and injury. If the
cover provided does not fit, purchase one that does from your local pool
store and install it instead. The cover should conform to IAPMO SPS4-99A.
IMPORTANT WARNING AND SAFETY INSTRUCTIONS
Attention Installer:
This guide contains important information about the
installation, operation and safe use of this product. This information should
be given to the owner and/or operator of this equipment after installation
of the pool cleaner.
Attention User:
This manual contains important information that will help
you in operating and maintaining this pool cleaner. Please retain it for future
reference. Consult Pentair with any questions regarding this equipment.
Important Notice:
Before installing this product, read and follow all
warning notices and instructions which are included.
Failure to follow safety warnings and instructions can result in severe
injury, death, or property damage. Call (800) 831-7133 for additional free
copies of these instructions.
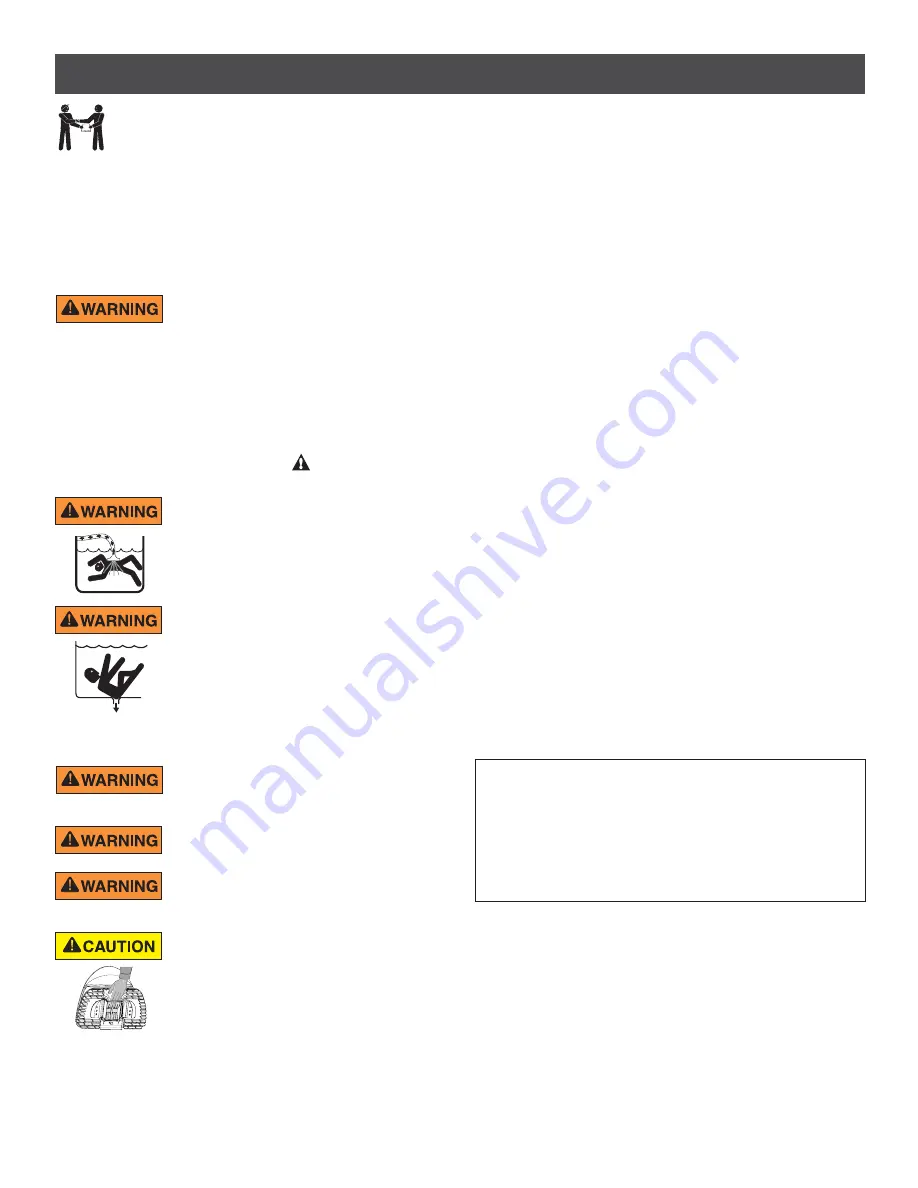
Stop pump
before attempting to clean unit. Do
not allow swimmers in pool while pool cleaner is
operating.
To reduce the risk of injury, do not let children use
or play with pool cleaner.
Do not allow swimmers in the pool while pool cleaner
is operating. Hose can trip or entangle swimmers
which could result in drowning.
Consumer Information and Safety
This pool cleaner is designed and manufactured to provide many years
of safe and reliable service when installed, operated and maintained
according to the information in this manual. Throughout the manual, safety
warnings and cautions are identified by the “ ” symbol. Be sure to read
and comply with all of the warnings and cautions.
HAZARDOUS SUCTION.
Do not play with cleaner or hose or apply to body.
Can trap and tear hair or body parts. Hose can trip or
entangle swimmers which could result in drowning.
General Installation Information
Pre-Installation Check List
Before installing your cleaner, review and understand all warnings and
safety information in this guide. Failure to follow these instructions or
improper installation of the cleaner can result in damage to the pool finish
or the vinyl liner, Pentair Water Pool and Spa, Inc. disclaims any liability
for repairs or replacement to any of these structures or components of
the customer’s pool.
Before installing the cleaner in a vinyl liner pool:
Check liner closely for signs of deterioration or damage from age,
chemicals, pool wall damage, etc. If any damage is found, have a qualified
pool professional make all the necessary repairs. Also, if there are stones,
roots, etc., under the liner, remove them before installing the cleaner.
Before installing the cleaner in a gunite pool or a pool that is partially
or completely tiled:
Repair loose tiles and tighten any loose light rings.
Before installing the cleaner, clean your filter system:
Make sure you have cleaned the filter, including backwashing, rinsing,
and emptying all baskets. A clean system is necessary for proper cleaner
operation and coverage.
Before installing the cleaner, understand cleaner coverage:
The cleaner is designed to rid your pool of debris in approximately 4-6
hours. Less time could be needed, depending on the pool size. The
cleaner was not designed to automatically clean steps or swimouts or to
work under a solar cover. It was also not designed to do initial cleanup
for a new pool or when opening your pool for the season.
AFTER installing the cleaner, make sure the cleaner is operating
correctly:
The cleaner may need some minor adjustments to make sure it is
operating properly so there is no damage to the pool finish. Certain
vinyl liner patterns are particularly susceptible to surface wear, pattern
removal, ink rubbing off of, or serious scratches to the pattern caused by
objects coming into contact with the vinyl surface, including automatic
pool cleaners. Pentair Water Pool and Spa, Inc. is not responsible for
any pattern removal, abrasions or markings on vinyl liners.
Moving parts may injure hands or fingers. Stop pump
before attempting to clean out pool cleaner head.
Warnings and safety instructions for Pentair Water Pool and Spa,
Inc. pumps and other related products are available at:
http://www.pentairpool.com/pool-owner/safety-warnings/
or call
(800) 831-7133 for additional free copies of these instructions.
Please refer to
http://www.pentairpool.com/pool-owner/
safetywarnings/
for warning and safety instructions related to
this product.
ii


