178
6
Editin
g an
d Printi
ng Im
age
s
5
Press the
4
button.
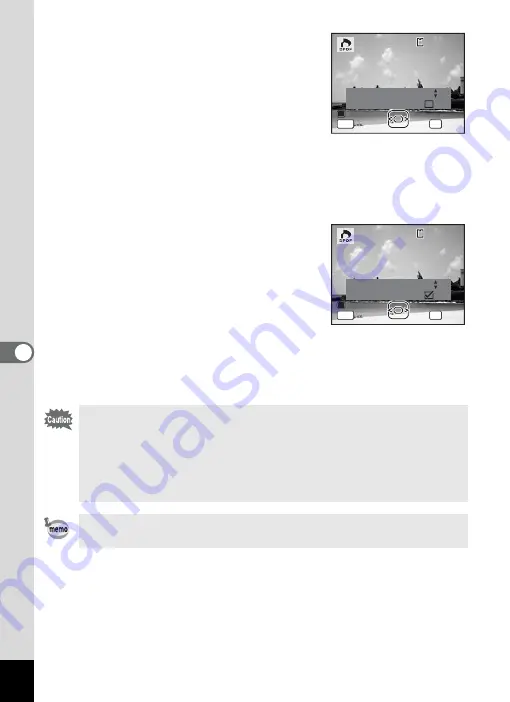
The message [DPOF setting for this image]
appears.
To make DPOF settings for another image,
use the four-way controller (
45
) to select
another image.
If DPOF settings have already been made
for an image, the previous number of copies and date setting (
O
or
P
)
will be displayed.
6
Use the four-way controller (
23
) to choose the number
of copies.
7
Use the Green button to choose
whether to insert the date or not.
O
(On) : The date will be imprinted.
P
(Off) : The date will not be imprinted.
To continue setting DPOF print order data,
use the four-way controller (
45
) to choose
another image and repeat Steps 6 and 7.
8
Press the
4
button.
The DPOF settings are saved and the screen returns to the DPOF
menu.
• Depending on the printer or printing equipment at the photo
processing lab, the date may not be imprinted on the pictures even
if
O
(On) was selected in the DPOF settings.
• If the picture already has the date imprinted on it (p.127), do not
set Date
O
(On) in DPOF settings. Otherwise, the date could be
imprinted twice on your printed picture.
To cancel DPOF settings, set the number of copies to [00] in Step 6
and press the
4
button.
OK
OK
OK
OK
Cancel
Cancel
Cancel
0 0
MENU
1 0 0
1 0 0 - 0 0 1 7
0 0 1 7
1 0 0 - 0 0 1 7
DPOF setting for
DPOF setting for
this image
this image
DPOF setting for
this image
Copies
Date
Date
Date
Date
OK
MENU
1 0 0
1 0 0 - 0 0 1 7
0 0 1 7
1 0 0 - 0 0 1 7
0 1
OK
OK
OK
Cancel
Cancel
Cancel
DPOF setting for
DPOF setting for
this image
this image
Copies
Date
Date
Date
Date
DPOF setting for
this image


