2
G
e
tting St
arted
37
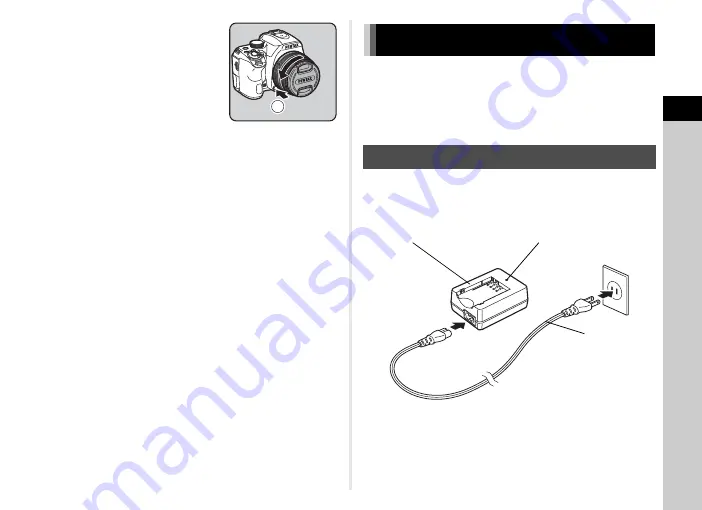
To remove the lens
Attach the lens cap, and then turn
the lens counterclockwise while
pressing the lens unlock button
(
4
).
u
Caution
• When attaching or removing the lens, choose an environment
that is relatively free of dirt and dust.
• Keep the body mount cover attached to the camera when a
lens is not attached.
• Be sure to attach the lens mount cover and lens cap to the
lens after removing it from the camera.
• Do not insert your fingers inside the lens mount of the camera
or touch the mirror.
• The camera body and lens mount incorporate lens
information contacts. Dirt, dust, or corrosion may damage the
electrical system. Please contact your nearest service center
for professional cleaning.
• When a retractable lens is attached and is not extended, you
cannot take pictures or use some functions. If the lens is
retracted during shooting, the camera stops working. Refer to
“How to Use a Retractable Lens” (p.46) for details.
• We assume no responsibility nor liability for accidents,
damages, and malfunctions resulting from the use of lenses
made by other manufacturers.
t
Memo
• Refer to “Functions Available with Various Lenses” (p.121) for
details on the functions of each lens.
Use the battery D-LI109 and battery charger D-BC109
exclusively developed for this camera.
Note: AC plug cord
UL Listed, Type SPT-2 or NISPT-2, 18/2 flexible cord, rated
125 V, 7 A, minimum 6 ft. (1.8 m)
1
Connect the AC plug cord to the battery charger.
2
Plug the AC plug cord into the power outlet.
4
Using the Battery and Charger
Charging the Battery
Battery charger
Indicator lamp
AC plug cord


