18
19
04. Introduction
The principle of ultrasound cleaning
Ultrasonic cleaning is based on the cavitation effect caused by the vibration of high-frequency
ultrasonic waves in the liquid. Microscopic bubbles are formed. These implode and thereby
cause the cavitation which, in return, results in an intense scrubbing action on the surface of
the object to be cleaned. The bubbles are small enough to penetrate microscopic crevices and
to clean them thoroughly and consistently.
Ultrasonic cleaning is extremely effective in removing dirt and grime which would normally
require tedious manual cleaning. It is used to clean a wide variety of instruments and mechani-
cal parts.
05. Operation
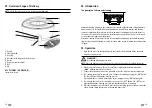
1. Open the lid, place the provided basket in the stainless steel tank and fill the tank with
water. Use tap water only.
WARNING!
Dry running may damage the tank.
NOTE:
Place the dentures and/or jewellery to be cleaned as centred as possible in the basket.
2. Put the object in the water. The object should be completely immersed, whereby the
„MAX”
marking must not be exceeded.
3. Connect the ultrasound cleaner to a grounded socket. The red power indicator lights up.
4. The cleaning process, which can take up to 5 minutes, is started by pressing the „ON“ button.
The blue LEDs are lit during the cleaning process.
If you would like to continue cleaning the object, simply press the “ON” button again.
5. If you would like to abort the cleaning process, press the „OFF” button. The „ZIZI” noises
generated during the cleaning process mean that the appliance is operating.
6. After the cleaning process is finished, pull out the power plug, open the lid and remove the
object. Finally, empty the stainless steel tank and wipe it dry.
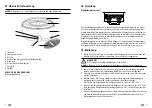
03. Overview / Scope of Delivery
NOTE:
Check that all accessories are included and undamaged.
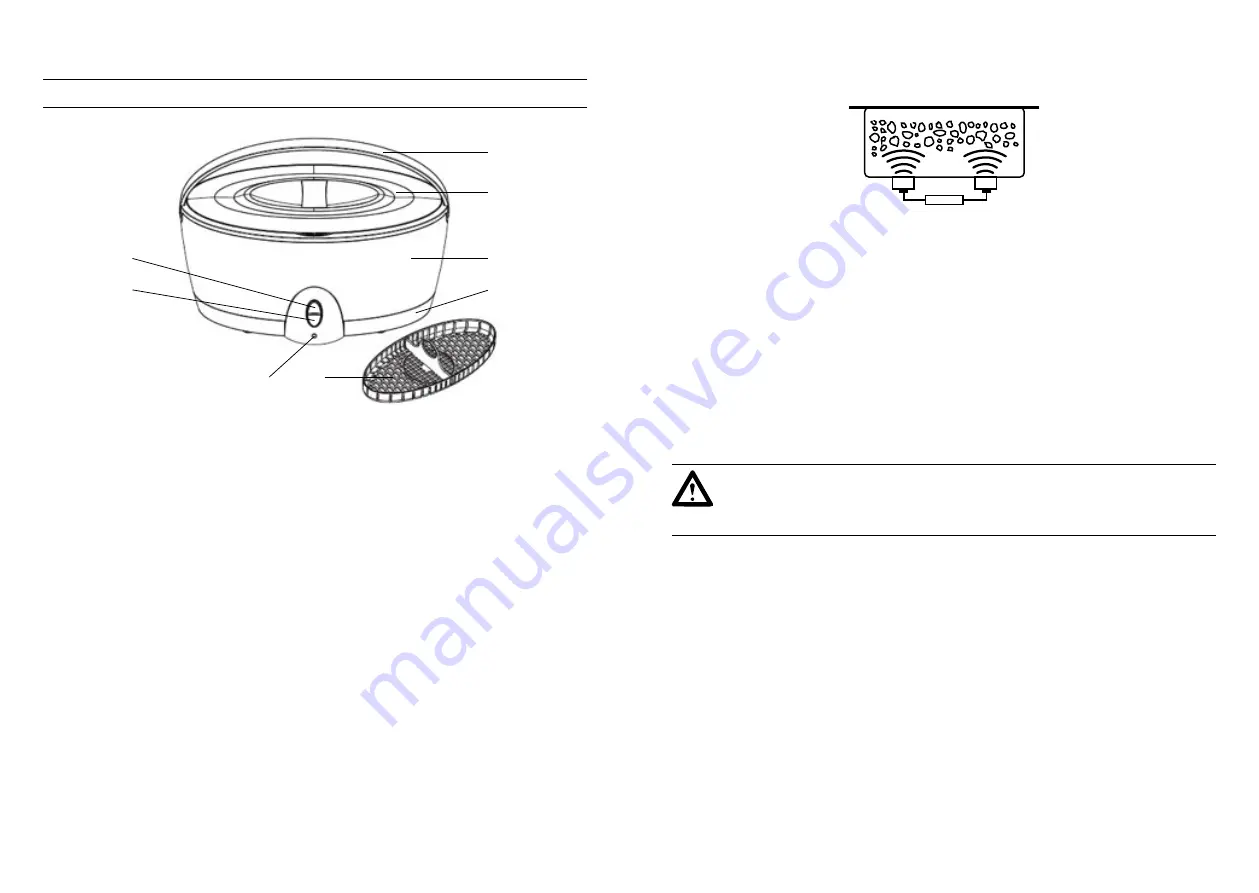
1
1
2
5
6
7
3
4
8
Handle
2
Transparent lid
3
Housing
4
Unit base with integrated cable storage
5
Basket
6
Red power indicator light
7
OFF
8
ON
ACCESSORIES (NO GRAPHIC):
Instructions for use


