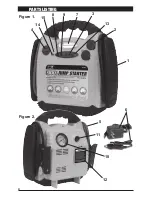
PARTS LISTING
5
1. Impact resistant polyethylene case
2. Two 12 Volt output sockets
3. Color-coded battery meter
4. On/Off safe switch for the jumper cables
5. Heavy duty 500 AMP booster clamps
6. Adapter/chargers
7. Emergency light
8. Emergency light switch
RECHARGING
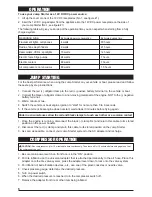
For maximum battery life, we recommend that your Jump Starter be kept fully charged at all times. If the
battery is allowed to remain in a discharged state battery life will be shortened. The table below shows the
relationship of the frequency of use between recharging and the expected number of charge/recharge cycle.
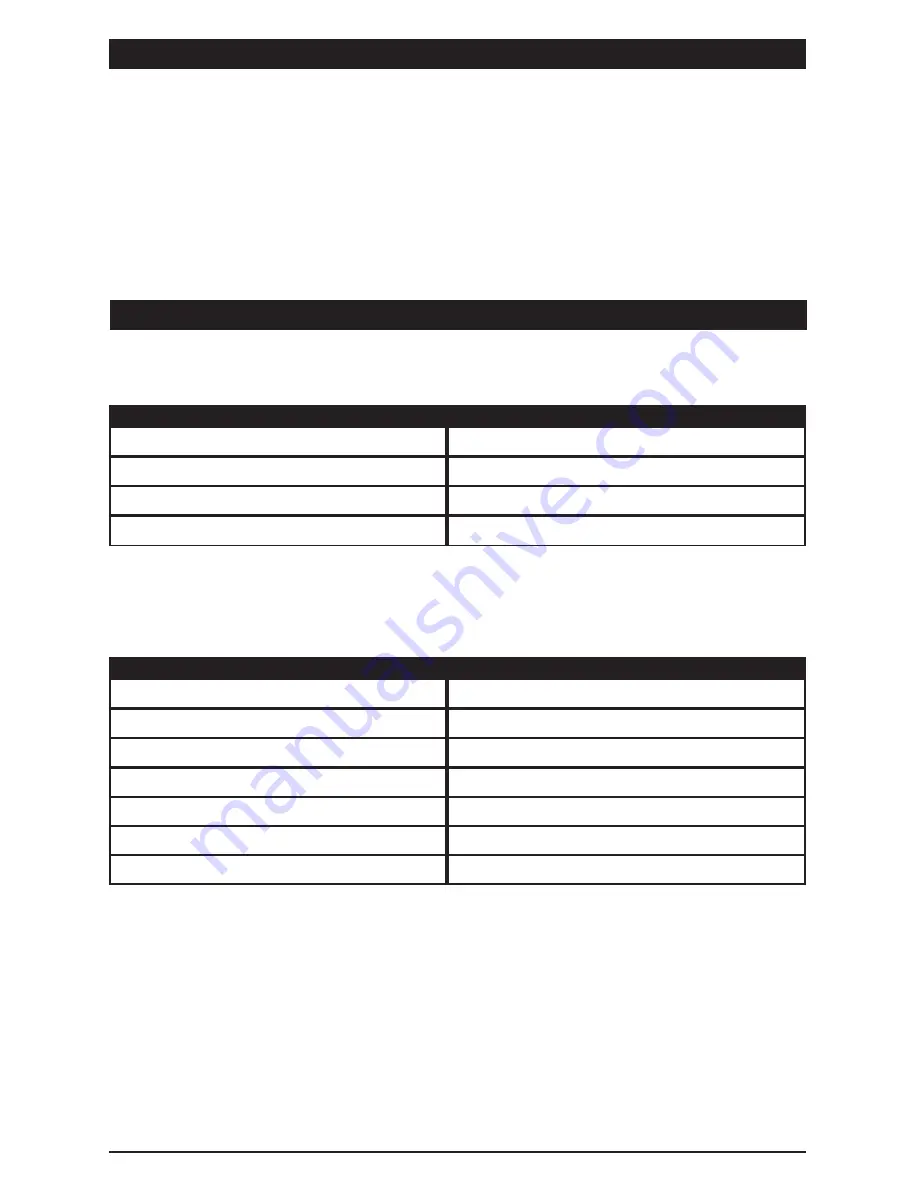
Number of jump-starts between recharging
Discharge and recharge cycles
1
1000+
5
700+
10
500+
BATTERY LIFE
Number of jump-starts
Recharging time (in hours)
1
8
2
16
3
24
4
32
5
40
6
48
RECHARGING TIMES VS. JUMP-STARTS
BATTERY RECHARGING TIPS:
The time required to fully recharge your Jump Starter after jump-starting an engine is a function of how many
jump-starts are performed between recharging sessions. The table below shows the approximate recharging
times you can expect.
To check the battery charge, press the red button next to the volt meter. This will show you the battery’s
internal charge level. Recharge if in a discharged state.
AC CHARGING:
Plug the charging adapter into an AC wall outlet. Plug the other end into the receptacle beside the DC
charging LED (No.9, see figure #1). Monitor the front panel of your Jump Starter until the battery meter
shows full, 14 to 15 DC.
DC CHARGING:
Insert the DC plug adapter into the 12V DC power receptacle of your vehicle. Plug the other end into the
receptacle beside the DC charging LED (No.9, see figure #1). Monitor the front panel of your Jump Starter
until the battery meter shows full, 14 to 15 DC.
9. DC charging LED and receptacle for
charging plug
10. Dial gauge
11. Air compressor switch
12. Inflation hose and hose storage
13. Battery level test button
14. USB port
15. USB working indicator (Green)


