background image


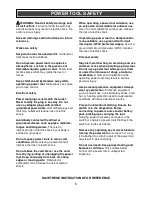
      WARNING:

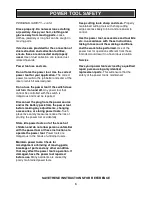
 Keep the extension cord 

clear of the working area.  

Position the cord so 

it will not get caught on the workpiece, tools or 
any other obstructions while you are working 
with the power tool.


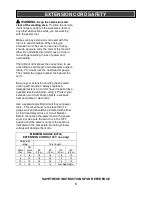
Make sure any extension cord used with this 
tool is in good condition. When using an 
extension cord, be sure to use one of heavy 
enough gauge to carry the current the tool will 
draw. An undersized cord will cause a drop in 
line voltage resulting in loss of power and 
overheating. 
 
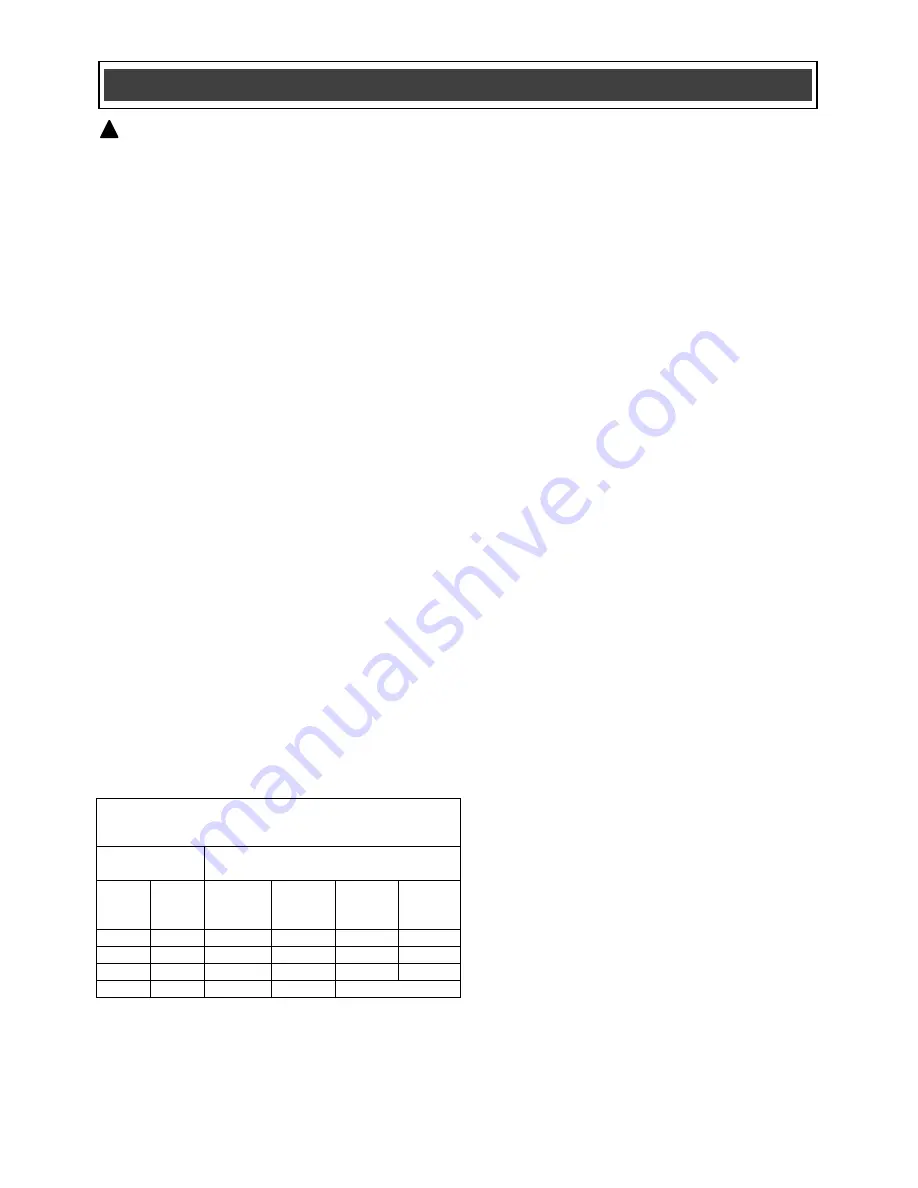
The table at right shows the correct size to use 
according to cord length and nameplate ampere 
rating. If in doubt, use the next heavier gauge. 
The smaller the gauge number the heavier the 
cord. 


Be sure your extension cord is properly wired 
and in good condition. Always replace a 
damaged extension cord or have it repaired by a 
qualified electrician before using it. Protect your 
extension cord from sharp objects, excessive 
heat and damp or wet areas. 
 
Use a separate electrical circuit for your power 
tools.  This circuit must not be less than 14 
gauge wire and should be protected with either 
a 15 A time delayed fuse or circuit breaker. 
Before connecting the power tool to the power 
source, make sure the switch is in the OFF 
position and the power source is the same as 
indicated on the nameplate. Running at lower 
voltage will damage the motor.


MINIMUM GAUGE (AWG)  

EXTENSION CORDS


(120 V use only) 

Amperage 

rating 


Total length 


More 

than 

Not 

more 

than 

25'  

(7.5 m) 

50' 

(15 m) 

100' 

(30 m) 

150' 

(45 m) 

18 

16 

16 

14 

10 

18 

16 

14 

12 

10 

12 

16 

16 

14 

12 

12 

16 

14 

12 

Not Applicable 


EXTENSION CORD SAFETY 

SAVE THESE INSTRUCTIONS FOR REFERENCE 

Summary of Contents for 241-0994

Page 1: ...d 0 2 500 SPM no load Minimum cutting radius 1 Maximum cutting capacity Steel 1 2 mm 18 ga Stainless Steel 0 9 mm 20 ga Aluminum 2 mm 14 ga Weight 4 lb 15 oz 1 77 kg Need Assistance Call us on our tol...

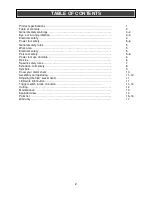
Page 2: ...a 5 Electrical safety 5 Personal safety 5 6 Power tool use and care 6 Service 6 Specific safety rules 7 Extension cord safety 8 Symbols 9 Know your metal shear 10 Assembly and operating 11 12 Adjustin...

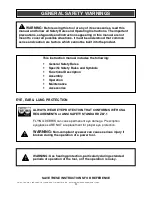
Page 3: ...ool or any of its accessories read this manual and follow all Safety Rules and Operating Instructions The important precautions safeguards and instructions appearing in this manual are not meant to co...

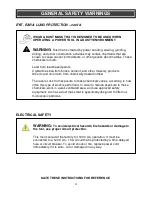
Page 4: ...vel of risk from exposure to these chemicals varies according to how often this type of work is performed In order to reduce exposure to these chemicals work in a well ventilated area and use approved...

Page 5: ...lectric shock When operating a power tool outdoors use an extension cord suitable for outdoor use Use of a cord suitable for outdoor use reduces the risk of electric shock If operating a power tool in...

Page 6: ...of starting the power tool accidentally Store idle power tools out of the reach of children and do not allow persons unfamiliar with the power tool or these instructions to operate the power tool Powe...

Page 7: ...NG Always hearing protection WARNING Always wear appropriate protective gloves long sleeved shirt and blue jeans when using the metal shear Sheet metal is very sharp Any sheet metal or cuttings contac...

Page 8: ...s properly wired and in good condition Always replace a damaged extension cord or have it repaired by a qualified electrician before using it Protect your extension cord from sharp objects excessive h...

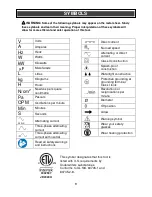
Page 9: ...plash proof construction Watertight construction Protective grounding at grounding terminal Class I tools Revolutions or reciprocations per minute Diameter Off position Arrow Warning symbol Wear your...

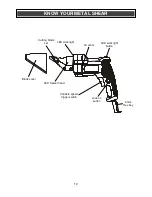
Page 10: ...10 KNOW YOUR METAL SHEAR Blade cover Lock on button LED work light LED work light button Variable speed trigger switch Cutting blade set 360 Swivel head Air vents 4 mm Hex key...

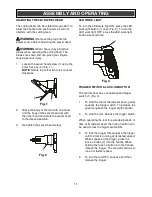
Page 11: ...light ON press the LED work light button 1 once Fig 3 To turn the LED work light OFF press the LED work light button a second time TRIGGER SWITCH LOCK ON BUTTON The metal shear has a variable speed t...

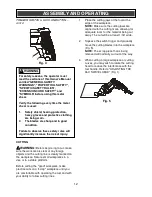
Page 12: ...h trigger and gradually move the cutting blades into the workpiece Fig 5 NOTE The scrap piece that is being removed will normally curl out of the way 3 When cutting a large workpiece or cutting curves...

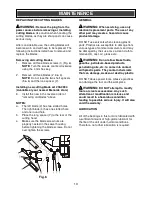
Page 13: ...ly nested in the swivel housing before tightening the blade screws Do not over tighten the screws GENERAL WARNING When servicing use only identical replacement parts The use of any other part may crea...

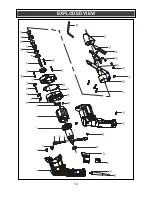
Page 14: ...14 EXPLODED VIEW...
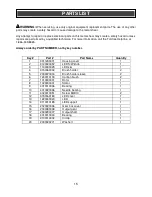
Page 15: ...RT NUMBER not by key number Key Part Part Name Quantity 1 3011290001 Housing cover 1 2 3120020057 LED S W knob 1 3 1130030029 LED s w 1 4 3150060002 Brush holder 2 5 2030070004 Brush holder sleeve 2 6...

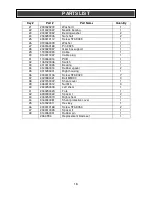
Page 16: ...14 PCB 1 32 1061020006 Switch 1 33 4010010035 Bearing 1 34 3140060014 Rubber spacer 2 35 3011290001 Right housing 1 36 4030010106 Screw ST3 9X20 7 37 4020080021 Bolt M5X30 3 38 2020150072 Shear cover...

Page 17: ...brushes belts bits light bulbs and or batteries 2 shall be void if this tool is used for commercial and or rental purposes and 3 does not cover any losses injuries to persons property or costs This wa...

Reviews: