background image

6

Owner’s Guide 

PCC-100 & PCC-200

3.  Starting at the end of your twisted wire, 

run your single strand of wire around 
your property as you have designed 
ending back again at the end of your 
twisted wire.

4.  Twist one end 

of your bound-
ary loop to 
one end of the 
twisted wire 
with a wire 
nut. Repeat 
with the remaining loose ends. Using 
the waterproof splices, push each wire 
nut as far down into the gel as possible 
and secure lid. 

Check to ensure that 

there are only two wires for each 
splice used. 


PLEASE NOTE:

 Using just wire nuts or 

electrical tape will not keep moisture 
from interfering with your system’s 
performance. Use the supplied gel-fi lled 
splice housings. 

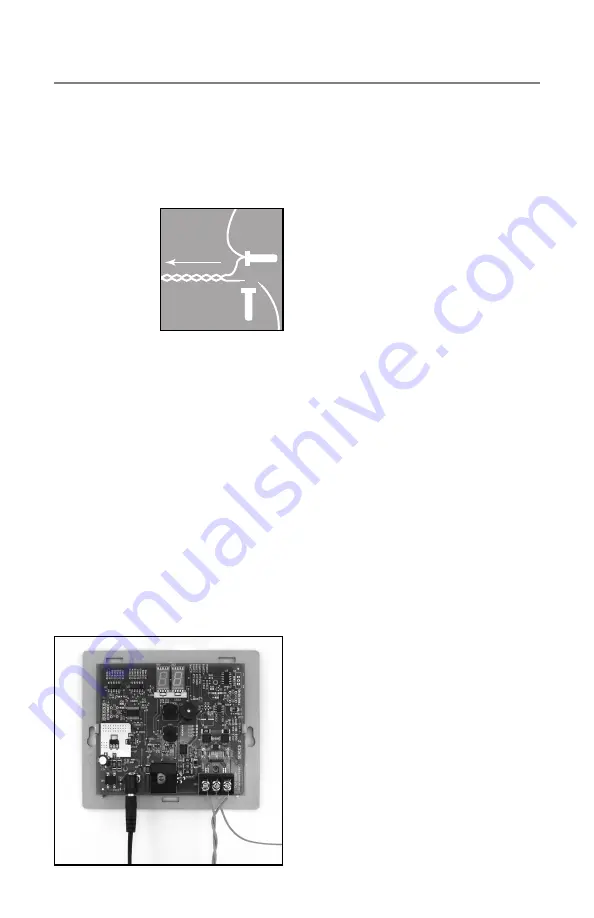
5.  Insert the other ends of your twisted 

wire in the wall-mount transmitter as 
shown. Tighten screw terminals taking 
care not to over tighten.

6.  It is recommended that you ground 

your transmitter. Connect the ground 
terminal (center screw wire connec-
tion) on the transmitter to a ground rod 
(via electrical wire)  located outside of 
the house with ground rod material and 
depth as recommended by National 
Electrical Code.

  The alternative way is to connect the 

ground terminal on the transmitter 
to the center screw on the AC outlet 
via electrical wire (center screw is 
ground).  The outlet used must be 
grounded to be effective.

  An experienced pet fence dealer, tv 

technician or electrician can help 
should you have concerns regarding 
the proper grounding of this equipment. 

Twisted Wire

To Transmitter

Boundary
Loop

Splice

Ground 

Wire

Twisted

Wire

AC In

Summary of Contents for PCC-100

Page 1: ...Owner s Guide PCC 100 PCC 200 ...

Page 2: ...Remove the pets training collar every 12 hours Look for any skin irritation and discontinue product use until healed Wash pet s neck and collar frequently with warm soap and water Do not attempt to wash the pet s train ing collar in washing machine or dish washer No containment method is foolproof and your Perimeter Pet Fencing System is not a substitute for responsible pet ownership and close sup...

Page 3: ...er Technologies Comfort Contact system was designed by the industry s most experienced team to provide years of worry free freedom for both you and your pet Simply follow the steps outlined in this user s guide and your fence will be operational in no time Should you have any difficulty along the way help is available both by calling the Customer Care Center at 1 866 900 2007 or by talking to a loc...

Page 4: ...itter location The wall mount transmitter is your pet s fence control center The transmitter sends a digitally encoded radio signal through the fence wire The transmitter needs to be located in a dry indoors area such as a garage or utility room Page 5 3 Layout your fence wire Always lay your fence wire on top of the ground before burying to ensure the fence is performing properly Page 5 4 Testing...

Page 5: ...tments Programming Options The Perimeter Ultra Comfort Contact System PCC 200 can be programmed for up to five different stimulation levels and two different frequency settings by following the easy programming steps see page 9 for reference Page 9 7 Training your pet Training your pet to her new fence will take approximately two weeks with most of the time spent closely watching your pet to ensure...

Page 6: ...urning back to the transmitter You will need to allow room in your plan for 8 10 of signal area from the boundary wire Do not run the boundary wire within 10 parallel of utility lines Utility lines can create interference Have utility lines marked prior to fence wire installation To maintain a consistent signal field use a gradual radius when running the wire around corners as illustrated Avoid har...

Page 7: ...nd hang transmitter on the wall Replace the transmitter housing cover by placing the cover tabs in base and pushing bottom housing down STEP 3 Layout your fence wire connections It is important to layout your boundary wire and test your fencing system before you bury the wire This is a real time saver should you encounter a problem with your installation 1 Measure the amount of distance from your ...

Page 8: ...housings 5 Insert the other ends of your twisted wire in the wall mount transmitter as shown Tighten screw terminals taking care not to over tighten 6 It is recommended that you ground your transmitter Connect the ground terminal center screw wire connec tion on the transmitter to a ground rod via electrical wire located outside of the house with ground rod material and depth as recommended by Nat...

Page 9: ...operly in other locations If the collar activates too far or too near the fence wire adjust the signal field setting see STEP 6 5 Walk back and forth over the twisted wire listening for any training beeps There should be none 6 Walk around the safe areas of the yard and house listening for any train ing beeps Again there should be no response from the pet s collar when further than 10 from the boun...

Page 10: ...awn after installation and again walk over the trenched areas to further secure the wire underground You may encounter some obstacles that will need to be crossed during your instal lation When crossing a concrete driveway clean out an expansion joint with a screwdriver push wire into the slot and cover with a clear silicone caulk It is necessary to cut a trench in asphalt driveways with a circula...

Page 11: ...act PCC 200 has two optional pro gramming functions Correction Level Programming model PCC 200 only Perimeter Pet Fencing Systems come factory preset with an automatic adjusting level of correction from low to high de pending on your pet s speed and proximity to the boundary wire The Ultra Comfort Contact system can be programmed to any one of 5 different output levels from Extra Light to Extra Hi...

Page 12: ...smitter simultaneously for 6 seconds The transmitter display will first show 00 for three seconds con tinue to press both buttons for an another 3 seconds to enter frequency mode Either 01 or 02 will be displayed on the wall mount transmitter STEP 2 Release both transmitter buttons Press and release the SCROLL button to select desired frequency settings The transmitter display will show correspond ...

Page 13: ...fun lessons and make the training more effective There are six phases to the training lessons LESSON 1 Back away from the fence 6 Sessions LESSON 2 Respect the Fence 1 Session LESSON 3 Adding interesting distractions 8 Sessions LESSON 4 Off Lead With Supervision 1 Week LESSON 5 Off Lead Unsupervised 2 Weeks LESSON 6 Flag Removal Every other day until gone Use a calendar so you can keep track of th...

Page 14: ...dog will start to anticipate the signal and retreat without your prompting Day three is successful if your dog retreats without your prompting and refuses to approach the boundary as you approach For each successful attempt be sure to praise praise and praise again LESSON 2 Respect the Fence Although your dog is learning fast and avoiding the boundary he will forget or attempt to break the rules w...

Page 15: ...distraction you can dream up LESSON 4 Off Lead With Supervision After several sessions of distractions your dog should be ready for off leash play You must stay in the yard for off leash training The more your dog stays on the property for the first month the less chance of your dog ever attempting to leave the area Continue to supervise and play with your dog outside for a period of one week Should...

Page 16: ...flags and the elec tronic training collar are all clues for your dog to learn the boundaries They are all removed gradually except the electronic training collar It s essential that you observe whether you re off leash unsupervised dog still avoids and retreats from the unmarked boundary If your dog s response is anything but immediate retrace your steps through the training process Thank you for c...

Page 17: ...ne the problem 1 Remove the boundary loop wires from the transmitter 2 Use a 6 foot length of spare boundary wire inserting each end of the wire in place of the loop wires in the transmitter 3 If the audible alarm stops this indicates a break in your boundary wire Please call customer service at 1 866 900 2007 for assistance in locating your wire break 4 If the audible alarm continues to sound thi...

Page 18: ...16 Owner s Guide PCC 100 PCC 200 TRAINING AND INSTALLATION NOTES ...

Page 19: ...e does not include accidental damage or misuse After one year from date of original consumer purchase Perimeter will at our option repair replace or upgrade the defective component at a fixed rate based on the component for the life of the original owner Owner must provide proof of purchase Cost of shipping is not covered under the limited lifetime warranty Some shipping charges may apply Perimeter...

Page 20: ...eter Technologies Inc 1 866 900 2007 www buyperimeter com 2008 Perimeter Technologies Inc All rights reserved Our products are covered by U S Patent Numbers 5 460 124 5 682 839 6 296 776 13010019 Rev B 0908 ...

Reviews: