Maintenance
166
Replacing the Plasma Induction Plates
Plasma Induction Plates
Regularly inspect the plasma induction plates. It should not show any signs of
deforming or pitting.
If your lab has high humidity, check the plasma induction plates to make sure it is
dry. Use a soft dry cloth to dry the plasma induction plates if necessary. Contact your
Perkin Elmer Service Representative to replace and adjust the plasma induction
plates.
Replacing the Plasma Induction Plates
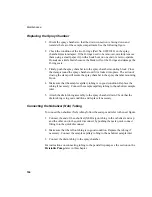
The plasma induction plates may need to be replaced occasionally as a result of
overheating, pitting, or arcing. Contact your Perkin Elmer Service Representative to
replace the plasma induction plates Replace with a new plasma induction plates and
tighten the Brass Swagelok nuts until hand-tight then tighten an additional 1/4 turn.
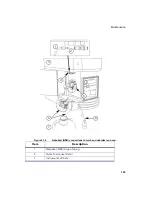
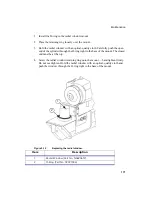
4
Quick Disconnect
5
Nebulizer (NEB) Argon Tubing
6
Drain Tubing
7
Waste Vessel
8
Sample Capillary Tubing
Table 5-2.
Replacement Parts: Torch Module
Part No.
Description
N0690770
Dry Aerosol Adapter
N0780131
Quartz Torch
N0770343
Long Torch (for organics and high dissolved solids)
N0770438
O-Ring Kit for Injector Adapter
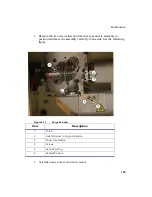
Item
Description
Summary of Contents for OPTIMA 8000
Page 1: ...OPTIMA 8000 Customer Hardware and Service Guide ICP OPTICAL EMISSION Return to Document Menu...
Page 2: ......
Page 3: ...Optima 8000 Customer Hardware and Service Manual...
Page 12: ...Contents 10...
Page 18: ...16 Indicates the ON position of the main power switch Indicates alternating current...
Page 24: ...22 Figure C Location of warning labels in the sample compartment 1 2...
Page 28: ...26...
Page 29: ...Safety Practices 1...
Page 49: ...Preparing Your Laboratory 2...
Page 61: ...Preparing Your Laboratory 60...
Page 62: ...System Description 3...
Page 89: ...Installation 4...
Page 136: ...Maintenance 5...
Page 241: ...Troubleshooting 6...
Page 264: ...Error Messages 7...
Page 284: ......


