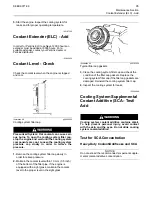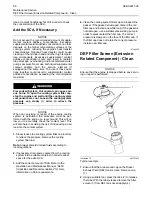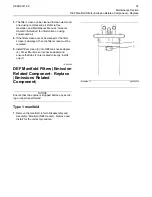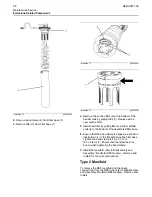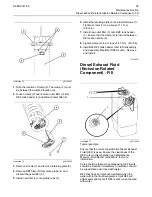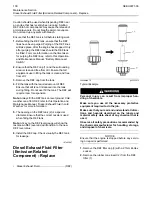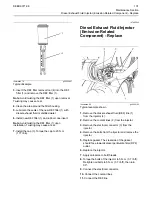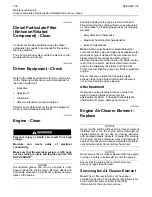
6.
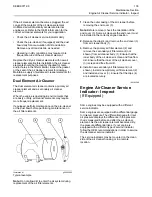
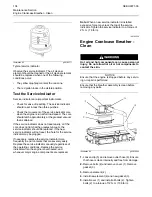
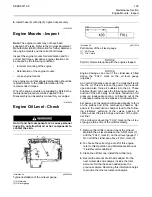
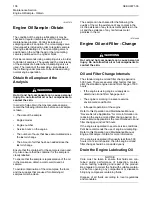
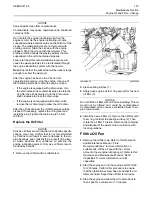
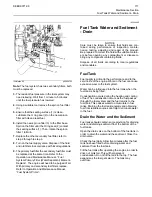
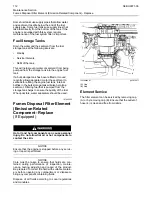
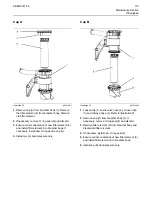
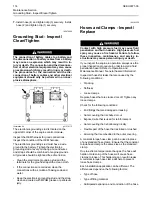
Install hose (6) with clip (5), tighten clip securely.
i07819538
Engine
Mounts
-
Inspect
Note:
The
engine
mounts
may
not
have
been
supplied
by
Perkins.
Refer
to
the
Original
Equipment
Manufacturer
(OEM)
information
for
further
details
on
the
engine
mounts
and
the
correct
bolt
torque.
Inspect
the
engine
mounts
for
deterioration
and
for
correct
bolt
torque.
Excessive
engine
vibration
can
be
caused
by
the
following
conditions:
• Incorrect mounting of the engine
• Deterioration of the engine mounts
• Loose engine mounts
Any engine mount that shows deterioration should be
replaced. Refer to the OEM information for the
recommended torques.
When the engine mounts are supplied by Perkins the
maintenance procedure will be supplied in the
Disassembly and Assembly manual for your engine.
i07460055
Engine
Oil
Level
-
Check
Hot oil and hot components can cause personal
injury. Do not allow hot oil or hot components to
contact the skin.
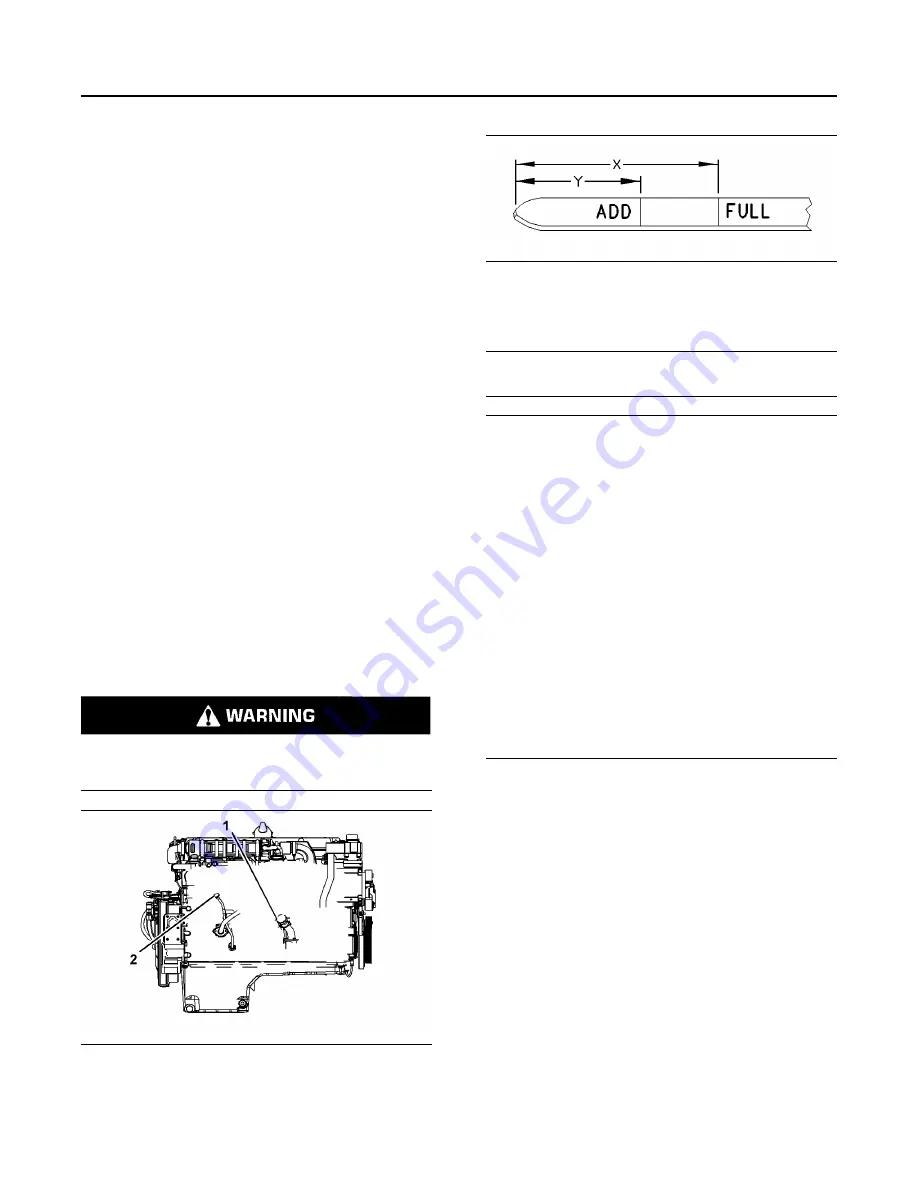
Illustration 84
g02455244
Typical installation of the oil level gauge
(1) Oil filler cap
(2) Oil level gauge
Illustration 85
g00110310
Partial view of the oil level gauge
(Y)
“
ADD
”
mark
(X)
“
FULL
”
mark
NOTICE
Perform this maintenance with the engine stopped.
NOTICE
Engine damage can occur if the crankcase is filled
above the
“
FULL
”
mark on the oil level gauge
(dipstick).
An overfull crankcase can cause the crankshaft to dip
into the oil. This will reduce the power that is devel-
oped and also force air bubbles into the oil. These
bubbles (foam) can cause the following problems: re-
duction of the oil's ability to lubricate, reduction of oil
pressure, inadequate cooling, oil blowing out of the
crankcase breathers and excessive oil consumption.
Excessive oil consumption will cause deposits to form
on the pistons and in the combustion chamber. De-
posits in the combustion chamber lead to the follow-
ing problems: guttering of the valves, packing of
carbon under the piston rings and wear of the cylin-
der liner.
If the oil level is above the
“
FULL
”
mark on the oil lev-
el gauge, drain some of the oil immediately.
1.
Remove the oil filler cap and check the oil level.
Maintain the oil level between the
“
ADD
”
mark (Y)
and the
“
FULL
”
mark (X) on the oil level gauge (1).
Do not fill the crankcase above
“
FULL
”
mark (X).
2.
To choose the correct type of oil for this engine,
refer to this Operation and Maintenance Manual,
“Fluid Recommendations”.
3.
Clean the oil filler cap. Install the oil filler cap.
4.
Record the amount of oil that is added. For the
next oil sample and analysis, include the total
amount of oil that has been added since the
previous sample. Recording this information helps
to provide the most accurate oil analysis.
SEBU9071-06
105

