10-2
Upgrading RPS Firmware
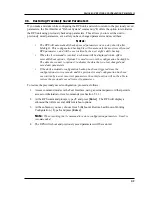
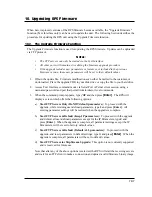
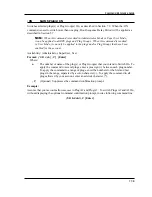
4. To proceed with the upgrade, select the desired option. The RPS will display a message
that indicates that the unit is waiting for data. Leave the current Telnet client session
connected at this time.
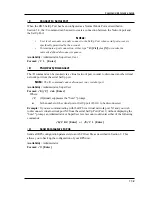
5. Open your FTP application and (if you have not already done so,) login to the RPS unit,
using a username and password that permit access to Administrator level commands.
6. Transfer the md5 format upgrade file to the RPS.
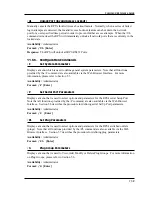
7. After the file transfer is complete, the RPS will install the upgrade file and then reboot
itself and break all port connections. Note that it will take approximately 10 minutes to
complete the installation process. The unit will remain accessible until it reboots.
a) Some FTP applications may not automatically close when the file transfer is complete.
If this is the case, you may close your FTP client manually after it indicates that the
file has been successfully transferred.
b) When the upgrade process is complete, the RPS will send a message to all currently
connected network sessions, indicating that the RPS is going down for a reboot.
Note:
Do not power down the RPS unit while it is in the process of installing the
upgrade file. This can damage the unit's operating system.
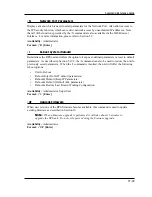
8. If you have accessed the RPS via the Network Port, in order to start the FTP servers, the
RPS will break the network connection when the system is reinitialized.
• If you initially selected "Start FTP Servers and Save Parameters", you may then
reestablish a connection with the RPS using your former IP address.
• If you initially selected "Start FTP Servers and Default Parameters", you must then
login using the RPS’s default IP address (Default = 192.168.168.168) or access
command mode via Serial Port 1 or 2 or via Modem.
When firmware upgrades are available, the necessary files will be provided to the user or offered
via download. At that time, an updated Users Guide or addendum will also be available.

