© 2008
7
24” C-Series Operation / Installation Manual
SUPPORT
-Plastic Putty Knife
NOTE: Changing the door mount is not advisable if you have a door with custom wood overlay.
-Hinge Kit from Perlick
-Regular Phillips-Head Screwdriver
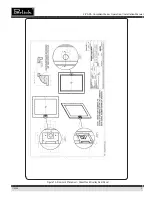
PROCEDURE FOR SWITCHING DIRECTION OF DOOR SWING
ON PERLICK C-SERIES, 15 INCH, AND SIGNATURE SERIES CABINETS
doing so may result in having a handle that is in an undesirable position.
Required:
-Large Flat-Head Screwdriver
HINGE KITS
Part number 67439R to switch to Right Hinging
Part number 67439L to switch to Left Hinging
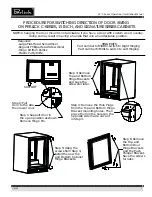
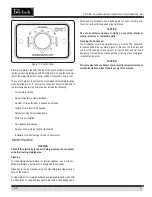
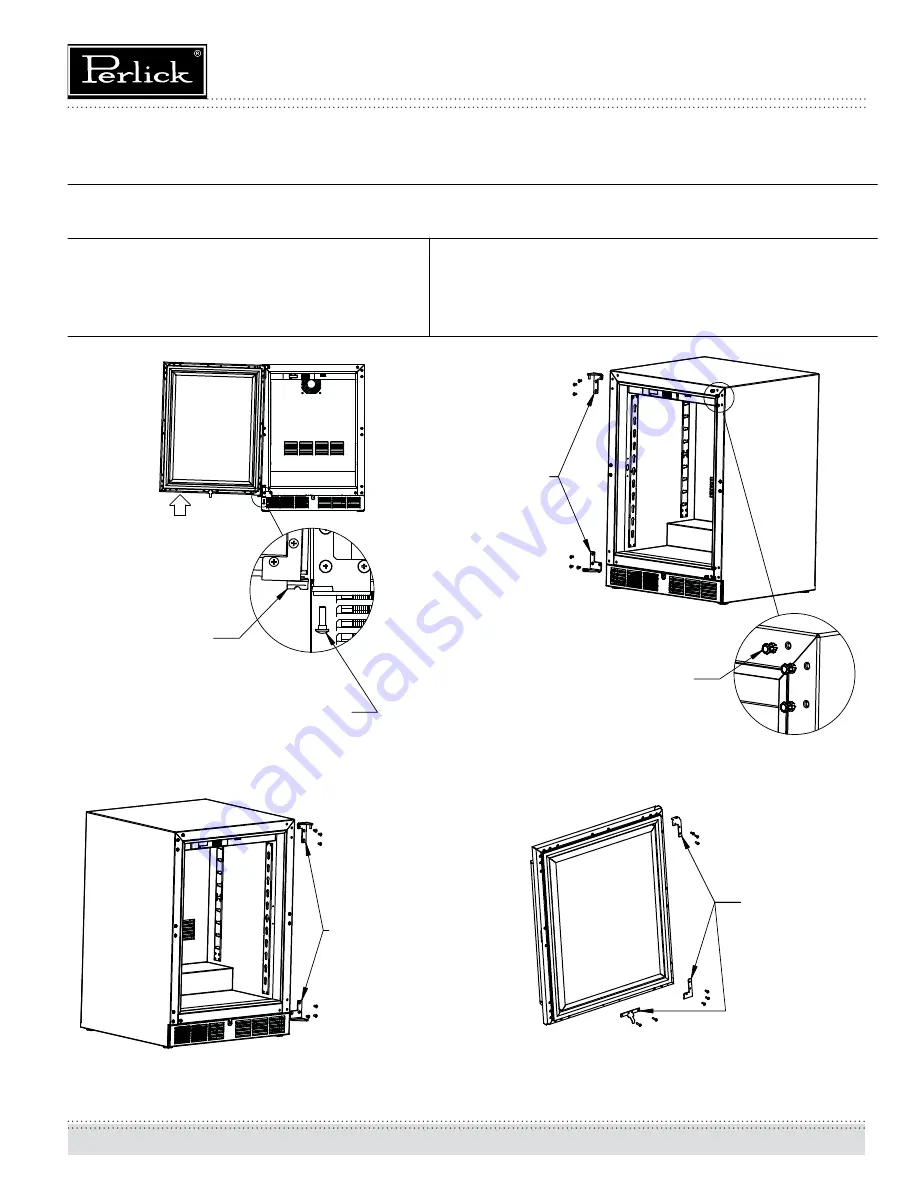
Step 1: Support door in
the open position as shown.
Remove Hinge Pin.
Step 2: Pull
door to the side,
then lower door.
Step 3: Remove
Top and Bottom
Hinge Brackets
and save the
screws for later.
Step 4: Remove the Hole Plugs
from the Top and Bottom Hinge
Bracket mounting holes. Then
place them in the holes on the
opposite side made vacant
in Step 3.
Step 5: Using the
screws from Step 3,
install the new Top
and Bottom Cabinet
Hinge Brackets.
Save the screws
for later.
Plunger Bracket.
Step 6: Remove
the Top and
Bottom Door
Hinge Brackets
and the Push


