18
Shock absorbers
Shock absorbers
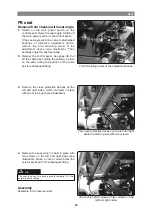
The shock absorbers may be fitted in two different
positions, a standard position(suitable for all
users) and a position that produces slightly softer
suspension(recommended for user’s with a body
weight of 150 lbs or less).
Removal
1.
Raise the seat; seat elevator to the highest
position; fixed seat tube to the service position.
See page 24. If the seat elevator does not work
normally because the batteries are discharged
or the actuator is defective, the seat can be
raised/lowered manually. See page 22.
2.
Switch off the main power switch on the control
panel.
3.
Remove the chassis cover. See page 8.
4.
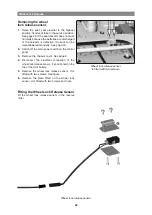
Lift up and chock up the wheelchair chassis
so that the wheel in question is free of the
ground.
5.
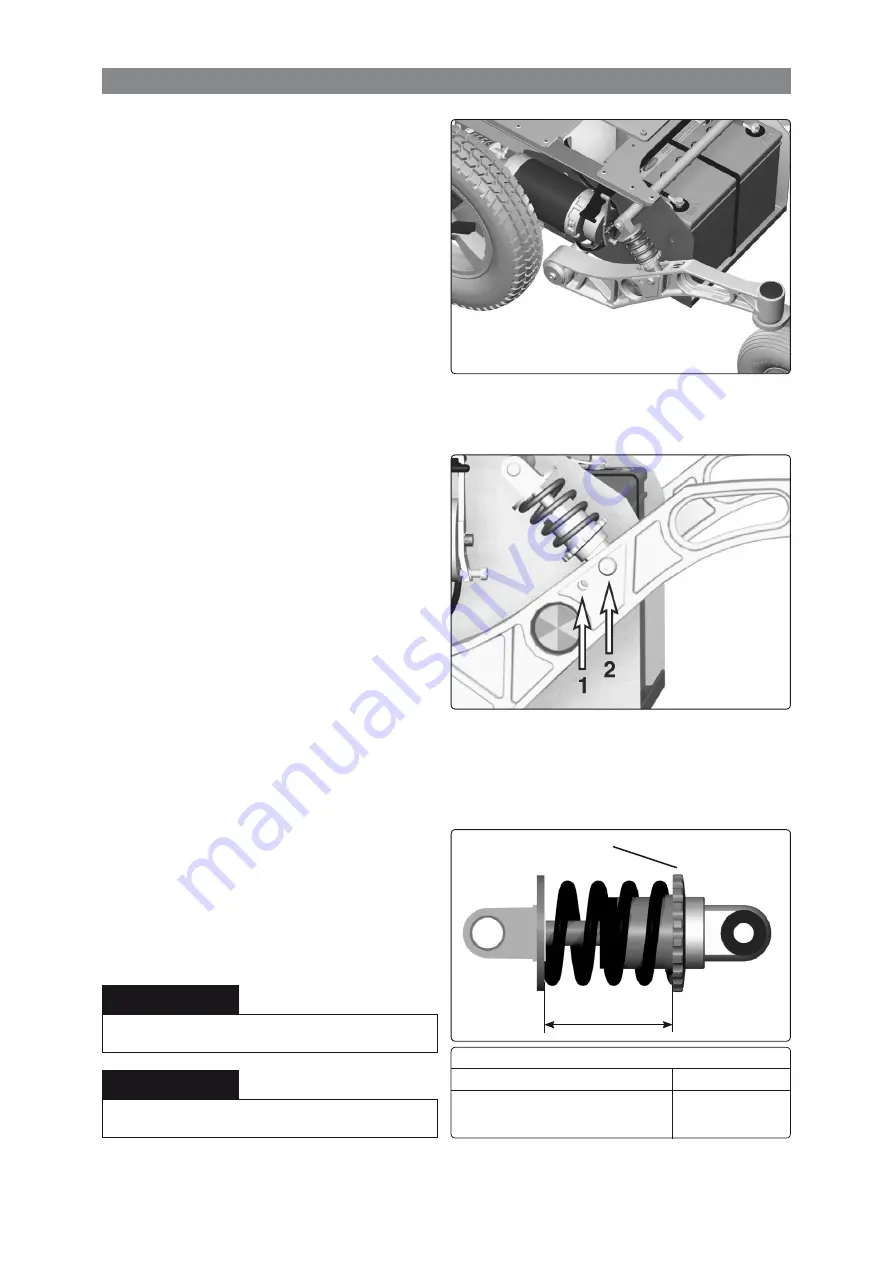
Unscrew and remove the two screws that hold
the shock absorber in place. See figure.
Fitting
1.
Fit the shock absorber on the chassis with
screws and washers.
2.
Using screws, washers and nuts, fit the other
end of the shock absorber in the position on
the link arm that suits the user best.
3.
Fit the chassis cover. See page 8.
4.
Lower the seat to its normal height.
adjustment
The shock absorber’s spring force should be
adjusted to the correct value; see figure.
The spring force can be adjusted for various
user weights with the adjusting nut. Reduce
the adjustment distance for harder suspension;
increase the adjustment distance for softer
suspension.
Adjustment can be done with the shock absorber
mounted in the chassis, but make sure the
wheelchair isn’t under influence of any load.
Shock Absorber
Adjustment of shock absorber spring.
Shock Absorbers fitted in standard position.
1 2
User weights
Setting
adjustment of shock absorber spring
0 - 220 Ib.
Above 220 Ib. (Standard)
1 29/32 inch (48 mm)
1 13/16 inch (46 mm)
adjustment nut
Setting
Do not have any load in the wheelchair when adjusting.
m
nOTE
Never adjust the spring to a setting less then 46 mm.
m
nOTE
Summary of Contents for C300
Page 1: ...SERVICE MANUAL Permobil K C300 Power wheelchair US ...
Page 2: ......
Page 62: ...62 Cabling overview A B C D E F 1 2 3 4 ...
Page 63: ...63 Cabling overview Cabling overview R net A B C D E F 5 6 7 8 ...
Page 64: ...64 Cabling overview A B C D E F 1 2 3 4 ...
Page 65: ...65 Cabling overview Cabling overview VR2 A B C D E F 5 6 7 8 ...
Page 67: ......
Page 68: ...Order no 205221 US 0 ...

