25
SLS Drive stage
SLS Drive stage
Removal
1.
Run the seat up to its highest position.
See page 7 for instructions to raise seat
manually.
2.
Switch off the main power switch on the
control panel.
3.
Put the circuit breaker in the “OFF” position,
see page 30, fig.66.
4.
Detach the seat lift and chassis covers,
see page 8.
5.
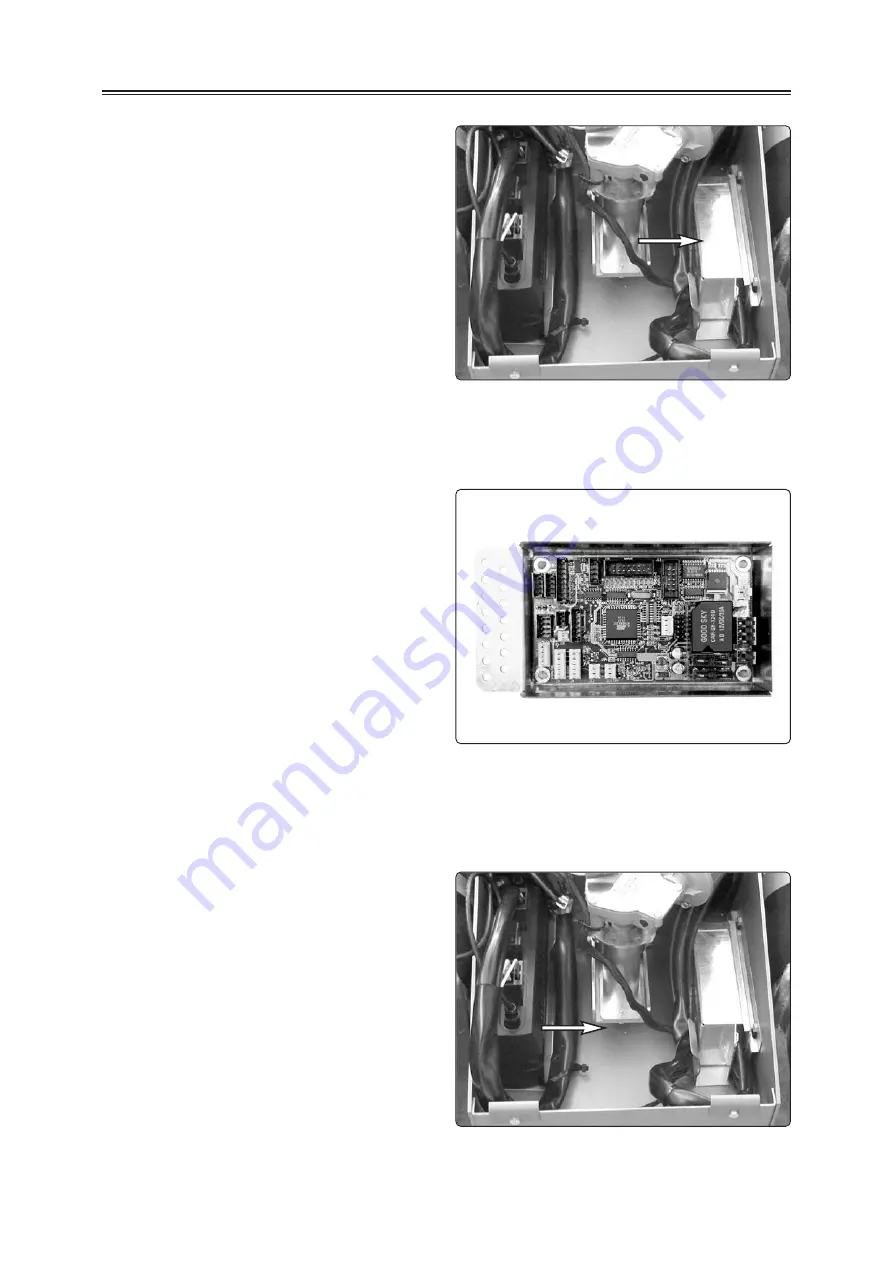
Lift the SLS Drive out of its holder, see fig. 53.
6.
Draw the cover off of the SLS Drive.
7.
Clip loose the wiring bundle tie holding the
cables and loosen the electrical connections.
Take note of their placement for purposes of
later remounting.
8.
Detach the card from the case by loosening
the four plastic clips at the corners of the card.
The fasteners can also take the form of two
screws in the middle of the card.
Fitting
Fitting is performed in reverse order.
NOTE!
Make sure that no cables are to be found
in the area under the seat lift by the seat lift's drive
belt, see fig. 55.
Fig. 53. The SLS Drive sits in its container
without fastening screws.
Fig. 55. Make sure that no cables are to
be found in the area under the seat lift
by the seat lift's drive belt.
Fig. 54. SLS Drive.
Summary of Contents for Chairman 2k
Page 1: ...SERVICE MANUAL Chairman 2k 2s US ...
Page 2: ......
Page 32: ...32 Distribution chart A B C D E F 1 2 3 4 ...
Page 33: ...33 Distribution chart Distribution chart A B C D E F 5 6 7 8 ...
Page 37: ......
Page 38: ......
Page 39: ......
Page 40: ...Article no 201158 US 0 ...


