Power steering (adjustment)
35
Adjustment of power steering
1.
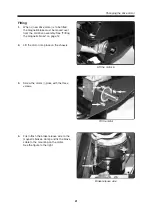
Remove the locking clamp and loosen the
ball joint furthest out on the steering wire
from the steering arm.
Power steering (adjustment)
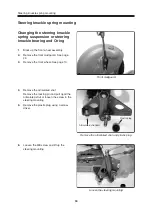
Power steering
Adjustment in front wheel assembly
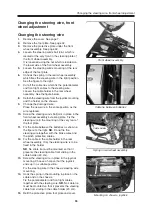
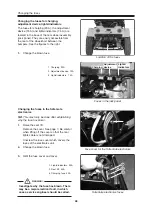
Power steering in end position
Power steering in end position
Locking clamp
3.
Turn the front wheels fully to the left so that
the steering wire is in its innermost position.
Run the adjustment device electrically in to
its end position.
Check that the steering wire's ball joint
passes the ball on the steering arm by at
least 5 mm. See the figure to the right.
4.
If the ball joint does not pass the ball of the
power steering in both end positions, adjust it
on the steering wire.
Remove the foot plate. See page 32.
Loosen the locking nuts at both ball joints of
the steering wire and thread the ball joints in
or out. Adjustment must take place both in
the front wheel assembly and at the power
steering.
NB.
The wire must engage with the ball joint
with at least 4 threads to ensure that the
connection holds.
Tighten the locking nuts after adjustment and
check that the steering wire's ball joint
passes the end positions of the power
steering. See 1-3 above.
Reattach the steering wire to the steering
arm and the steering triangle of the front
wheel assembly.
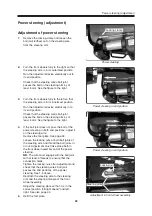
Adjust the steering plate so that it is in the
correct position "straight ahead" and left,
right. See also page 30.
5.
Refit the foot plate.
2.
Turn the front wheels fully to the right so that
the steering wire is in its outermost position.
Run the adjustment device electrically out to
its end position.
Check that the steering wire's ball joint
passes the ball on the steering arm by at
least 5 mm. See the figure to the right.
Locking nut
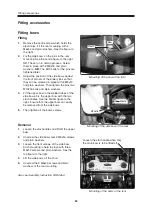
Steering plate
Summary of Contents for Trax
Page 1: ...SERVICE MANUAL Trax US ...
Page 2: ......
Page 57: ...57 Notes ...
Page 60: ......
Page 61: ......
Page 62: ......
Page 63: ......
Page 64: ...Order no 201096 US 0 ...

