41
Changing the pinch protection switch
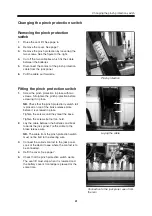
Removing the pinch protection
switch
1.
Raise the seat lift. See page 6.
2.
Remove the cover. See page 7.
3.
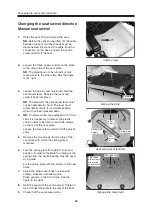
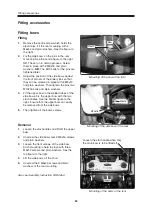
Remove the pinch protection by loosening the
two screws. See the figure to the right.
4.
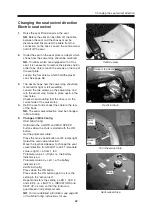
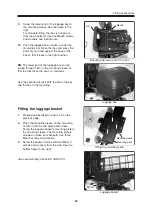
Cut off the two cable ties which fix the cable
between the batteries.
5.
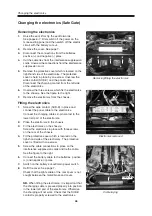
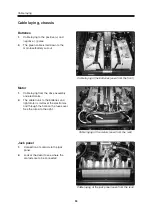
Disconnect the contact of the pinch protection
cable from the jack panel.
6.
Pull the cable out forwards.
Changing the pinch protection switch
Pinch protection
Laying the cable
Connection to the jack panel, seen from
the rear
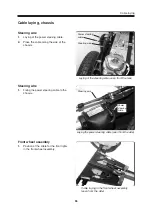
Fitting the pinch protection switch
1.
Screw the pinch protection in place with two
screws. Straighten the pinch protection before
screwing it in place.
NB.
Check that the pinch protection's switch roll
is placed on top of the brake release plate
before it is screwed in place.
Tighten the screws until they meet the base.
Tighten the screws but not too hard.
2.
Lay the cable between the batteries and back
towards the jack panel. Tie the cable to the
brake release wire.
NB.
The cable from the pinch protection switch
must not be tied to the steering wire.
3.
Connect the cable's contact to the jack panel.
Look at the decal to see where the contact is to
be connected.
4.
Refit the cover. See page 7.
5.
Check that the pinch protection switch works.
The seat lift must stop when it is lowered and
the battery cover's front edge is pressed at the
same time.
Summary of Contents for Trax
Page 1: ...SERVICE MANUAL Trax US ...
Page 2: ......
Page 57: ...57 Notes ...
Page 60: ......
Page 61: ......
Page 62: ......
Page 63: ......
Page 64: ...Order no 201096 US 0 ...


