Changing the electronics
46
Removing the electronics
1.
Raise the seat lift or tip the seat forwards.
See pages 6-7. First switch off the power on the
manoeuvring panel and then switch off the electric
circuit with the battery cut-out.
2.
Remove the cover. See page 7.
3.
Disconnect the connections from the batteries
positive (+) and negative (-) poles.
4.
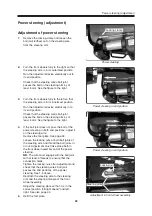
Cut the cable ties from the interference suppression
cards. Unscrew the connections from the interference
suppression card.
5.
Remove the protective cover which is located on the
right-hand side of the electronics. The protective
cover is held in place by one screw. Unscrew the
wide contact (SUB-D) and the panel cable.
Disconnect the charging contact from the left side
of the electronics
6.
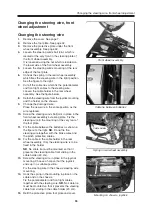
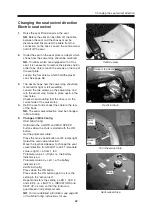
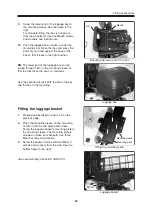
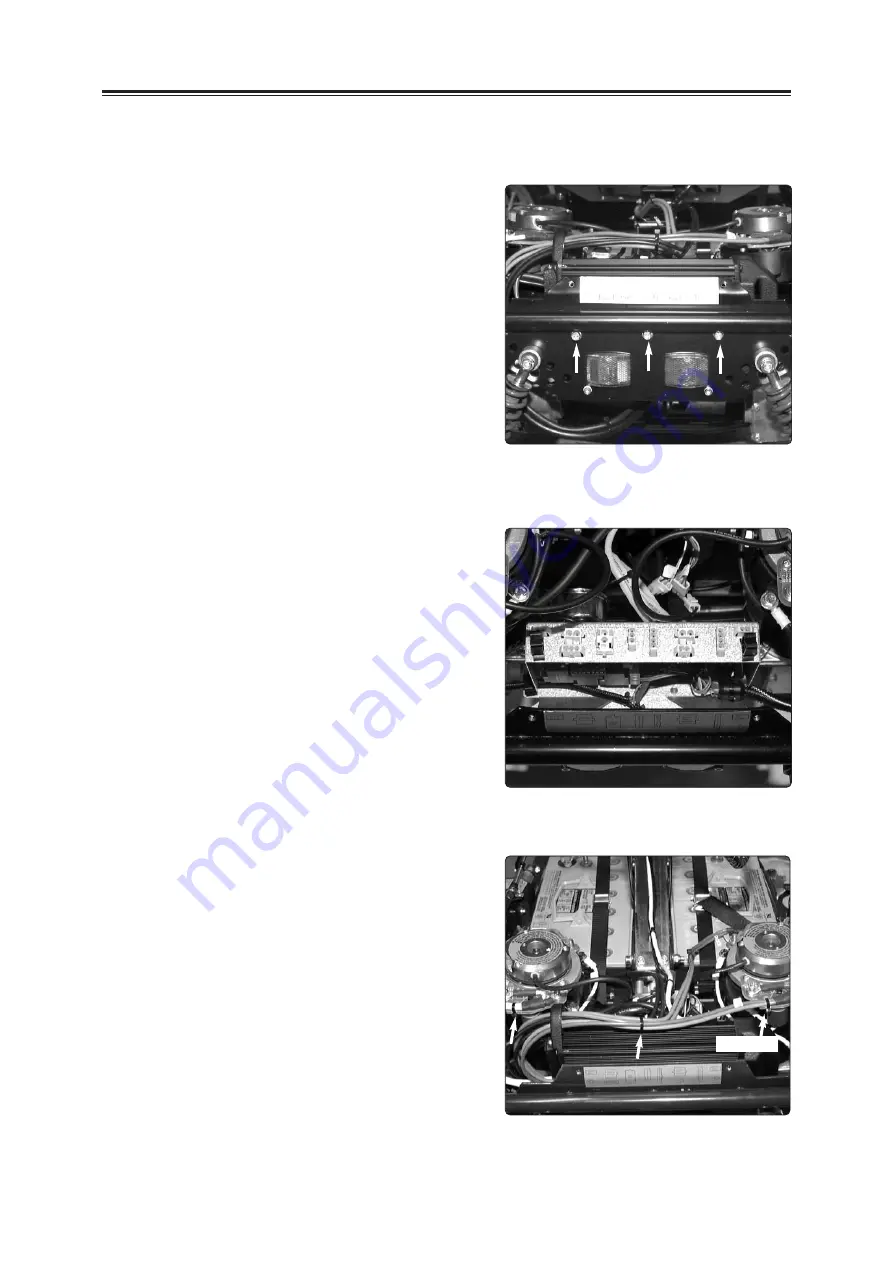
Unscrew the three screws which fix the electronics
to the chassis. See the figure to the right.
7.
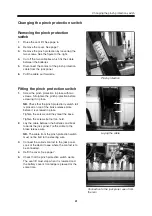
Remove the electronics from the chassis.
Changing the electronics (Safe Gate)
Removing/fitting the electronics
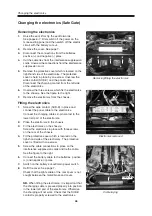
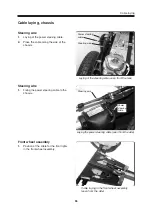
Cable laying
Electronics removed
Fitting the electronics
1.
Screw the wide contact (SUB-D) in place and
connect the panel cable to the electronics.
Connect the charging cable's 2-pin contact to the
lower left part of the electronics.
2.
Place the electronics in the chassis.
3.
Fit the electronics on the chassis.
Screw the electronics in place with three screws
on the rear of the chassis.
4.
Fit the protective cover which is located on the
right-hand side of the electronics. The protective
cover is fitted with one screw.
5.
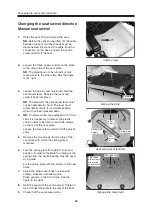
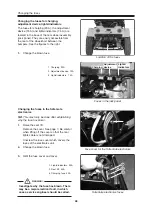
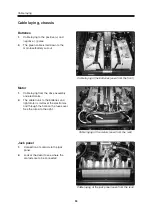
Screw the cable connections in place on the
interference suppression cards and tie the cable.
See the figure to the right.
6.
Connect the battery cable to the batteries positive
(+) and negative (-) poles.
7.
Switch on the battery cut-out/main power switch.
8.
Refit the cover. See page 7.
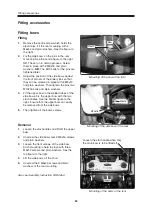
Check that the lights cable of the rear cover is not
caught between the motor/brake and cover.
NB.
When fitting the electronics, it is important that
the charging cable is pressed properly into position
in the lower left part of the electronics. Otherwise
the charging will not work. Check that the SUB-D
contact is properly screwed to the electronics.
Cable tie
Summary of Contents for Trax
Page 1: ...SERVICE MANUAL Trax US ...
Page 2: ......
Page 57: ...57 Notes ...
Page 60: ......
Page 61: ......
Page 62: ......
Page 63: ......
Page 64: ...Order no 201096 US 0 ...


