Fitting accessories
52
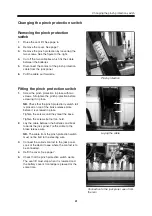
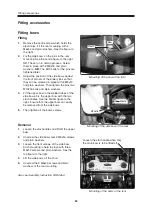
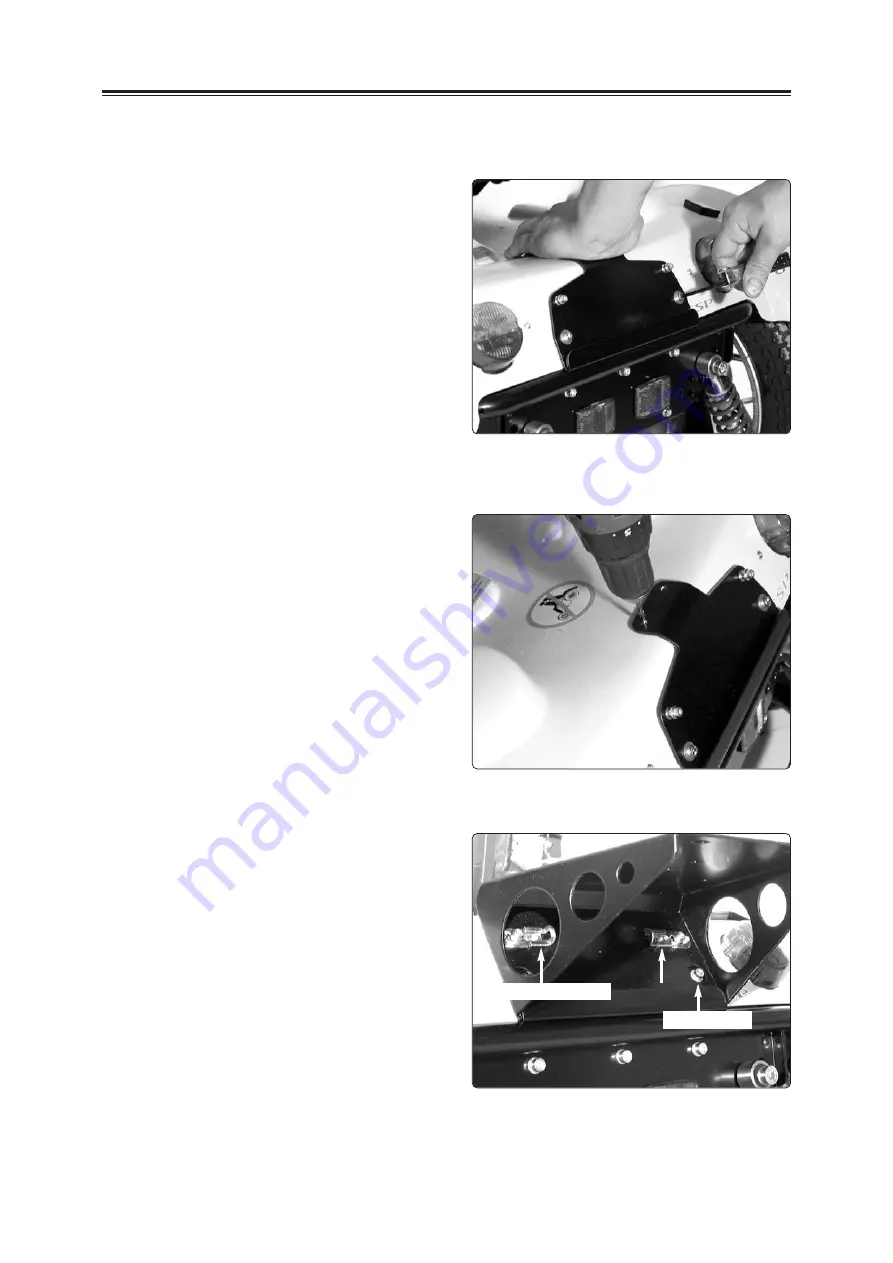
Fitting the luggage box/basket
Fitting
1.
Remove the rear cover screws. Remove the
oval Permobil decal. This does not apply to
the recessed decal.
2.
Press the mounting down against the cover
so that it touches the cover. Then screw the
mounting in place in the two lowest holes.
See the figure to the right.
Use M5x16 galvanised screws.
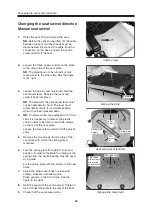
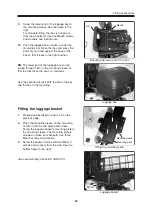
3.
Drill through the mounting and cover with a
free-running bit (4 mm). Be careful not to
damage the threads in the hole on the
mounting.
WARNING!
Drilling entails a risk of material
damage. Be careful of the electronics and
cable under the cover. Do not drill too deeply
as this could damage the cable or electronics.
4.
Remove the cover. See also page 7.
Raise the seat to its highest position. If the
seat is equipped with a fixed seat tube,
unscrew the rear Allen screw and tip the seat
forwards. Unscrew and remove the four
screws which hold the cover. Lift off the
cover and remove the mounting.
NB.
Be careful of the cable which goes to the
rear lights. Disconnect the contact which is
connected to the jack panel.
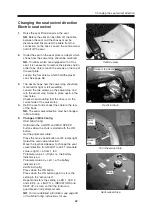
5.
Drill up the two other newly-drilled holes for
the mounting in the cover with a 5.5 mm bit.
6.
Screw the mounting to the cover with M5x16
screws and 5.3x12x1 washers in the top
holes on the mounting. See the upper figures
to the right.
Fix the screws from beneath the cover with
M5 locking nuts and large 5.3x15x1.5
washers.
7.
Refit the cover. See page 7.
NB.
Do not forget to connect the lighting
cable.
NB.
The rear lighting cable must not be laid
over any of the drive motors. There is a risk
that the cable will become caught between
the motor/brake and the cover.
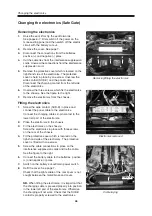
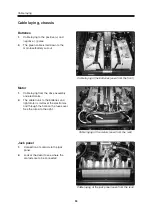
8.
Position the mounting sleeve and fix it with
the two quick-action locks.
The rear cover screws fix the mounting's
lower part. See the figure to the right.
Fixing the mounting
Drilling the cover
Quick-action lock which fixes the mounting sleeve
Quick-action lock
Cover screw
Summary of Contents for Trax
Page 1: ...SERVICE MANUAL Trax US ...
Page 2: ......
Page 57: ...57 Notes ...
Page 60: ......
Page 61: ......
Page 62: ......
Page 63: ......
Page 64: ...Order no 201096 US 0 ...


