background image

 www.petsafe.net

 19

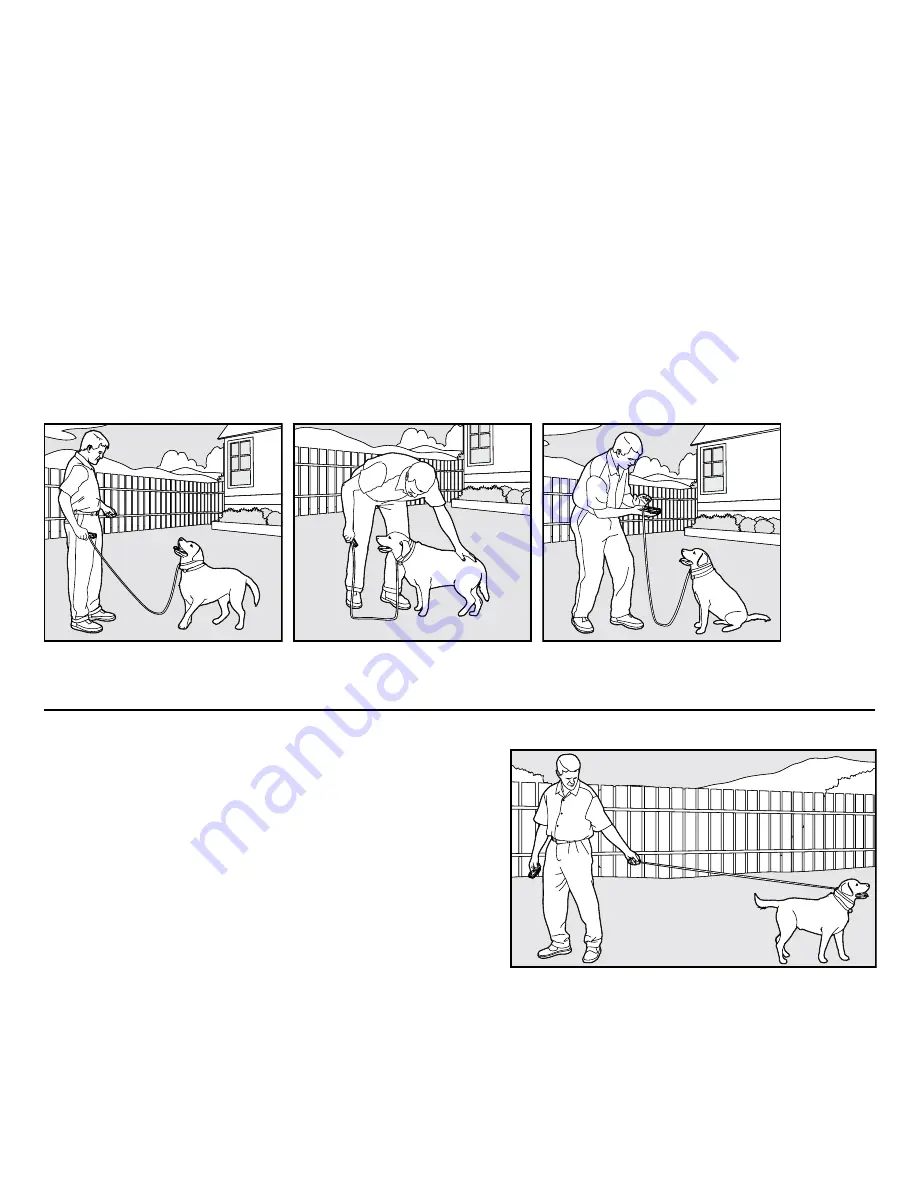
Teaching Basic Obedience

The “Sit” Command

1. Put a separate, non-metallic collar on your pet’s neck ABOVE the Receiver Collar, and attach 

a 10-foot leash. 

Note: Be sure the extra collar does not put pressure on the Contact Points.

2. Hold the leash and the Remote Transmitter in one hand. Keep your other hand free to guide 

your pet into a “Sit” position.

3. Press and hold the Stimulation button.
4. Immediately give the “Sit” command while continuing to hold the Stimulation button.
5. Release the Stimulation button as soon as your pet is in position, and praise him.
6. Release your pet from the “Sit” command and play.
7. Repeat Steps 2 through 6.

Note: If your pet breaks the “Sit” command, repeat steps 3 through 6. Keep your pet close to 
you while teaching the “Sit” command.

The “Come” Command

1.  Put a separate, non-metallic collar on your pet’s 

neck ABOVE the Receiver Collar, and attach a 10-
foot leash. 

Note: Be sure the extra collar does not 

put pressure on the Contact Points.

2.  Hold your leash in one hand and the Remote 

Transmitter in the other.

3.  Wait for your pet to walk away from you. Using the 

Recognition Level for your pet, press and hold the 
Stimulation button on your Remote Transmitter.

4.  Immediately give the command “Come” while 

continuing to hold the Stimulation button.

Summary of Contents for ADD-A-DOG PAC00-13631

Page 1: ... A DOG PAC00 13631 Big Dog ADD A DOG PAC00 13632 PLEASE READ THIS ENTIRE GUIDE BEFORE BEGINNING Elite Remote Trainers operating and training guide Little Dog Model Number PDT00 13623 Big Dog Model Number PDT00 13625 ...

Page 2: ...raining Your dog should be on a strong leash long enough for him to attempt to chase an object but short enough for him not to reach a road or other unsafe area You must also be physically strong enough to restrain your dog when he tries to chase Risk of skin damage Please read and follow the instructions in this manual Proper fit of the collar is important A collar worn for too long or made too t...

Page 3: ...fter some time that your pet is very tolerant of the collar If so you may relax some of these precautions It is important to continue daily checks of the contact area If redness or sores are found discontinue use until the skin has fully healed PetSafe Remote Trainers must be used only on healthy dogs We recommend that you take your dog to a veterinarian before using the collar if he is not in goo...

Page 4: ... s full warranty and should you ever need to call the Customer Care Center we will be able to help you faster Most importantly PetSafe will never give or sell your valuable information to anyone Complete warranty information is available online at www petsafe net Table of Contents Components 5 Other Items You May Need 5 How the System Works 6 Features 6 Key Definitions 6 Operating Guide 9 Prepare ...

Page 5: ...iability 26 Compliance 27 Perchlorate Battery 28 Components Remote Transmitter Test Light Tool Charging Adapter Operating and Training Guide Little Dog Receiver Collar Big Dog Receiver Collar Wrist Strap Other Items You May Need Scissors Lighter Non metallic collar and 10 foot leash ...

Page 6: ...ge may vary Terrain weather vegetation transmission from other radio devices and other factors will affect the maximum range Features 400 or 1000 Yard Range 15 levels of correction plus a 2 Boost button Every Elite Remote Training system is 2 dog compatible Rechargeable Batteries in both the Remote Transmitter and Receiver Collar Waterproof Remote Transmitter and Receiver Collar Key Definitions Re...

Page 7: ...through a range of levels from High 15 to Low 1 Also becomes the Stimulation Button in Two Dog Mode Note See Two Dog System on page 14 for Dog 2 mode 2 Boost Red Delivers continuos stimulation that is 2 levels higher than the currently selected level Note When a Continuous Stimulation button is held for 12 seconds or more the Remote Transmitter will time out The button will need to be released and...

Page 8: ...s keep the covers in place when not charging to keep debris out of the openings Continuous Stimulation You control when and how long Stimulation is delivered to your dog through the Receiver Collar s Contact Points When a Continuous Stimulation button is pressed for 12 seconds or more the Remote Transmitter will time out The button will need to be released and pressed again before additional Stimu...

Page 9: ...n frequency of use Charger connector placed in the Handheld Transmitter Charging Jack Turning ON the Transmitter Power up the Transmitter by pressing any button You will see the display turn on when you press any button Transmitter Digital Display The display stays on for 1 minute after a button is pressed After 1 minute with no buttons pressed the display shuts off and the Transmitter goes into b...

Page 10: ...eceiver When the Battery Indicator shows the low battery symbol 1 6 capacity recharge your Transmitter soon When the battery outline is displayed the Transmitter s battery is unable to power transmissions to the Receiver Transmitter must be recharged to regain operation Remote Transmitter Functions for Dog 1 Transmitter Function Button Color Digital Display Response Upper Left Button Green Tone On...

Page 11: ...r Collar On 1 Press and hold the On Off button until the Green LED comes on and the Receiver Collar beeps low to high 2 Release the On Off button The Green LED will flash once every 5 seconds until the Receiver Collar is turned off The flashing light indicates the Receiver Collar is ready to receive a radio signal from the Remote Transmitter 3 Once the Receiver Collar has been turned on press the ...

Page 12: ...ithium Ion batteries are not memory sensitive and do not require depletion before charging The batteries come partially charged from the factory but will require a full charge 4 5 hours before the first use Remember always keep batteries away from flame When storing the unit for long periods remember to regularly give batteries a full charge 3 4 hours This should be done once every 4 to 6 weeks Th...

Page 13: ...k of skin irritation 4 Check the tightness of the Receiver Collar by inserting one finger between the collar and your dog s neck 3C The fit should be snug but not constricting 3C 3B 5 Allow your dog to wear the Receiver Collar for several minutes then recheck the fit Check the fit again as your dog becomes more comfortable with the Receiver Collar Note If your dog is young and you expect him her t...

Page 14: ...hread the Little Dog Receiver Collar Ridges Slide Buckle The slide buckle prevents the collar from becoming loose around your pet s neck The ridges must be facing up the collar will slip if it is not properly threaded Two Dog System Note If you wish to add another receiver collar to the training system ADD A DOG collars are available where you bought your training system through our website at www...

Page 15: ...n Dog 1 Stimulation Dog 1 2 Boost Press Boost and the Lower Left Button simultaneously Upper Right Button Dog 2 Tone Lower Right Button Dog 2 Stimulation Dog 2 2 Boost Press Boost and the Lower Right Button simultaneously Dog 1 Dog 2 Correction Levels To change the correction level for Dog 1 or Dog 2 press and hold the 2 Boost for 5 seconds The Dog 1 icon along with it s selected correction level ...

Page 16: ...p when the Upper Left button of the Remote Transmitter is pressed or if the Receiver Collar is not responding to the Remote Transmitter follow these steps 1 With the Receiver Collar off your pet turn the Receiver Collar off 2 Press and hold the On Off button for 5 seconds 3 The Receiver Collar will beep and the LED will flash 4 Press the Tone button 5 The Receiver Collar will respond and pair 6 If...

Page 17: ...e instructions to fit your desired training mode Never use the Remote Trainer to correct or eliminate any form of aggressive behavior We recommend you contact your local veterinarian or professional trainer to determine if your pet might be aggressive See page 2 for more information Teaching Your Pet the Positive Tone Before using the Trainer to correct your pet spend 10 to 15 minutes per day for ...

Page 18: ...our pet continues to show no response at Level 8 check the fit of the Receiver Collar If your pet has long or thick hair contact our Customer Care Center to obtain a longer set of Contact Points Then go back to 1 and repeat the process If this still does not yield any results your pet s hair will need to be trimmed around the Contact Points If all of these steps have been done and your pet continu...

Page 19: ... pet is in position and praise him 6 Release your pet from the Sit command and play 7 Repeat Steps 2 through 6 Note If your pet breaks the Sit command repeat steps 3 through 6 Keep your pet close to you while teaching the Sit command The Come Command 1 Put a separate non metallic collar on your pet s neck ABOVE the Receiver Collar and attach a 10 foot leash Note Be sure the extra collar does not p...

Page 20: ... your leash to prevent your pet from running past you If your pet manages to run past you repeat Steps 3 through 8 The Stay Command 1 Put a separate non metallic collar on your pet s neck ABOVE the Receiver Collar and attach a 10 foot leash Note Be sure the extra collar does not put pressure on the Contact Points 2 Put your pet on his bed Hold your leash in one hand and the Remote Transmitter in t...

Page 21: ... digging to find a cool spot to lie down or simply out of boredom Your pet may no longer have the desire to dig if he is provided with the following A cool shaded area in which to lie down and plenty of water An alternate activity such as a favorite toy Plenty of play exercise and attention A yard free from rodents or prey that he may be trying to flush out 1 Choose the Intensity Level 1 higher th...

Page 22: ...rea You must also be physically strong enough to restrain your dog when he tries to chase 1 If your dog has not mastered the Come command keep a leash on him so you can physically stop him before he reaches the object he is chasing 2 Choose the Intensity Level 1 higher than your dog s Recognition Level 3 Set up a scenario where your dog is enticed to chase an object Common items could be cars moto...

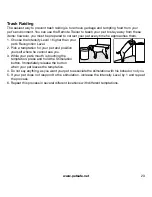
Page 23: ...r pet s Recognition Level 2 Pick a temptation for your pet and position yourself where he cannot see you 3 While your pet s mouth is touching the temptation press and hold the Stimulation button Immediately release the button when your pet leaves the temptation 4 Do not say anything as you want your pet to associate the stimulation with his behavior not you 5 If your pet does not respond to the st...

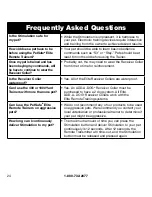
Page 24: ...nt Is the Receiver Collar waterproof Yes All of the Elite Receiver Collars are waterproof Can I use the 400 or 1000 Yard Trainers with more than one pet Yes An ADD A DOG Receiver Collar must be purchased to have a 2 dog system All Elite ADD A DOG Receiver Collars work with the Elite Remote Training systems Can I use the PetSafe Elite Remote Trainers on aggressive pets We do not recommend any of ou...

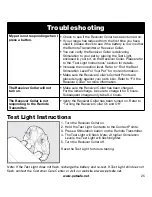
Page 25: ...efer to Fit the Receiver Collar for more information The Receiver Collar will not turn on Make sure the Receiver Collar has been charged For the initial charge be sure to charge it for 5 hours Subsequent charges only take 3 4 hours The Receiver Collar is not responding to the Remote Transmitter Verify the Receiver Collar has been turned on Refer to Turning the Receiver Collar On and Off Test Light...

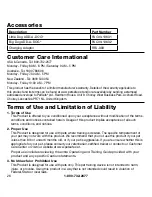
Page 26: ...eptance without modification of the terms conditions and notices contained herein Usage of this product implies acceptance of all such terms conditions and notices 2 Proper Use This Product is designed for use with pets where training is desired The specific temperament of your pet may not work with this product We recommend that you not use this product if your pet is less than 8 lb or under 6 mo...

Page 27: ... and can radiate radio frequency energy and if not installed and used in accordance with the instructions may cause harmful interference to radio communications However there is no guarantee that interference will not occur in a specific installation If interference does occur to radio or television reception which can be determined by turning the equipment off and on the user is encouraged to try...

Page 28: ...on 10427 PetSafe Way Knoxville TN 37932 1 800 732 2677 www petsafe net 400 1461 2008 Radio Systems Corporation Perchlorate Battery Perchlorate Material special handling may apply See www dtsc ca gov hazardouswaste perchlorate ...

Reviews: