Petwalk Solutions GmbH & Co KG
User Guide
Page 20 of 88
Petwalk Solutions GmbH & Co KG
User Guide
Page 20 of 88
8.
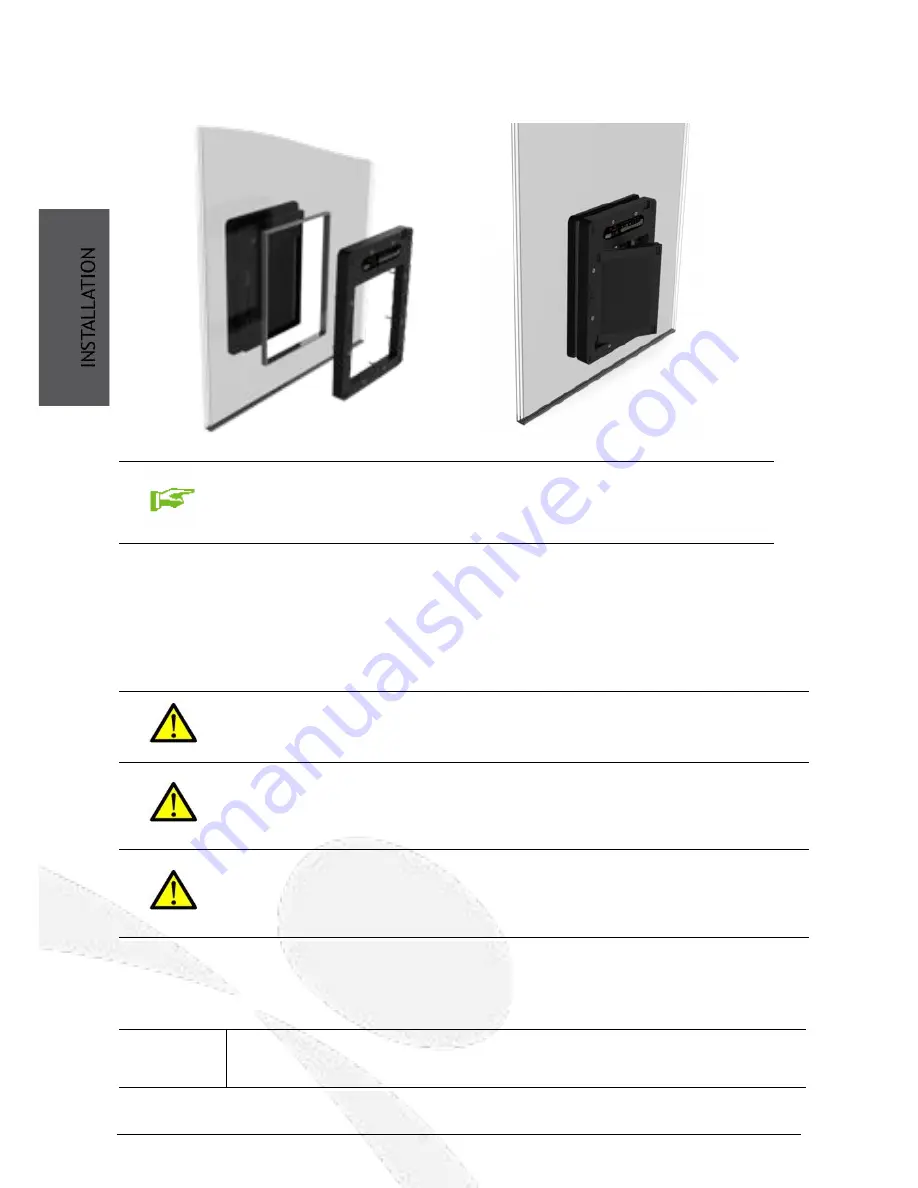
After all three connectors have been plugged in safely and after the power cable has been
connected, gently push the inner frame and the outer frame towards each other.
NOTE!
For this step you need a helping hand. A second person is
required to assist clipping the outer frame firmly until there
is at least
one
mounting screw tightened. Alternatively you
might temporarily fix the outer frame with a duct tape.
9.
Now screw the two frames together carefully by using the 8 M6 x 30 countersunk screws. The
screws must be tightened evenly at all sides. If the petWALK pet door is stuck loose in the
opening, you have to recheck, if the horizontal placement of the door is correct.
10.
Tighten the screws carefully and alternately and check constantly, that there is no tension.
The 3 following safety instructions must be followed.
CAUTION!
By tightening the screws the frame should move smoothly
towards the component. If you notice any tension at the frame,
stop the process!
CAUTION!
Due to the circumferential seals on the inside and outside, the
frame cannot and should not touch the component. There should
be an at least 2-3mm wide gap between the wall and the frame,
where the seal is visible.
CAUTION!
RISK OF BREAKING GLASS! if the screws are tightened too much.
Tighten the screws only so far that the circumferential seals
touch the component and the device can no longer be moved.
You can re-tighten the screws later, if necessary.
11.
You can now connect the power supply.
After a few seconds the display will show the time and the door leaf will be locked.
(
Congratulations: You have successfully completed the installation.
You can now use the device as intended!


