Production
29
10
.01
Sewing – automatic mode
The following work steps assume that the sewing preparations listed in the
"Set-up" chapter have been carried out thoroughly and the machine has been
programmed according to the order.
Turn on the machine at the main switch and wait for it to be ready for operation.
Press the presser foot key and raise the presser foot.
Place the cut-to-size trouser piece under the raised presser foot directly in front of the
needle (attenuated "skip stitch" photo cell).
The cut-to-size piece must always be placed in the same position when the machine is at
a standstill.
Press the presser foot key and lower the presser foot.
The presser foot automatically lowers when you press the treadle and the machine sews
at a fi xed speed (set in P
08
) and possibly with the skip stitch system switched on until
the start cut is made ("Tape cutter" photo cell and the clearance programmed in P
01
).
Switch on the skip stitch system after reaching the appropriate clearance (P
02
).
After cutting the tape, sew with treadle control until the "Skip stitch" photo cell light up
again and the skip stitch system switches on after reaching the clearance in P
03
.
Once the "Tape cutter" photo cell lights up, the machine continues to sew at a fi xed
speed (P
08
) until the fi nal cut clearance (P
04
) is reached and the fi nal cut is made.
Now stop the machine with the needle down and raise the presser foot.
The next piece can be sewn once the treadle is in the neutral position.
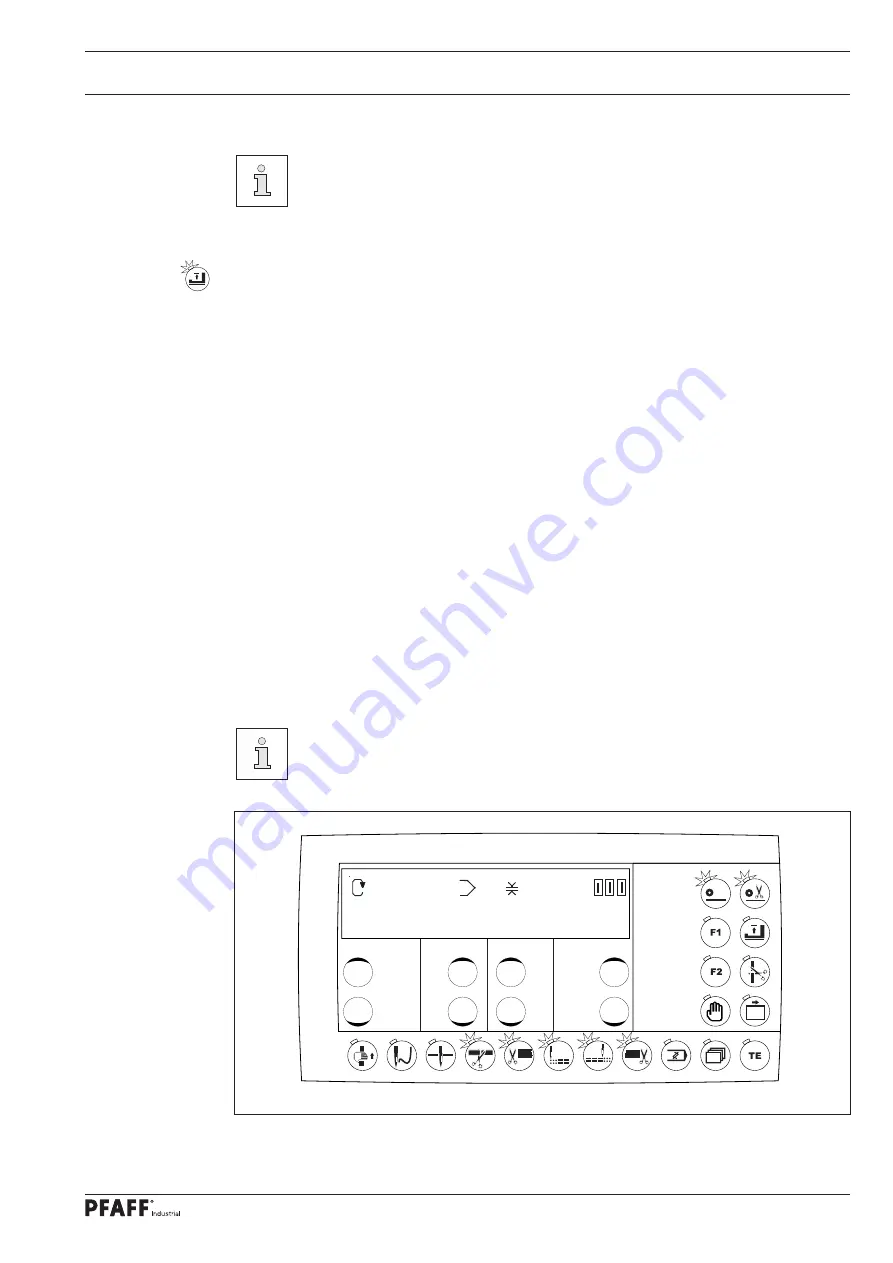
The following keys are switched on in automatic mode, see Fig.
10
-
02
Fig. 10 - 02
3500
1
3,5
2000
00
0


