


A
B
Sewing
Sewing techniques
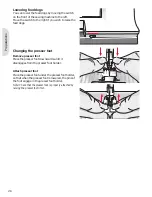
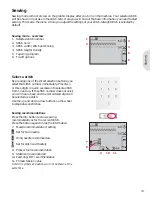
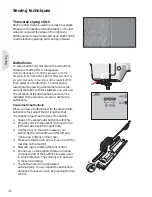
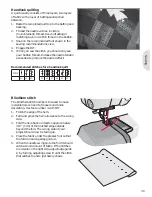
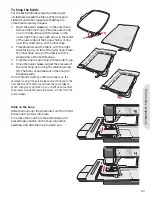
Three-step zigzag stitch
Stich number 9 can be used to overcast raw edges.
Make sure the needle pierces the fabric on the left
side and overcasts the edge on the right side.
Stitch number 9 can also be used as an elastic stitch
to add elastic to pajamas, skirts and sportswear.
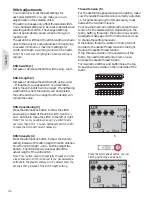
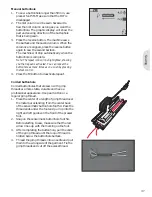
Buttonholes
To sew a buttonhole,
À
rst attach the correct foot.
Make sure that the IDT is disengaged.
Note: Buttonholes up to 50 mm are sewn with the
Sensormatic buttonhole foot. Buttonholes over 50 mm
are sewn manually in four steps with presser foot 5M.
Then select your buttonhole. To ensure good
results, start by sewing a test sample on a scrap
piece of the fabric with the stabilizer you will use.
The direction of the stitches being sewn will be
indicated on the screen by an arrow next to the
buttonhole.
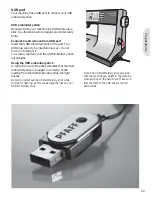
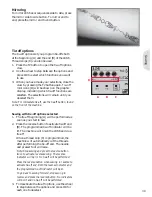
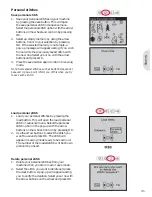
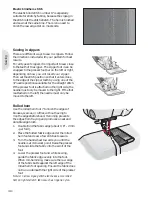
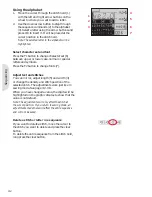
Sensormatic buttonhole
When you sew a buttonhole with the sensormatic
buttonhole foot, adjust the slit length so that
it is slightly larger than the size of the button.
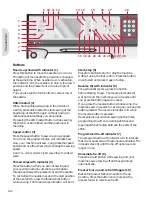
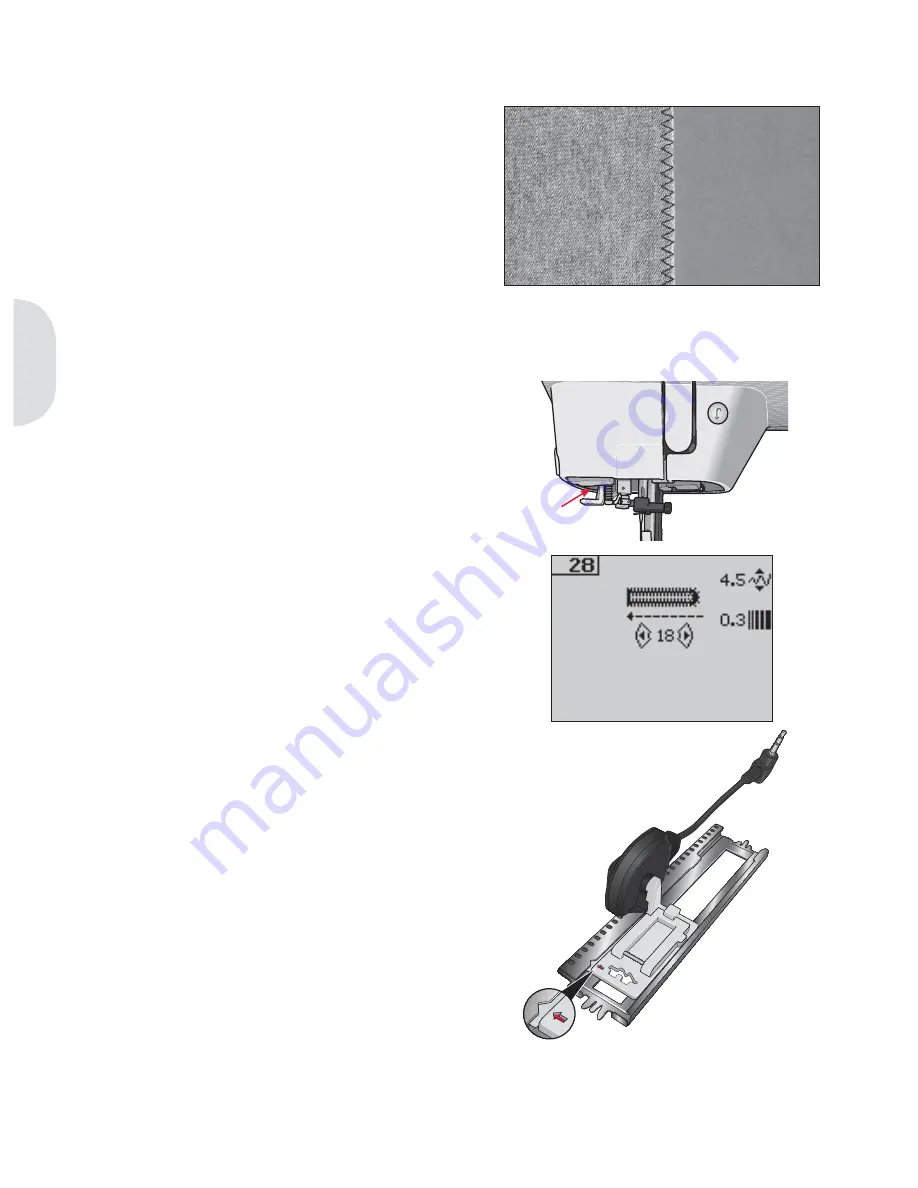
1. Snap on the sensormatic buttonhole foot 5A.
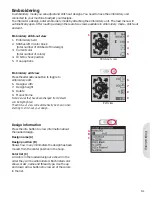
2. Plug the cord into the socket (A) found to the
left underside behind the light bulb.
3. Use the ruler on the lid to measure your
button. Set the slit length using the left and
right arrow buttons on the wheel.
4. Make sure that the red arrow lines up with the
marking on the foot (B).
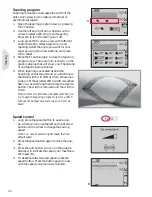
5. Start sewing by pressing the foot control.
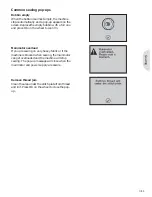
6. The arrows on the graphic display will show
when each part of the buttonhole is sewn and
in which direction. The columns will be sewn
in the same direction.
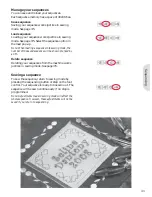
7. The buttonhole will be completed
automatically. You can repeat the buttonhole
as many times as you wish by pressing the foot
control.
3:6
Summary of Contents for CREATIVE 2.0 -
Page 1: ...Owner s manual ...
Page 12: ...Preparations ...
Page 28: ...Sewing ...
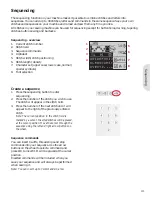
Page 40: ...Sequencing ...
Page 44: ...Embroidery preparations ...
Page 48: ...Embroidering ...
Page 64: ......
Page 65: ......
Page 66: ...5D Embroidery Machine Communication CD For personal computer See page 2 10 ...


