4:15
Sewing
Buttonhole with gimp thread
Buttonholes that are sewn with gimp cord under the satin stitch col-
umns are more stable, durable and have a professional appearance. Use
pearl cotton or regular gimp thread.
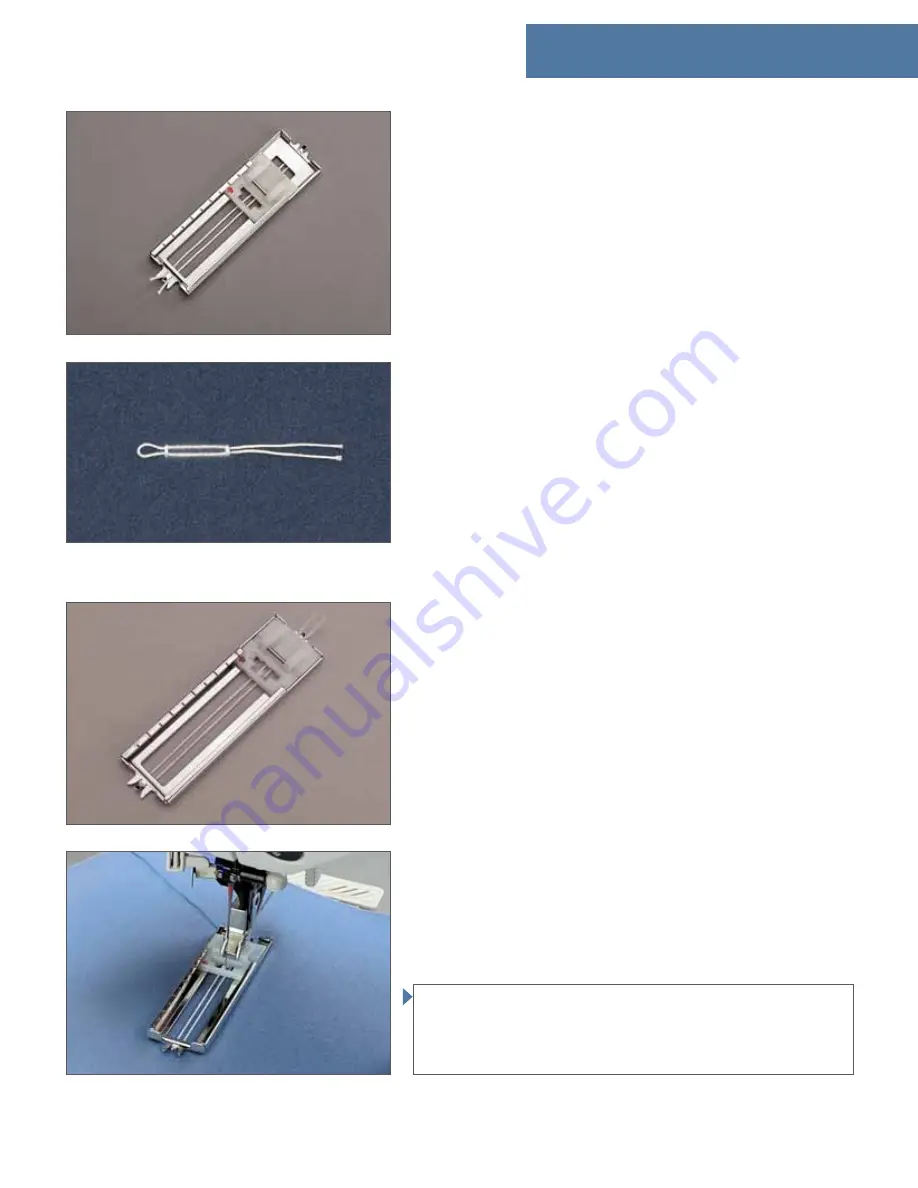
Insert the senormatic buttonhole guide.
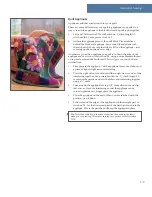
Place the center of a length of gimp cord over the metal hook extending
from the center back of the buttonhole foot. Pass the cord ends under
the foot and pull up into the right and left guides on the front of the
presser foot.
Snap on the buttonhole foot. Before starting to sew, pull it backward as
far as the second red mark.
After completing the buttonhole, pull the ends of gimp cord until the
loop of thread is hidden under the buttonhole bartack.
Thread the gimp cord ends into a hand sewing needle and pull them
to the wrong side of the garment. Tie the gimp threads and cut off the
excess thread.
Eyelet buttonhole with gimp thread
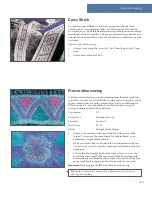
Insert the buttonhole guide. Place the center of a length of gimp cord
over the metal hook extending from the center front of the buttonhole
foot. Pass the cord ends under the foot and pull up into the right and
left guides on the back of the presser foot.
Snap on the buttonhole foot and pull the slide of the foot towards you
until the red arrow matches the second red mark.
Before starting to sew, press the "needle down" button.
Sew the right side of the buttonhole.
After the machine sews the
fi
rst few stitches of the curved end pull the
gimp cords down from the metal hook.
Warning
: The presser foot must not be raised from the fabric surface!
Pull the gimp cord on the left towards the rear until the loop is just in
front of the needle. Carefully sew the curve, guiding the gimp cord
under the stitching.
After sewing the curve, thread the gimp cords into a hand sewing
needle and pull them to the wrong side of the garment. Tie the gimp
cords and cut off excess cord.
Note
: The Eyelet buttonhole, no. 22, must be sewn with the rounded end
towards the edge of your garment/project. However, the buttonhole will
begin sewing from the bartack end. It is important to
fi
rst mark the length,
measuring from the starting point inwards. Always sew the buttonhole
from the inside to the outside towards the edge.
Summary of Contents for Creative 2134
Page 1: ...creative 2134 O w n e r s m a n u a l ...
Page 7: ...Introduction ...
Page 12: ...1 12 2 3 4 5 6 7 1 17 18 19 20 21 22 23 24 25 27 28 29 30 31 32 16 26 8 9 10 11 12 13 14 15 ...
Page 18: ......
Page 19: ...Preparations ...
Page 38: ......
Page 39: ...Embroidery ...
Page 55: ...Sewing ...
Page 73: ...Decorative Sewing ...
Page 87: ...Maintenence ...


