26
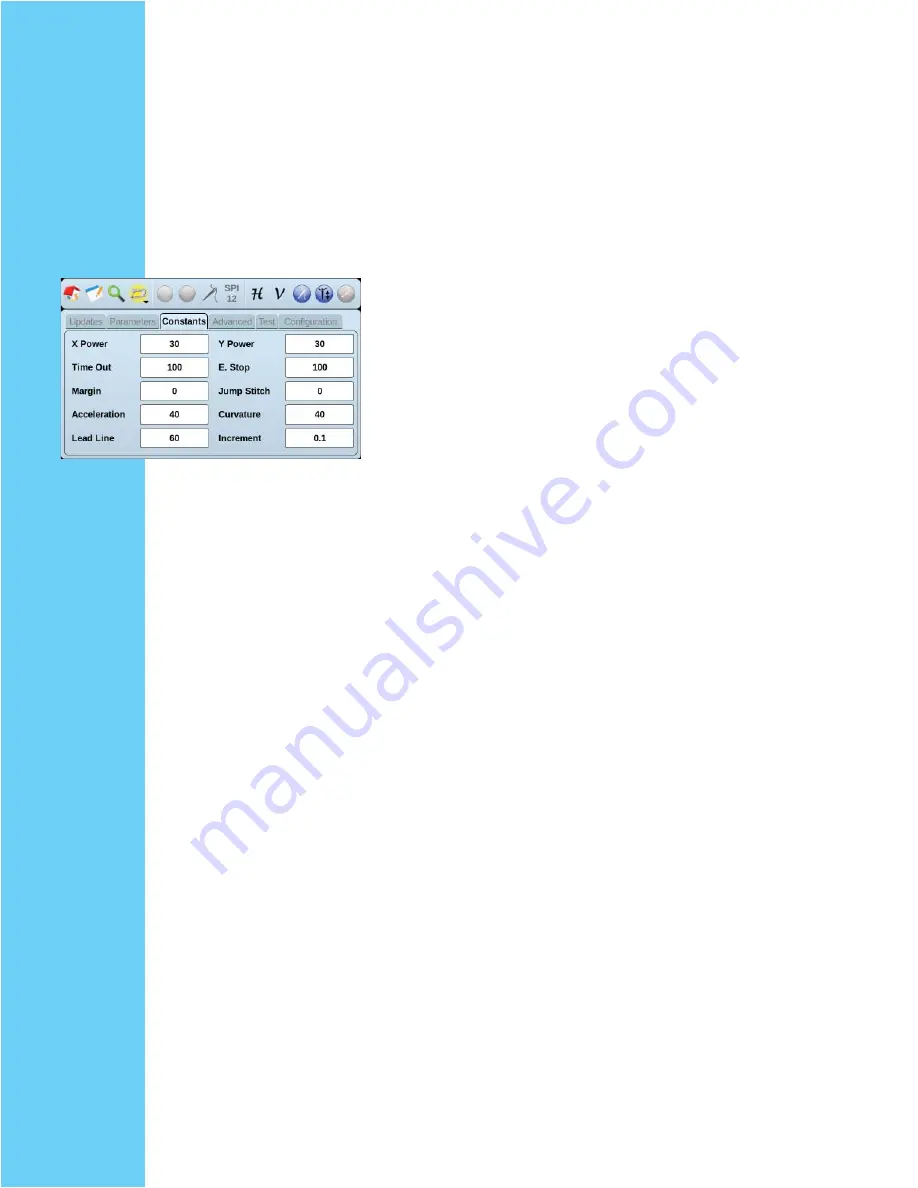
Time out:
When the motors are locked, this is the time in
seconds they will stay locked for. NOTE: If your machine
is moving, this timer resets until it detects the machine no
longer moving, then the timer starts counting from 100
again. Every time the machine is moved, this timer will
reset until the machine stops again.
E Stop:
E Stop is a protection in place to ensure if any-
thing is in the way of the machine’s movement, that the
machine will stop. The default value is a good tested
value, but this may be adjusted up to make the system
more robust. NOTE when adjusting up, if the needle is
ever stuck in the fabric and the robot goes to move, you
may break the needle or tear your fabric, be cautious when
adjusting this number.
Margin:
This will set an area from the edge of your
pattern box towards the center that your pattern will not
extend past.
Jump Stitch:
When 2 patterns are on the screen and your
end point of 1 and start point of 2 aren’t in the same place,
the machine will move from point 1 to point 2 without
stitching. Adjust this number to the length of jump stitch
you fi nd acceptable. For example, with jump stitches set to
“0” it will always ask you to cut the thread. If you want it
to jump stitch up to 6” automatically (without asking to cut
the thread), and any jump stitch above 6” it will ask you to
cut, set your jump stitch to 6”.
Acceleration
determines how quickly your robot will
move in and out of the corners. Think of this as the mini-
mum speed your robot will run, if set to max it will really
“jump” out of the corners. If set to the min it will “creep”
out of the corners. Factory setting is medium (5)
Curvature:
When going around a curve this is how
quickly the system will go around the curve. The higher
the number the faster it will go, the lower the number the
slower it will go around the curve.
Lead line:
This is the speed your machine will move to
the start point of the pattern. This is separate from the max
speed, the lead line has it’s own speed.
Increment:
In the “move” feature, you can move the pat-
tern in set increments using the arrow keys at the bottom of
the screen. This increment will apply to how far the pat-
tern moves every time you touch one of the arrows.
Test tab
can be used to test left/right movement and front/
back movement. This will ensure all motor functions are
working properly.
Confi guration:
This is only for factory use.
Summary of Contents for QUILT ARTIST II
Page 2: ...2 ...
Page 15: ...15 ...
Page 16: ...16 Operating PFAFF QUILT ARTIST II ...
Page 42: ...42 ...


