


www.pfisterer.com
33
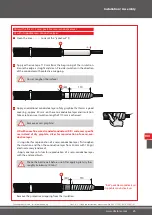
Drawings not to scale - for information only Size 3 | 3-S / Standard instructions wire screen / No. 040 371 001 (2014-05-08) i-01
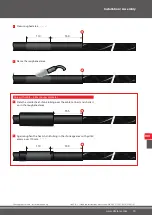
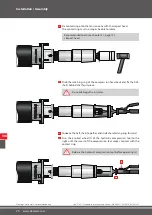
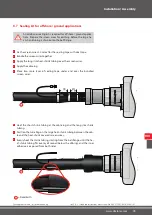
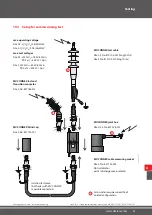
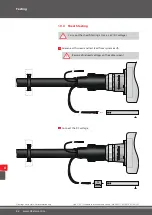
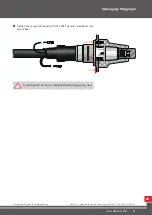
Evenly heat the shrink tubing starting from the bell flange until the he-
at-shrink tubing fits evenly all round (below the ribbing) and the inner
adhesive is exposed from both sides (see arrows).
33
1
8.5
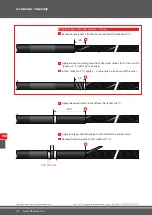
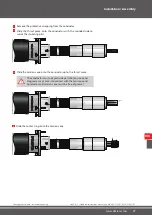
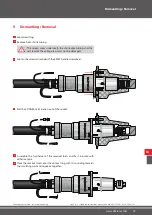
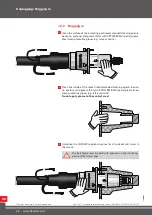
Earth connection
A
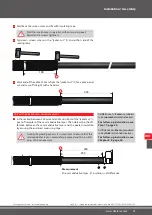
~ 600
A
= Fixed Earth
VIII
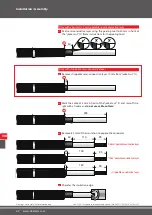
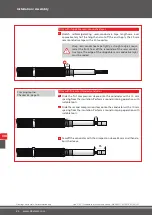
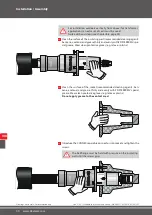
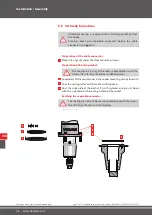
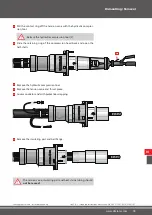
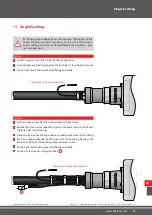
A "setting time" of 1 hour is needed before starting up the system.
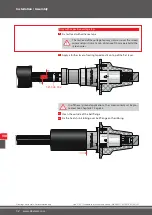
The earthing point is not suitable for earthing the cable screen.
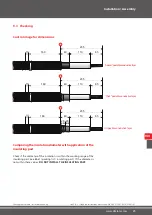
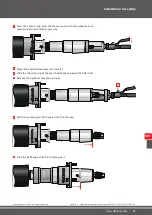
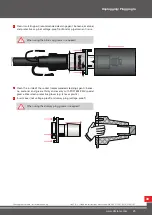
Cut the screen wires (not the test lead) to the required length and
connect it to the earthing of the system.
1
1
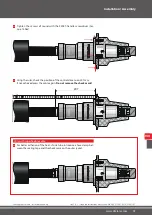
The bell flange provides an earthing point, see arrow. The earthing
point serves as a potential equalization.
2
1
The first clamp should be placed approx. 600 mm from the flange of the unit.
3
1
The product can now be operated within the plant and it complies with
all safety regulations.
4
1
If the test lead of the voltage tap is not needed and is not
connected to the constant voltage indicator system, it should
be earthed separately.
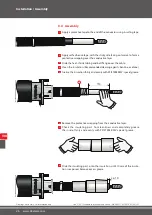
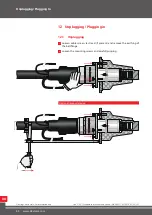
Installation / Assembly
Installation / Assembly
Summary of Contents for MV-CONNEX 3
Page 2: ...2 www pfisterer com...


