CAYMAN Part 2 Overview – Operation - Spare parts lists
Putting the machine into operation
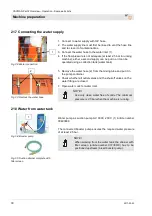
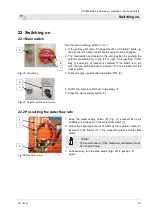
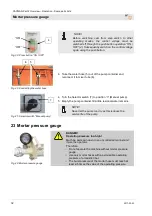
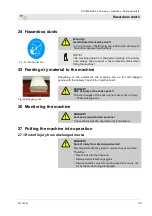
34
2017-03-22
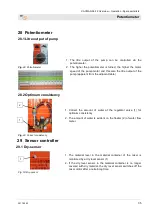
27.2 Connect mortar hose
1
2
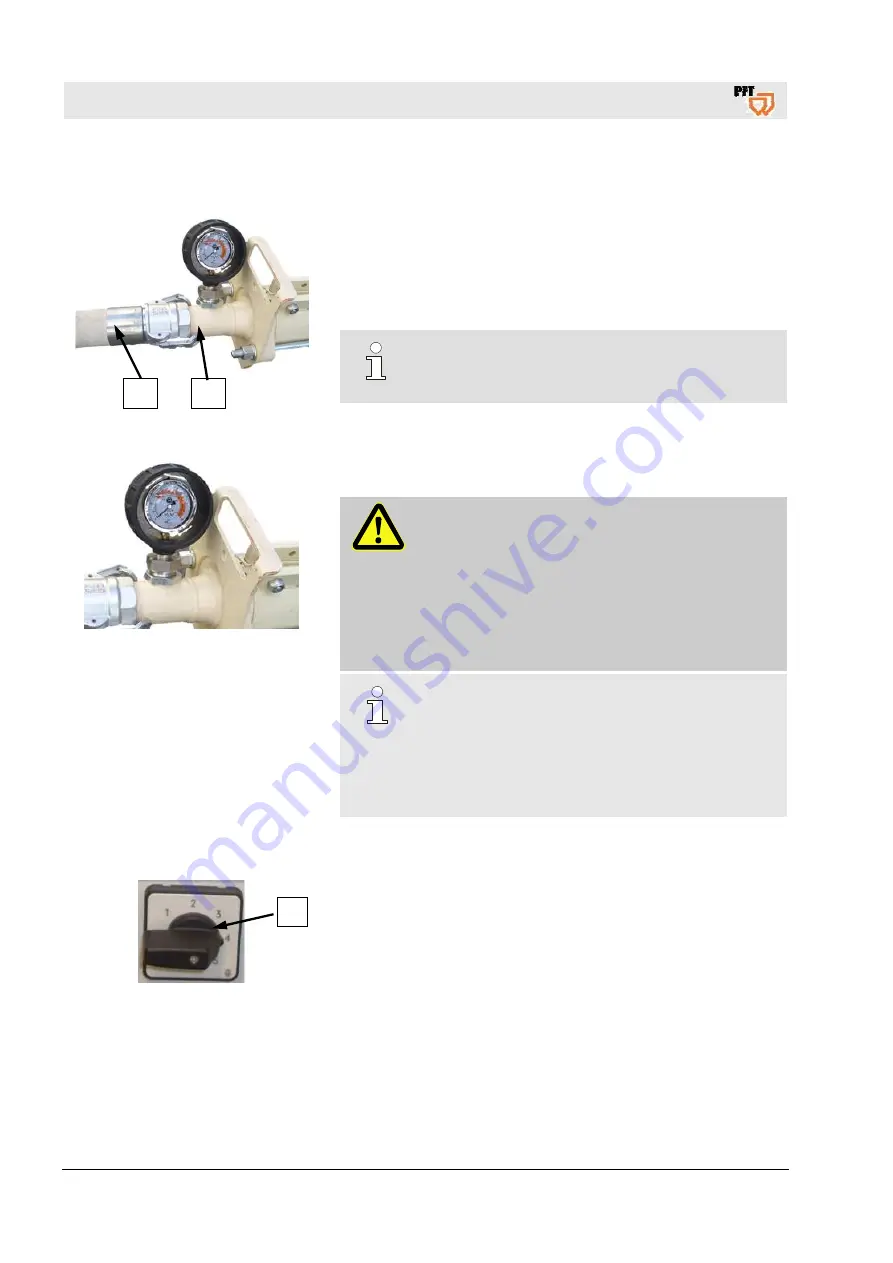
Fig. 45: Connect mortar hose
Fig.
46: Mortar pressure gauge
1. Smear the mortar hose with approximately two litres of lime
sludge to avoid clogging of hose.
2. Connect mortar hose (1) to the pressure flange (2).
3. The slurry is mixed through the mortar hose with the first
mixing.
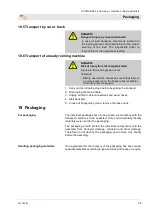
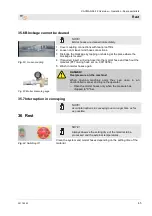
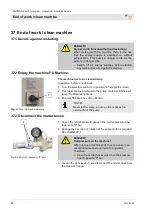
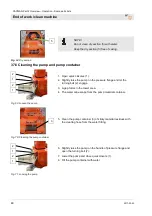
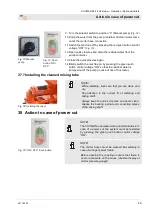
NOTE!
Ensure clean and correct connection of the
couplings!
4. Lay mortar hoses in large radius so that no kinks form in the
hoses.
5. Attach risers carefully in order to prevent them from tearing off
under their own weight.
DANGER!
Torn off hoses can beat about and injure
bystanders!
Never loosen the hose couplings as long as there is
pressure on the mortar hoses (check mortar
pressure gauge)! The mix could burst out under
pressure and result in serious injuries, especially
injuries to the eyes.
NOTE!
The possible conveying distance depends mainly on
the flowability of the mortar. Heavy, sharp-grained
mortar has poor flow characteristics. Runny
materials have good flow characteristics.
If 25 bar operating pressure are exceeded the
mortar hose length must be reduced.
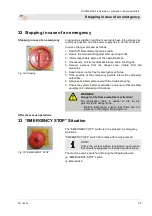
27.3 Automatic mode
Fig. 47: Automatic mode
1. Turn the selector switch to position “4” (automatic mode).
2. Press green push button for control voltage “ON”
3. The control of the system runs in automatic operation in this
switch position “Automatic mode”.
4. The mixer starts (pay attention to the proper direction of
rotation).
5. The pump motor starts after the full indication of the wet sensor
in the pump container.
6. Check consistency of mortar.
4
Summary of Contents for 00 24 88 94
Page 83: ...CAYMAN Part 2 Overview Operation Spare parts lists Circuit diagrams 2017 03 22 83 ...
Page 84: ...CAYMAN Part 2 Overview Operation Spare parts lists Circuit diagrams 84 2017 03 22 ...
Page 85: ...CAYMAN Part 2 Overview Operation Spare parts lists Circuit diagrams 2017 03 22 85 ...
Page 86: ...CAYMAN Part 2 Overview Operation Spare parts lists Circuit diagrams 86 2017 03 22 ...
Page 87: ...CAYMAN Part 2 Overview Operation Spare parts lists Circuit diagrams 2017 03 22 87 ...
Page 88: ...CAYMAN Part 2 Overview Operation Spare parts lists Circuit diagrams 88 2017 03 22 ...
Page 89: ...CAYMAN Part 2 Overview Operation Spare parts lists Circuit diagrams 2017 03 22 89 ...
Page 90: ...CAYMAN Part 2 Overview Operation Spare parts lists Circuit diagrams 90 2017 03 22 ...
Page 91: ...CAYMAN Part 2 Overview Operation Spare parts lists Circuit diagrams 2017 03 22 91 ...
Page 93: ...CAYMAN Part 2 Overview Operation Spare parts lists Circuit diagrams 2017 03 22 93 ...
Page 94: ...CAYMAN Part 2 Overview Operation Spare parts lists Circuit diagrams 94 2017 03 22 ...
Page 95: ...CAYMAN Part 2 Overview Operation Spare parts lists Circuit diagrams 2017 03 22 95 ...
Page 99: ...CAYMAN Part 2 Overview Operation Spare parts lists 2017 03 22 99 ...

