HOT WIRE CUTTING TOOL Overview - Operation - Spare parts lists
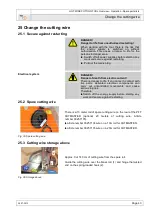
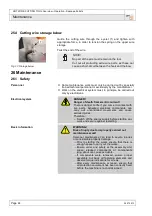
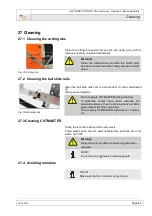
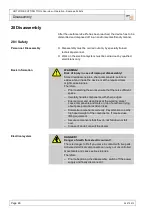
Commissioning the PFT CUTMASTER
29.07.2013
Page 41
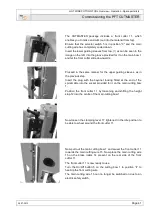
The CUTMASTER package includes a front cutter 11, which
enables you to make end cuts (cut into the material from top).
Ensure that the selector switch 5 is in position “0” and the main
cutting wire has completely cooled down.
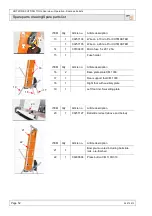
Insert the lower guiding sleeves from top, (!) as can be seen in the
image on the left, into the groove provided for it on the main bow 1
and let the front cutter slide downwards.
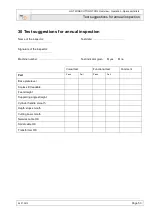
Proceed in the same manner for the upper guiding sleeves, as in
the previous step.
Insert the plug with the bayonet locking fitted at the end of the
spiral cable into the socket provided for it on the main cutting bow
1.
Position the front cutter 11 by loosening and shifting the height
stop 12 into the centre of the main cutting bow 1.
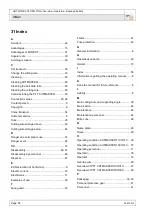
Now loosen the clamping lever 17 tightened in the idle position to
be able to wheel around the front cutter 11.
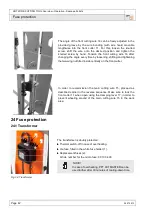
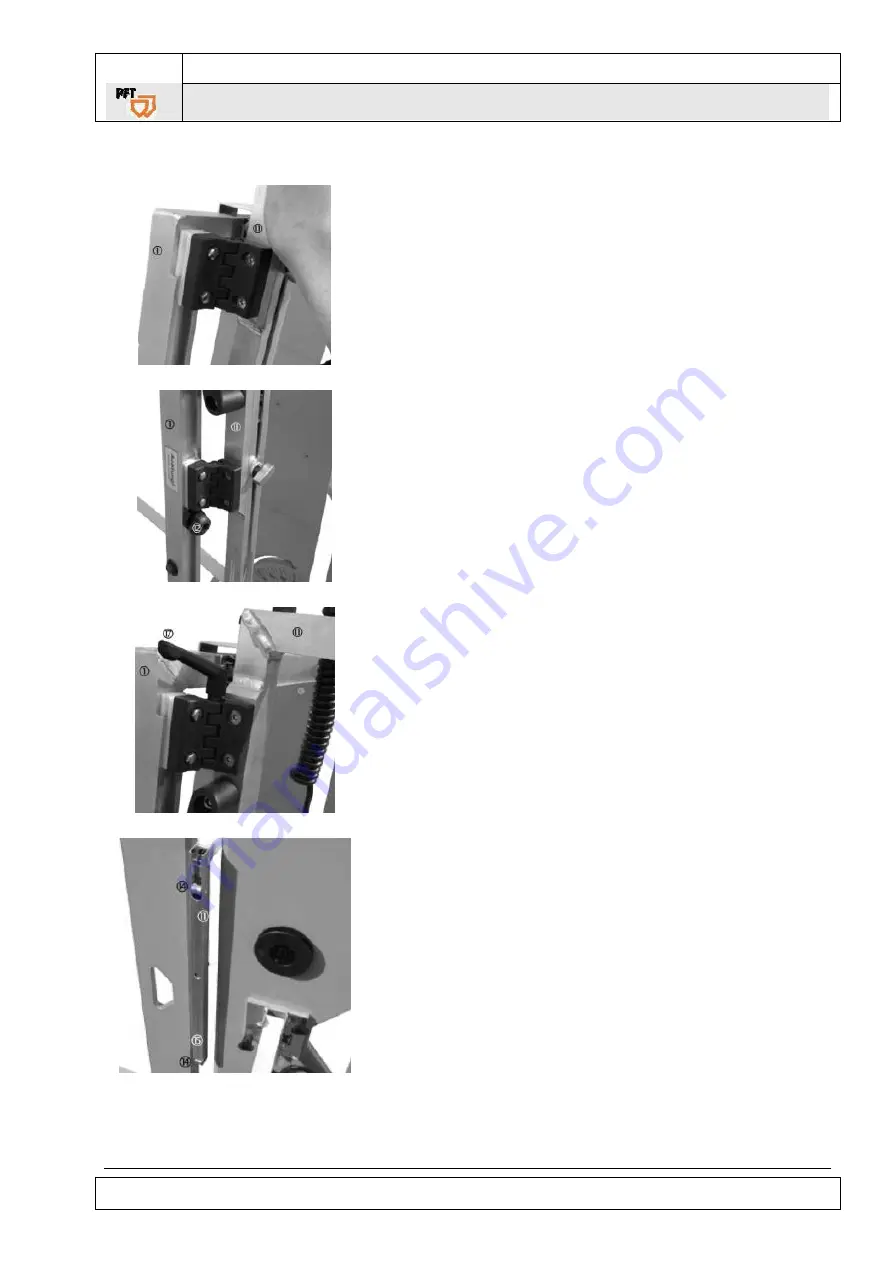
Now pull out the main cutting bow 1 and swivel the front cutter 11
towards the main cutting wire 15. Now place the main cutting wire
15 on the brass rollers 14 present on the rear side of the front
cutter 11.
The front cutter 11 is now ready to use.
Turn the On/Off button 5 on the cutting bow 1 to position “II” to
heat up the front cutting wire.
The main cutting wire 15 can no longer be switched on due to an
electric safety switch.


