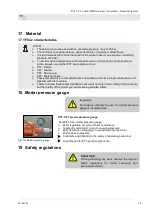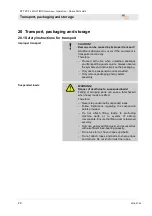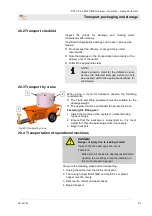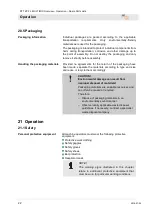
PFT ZP 3 L MULTIMIX Overview – Operation – Spare Parts Lists
Switching on the ZP 3 L and putting it into service
2016-07-04
33
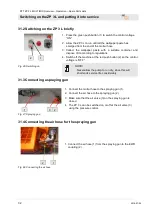
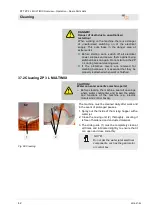
31.5 Switching on the air compressor
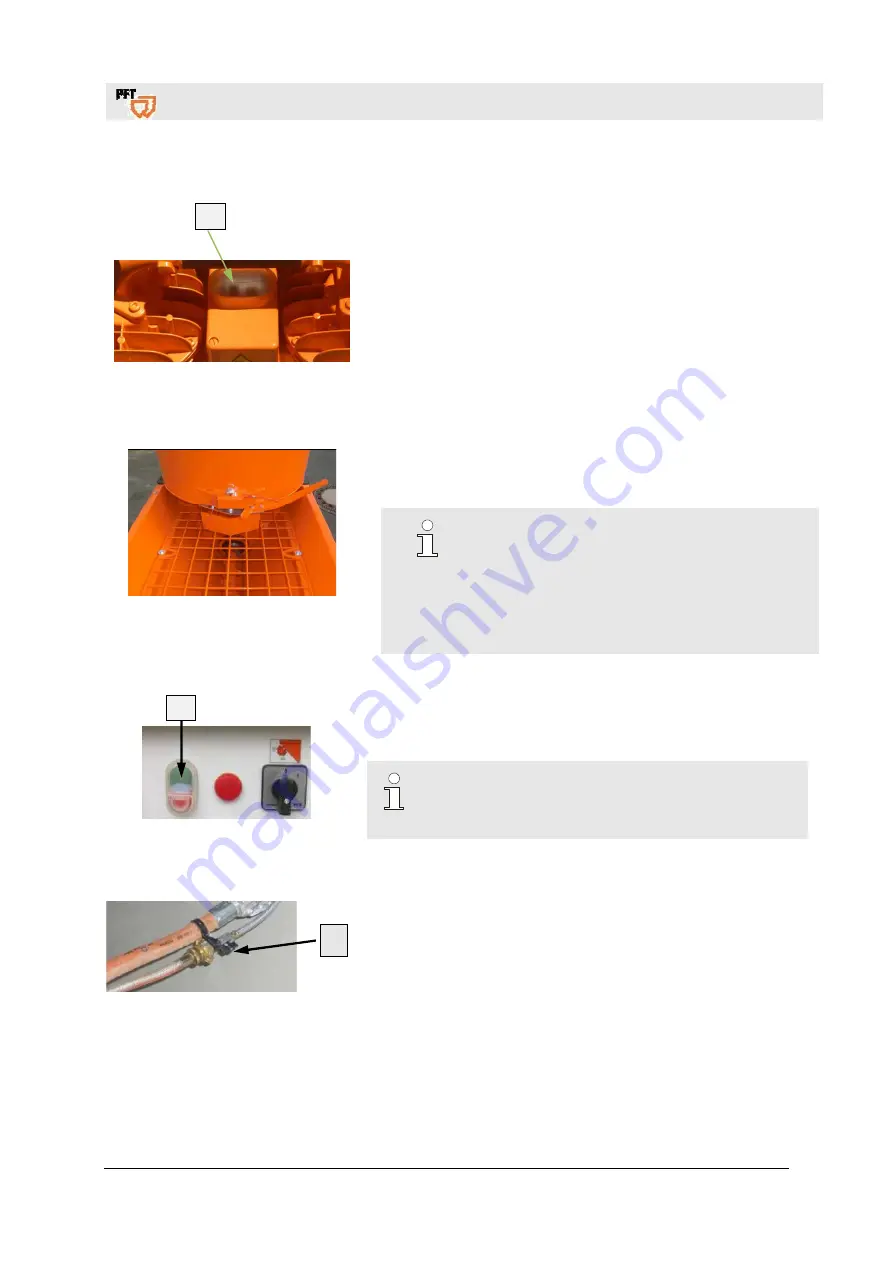
1
Fig. 49: Switching on the air compressor
1. Press the black button to switch on the air compressor.
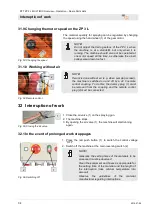
31.6 Mortar consistency
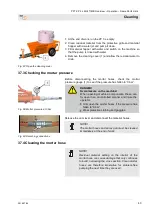
Fig. 50: Filling the material into the
hopper
The right mortar consistency is achieved if the material on the
sprayed surface merges (we recommend applying material to
wall surfaces from top to bottom).
NOTE!
Formation of tunnels:
Due to the material’s physical properties, the
material can partially adhere to the sides of the
material hopper, resulting in the formation of
tunnels. The mortar level in the material hopper
should not be higher than absolutely necessary.
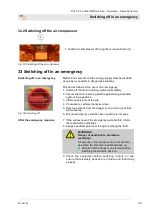
31.7 Switching on the ZP 3 L
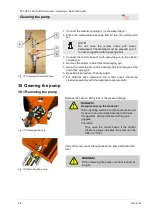
1
Fig. 51: Switching on
Press the green push button (1) to switch the control voltage
“ON”.
NOTE!
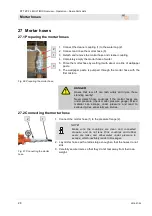
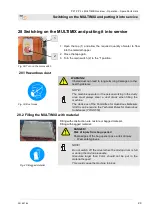
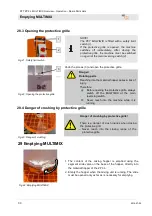
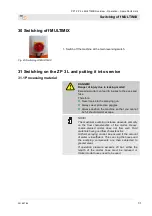
Never allow the pump to run dry, since this will
shorten its service life considerably.
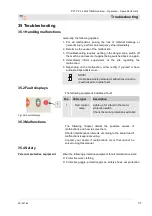
31.8 Opening the air valve on the spraying gun
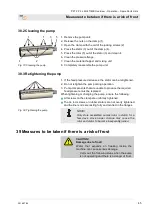
Fig. 52: Opening the air valve
1. Point the spraying gun toward the wall to be plastered.
2. Check that no-one is in the mortar spraying range.
3. Open the air valve (1) on the spraying gun. When pressure is
switched off, the ZP 3 L starts automatically and mortar
emerges.
4. For brief work interruptions, close the air valve (1) on the
spraying gun.
1

