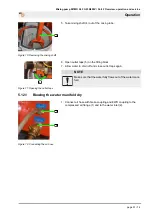
Mixing pump RITMO XL FC-230/400V / Part 2 Overview, operation and service
Operation
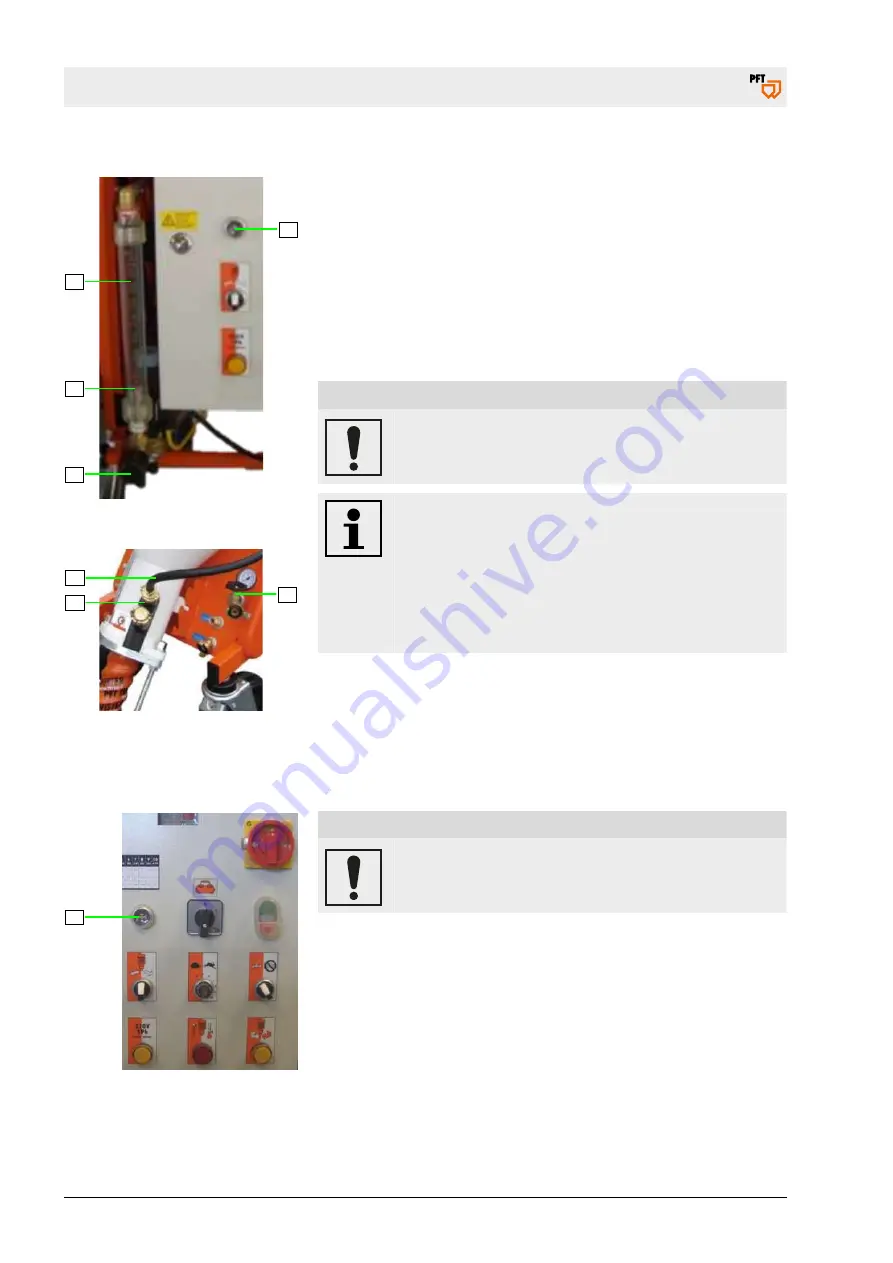
5.3.6.1 Setting the water quantity
4
3
5
1
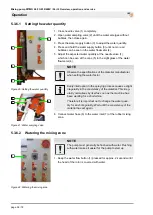
Figure 40: Setting the water quantity
2
6
7
Figure 41: Water sampling valve
1. Close needle valve (1) completely.
2. Open water sampling valve (2) until the water emerges without
bubbles, then close again.
3. Press the water supply button (3) to adjust the water quantity.
4. Press and hold the water supply button (3) until no more air
bubbles can be seen in the water flowmeter (4).
5. Adjust the expected water quantity at the needle valve (1),
which can be seen at the cone (5) in the sight glass of the water
flowmeter (4).
NOTE
Observe the specifications of the material manufacturer
when setting the water factor.
Every interruption to the spraying process causes a slight
irregularity in the consistency of the material. This irreg-
ularity normalises by itself as soon as the machine has
been working for a short while.
Therefore it is important not to change the water quan-
tity for each irregularity. Wait until the consistency of the
material has set again.
6. Connect water hose (6) to the water inlet (7) of the rubber mixing
zone.
5.3.6.2 Watering the mixing zone
1
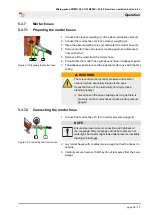
Figure 42: Watering the mixing zone
NOTE
The pump must generally be flushed with water. Flushing
with water makes it easier for the pump to start up.
1. Keep the water flow button (1) pressed for approx. 2 seconds until
the head of the rotor is covered with water.
page 38 / 76

