Mixing pump RITMO XL FC-230/400V / Part 2 Overview, operation and service
Operation
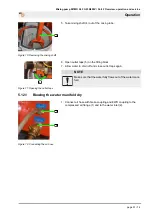
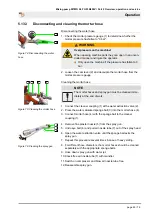
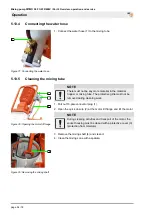
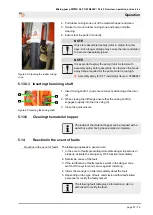
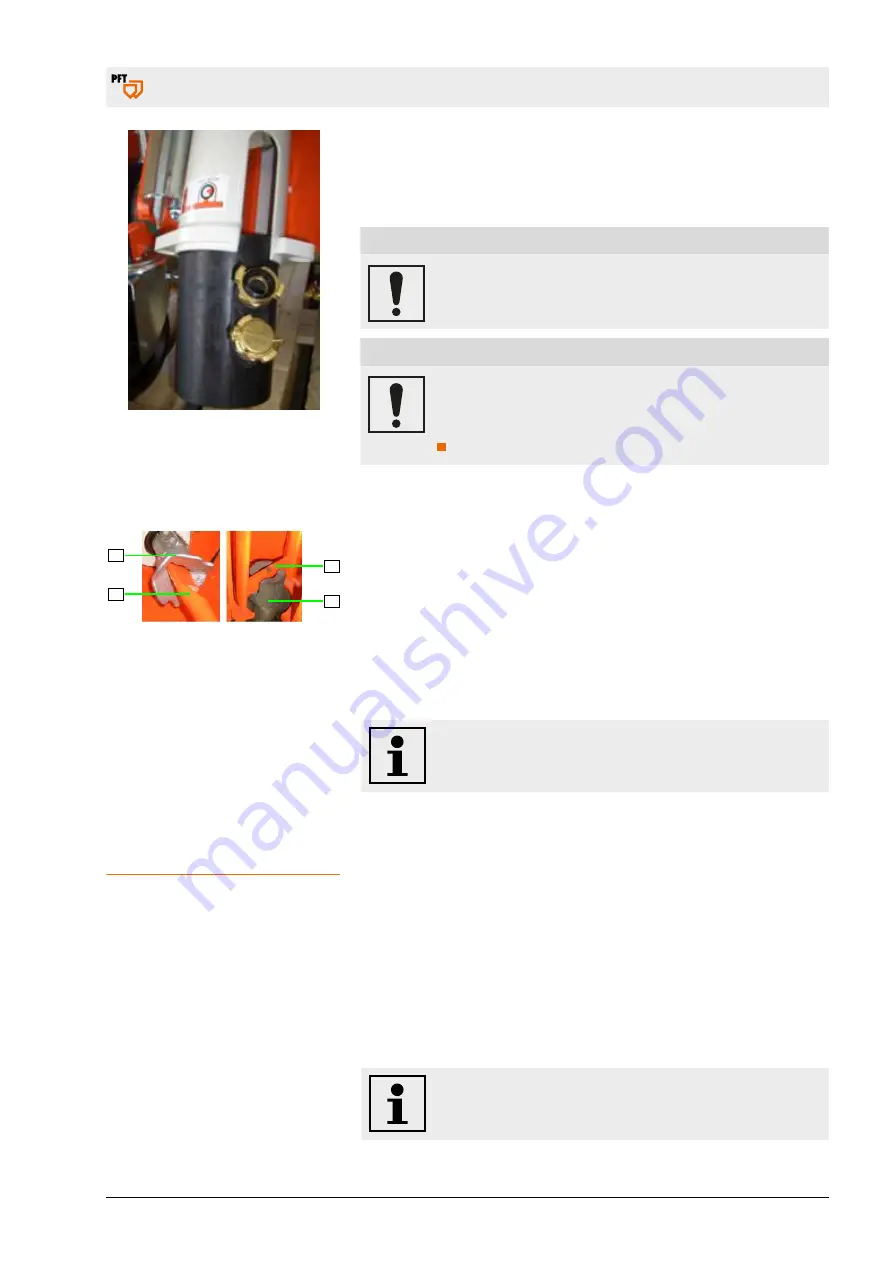
Figure 85: Cleaning the rubber mixing
zone
4. Pull rubber mixing zone out of the material hopper and clean.
5. Reinsert or mount rubber mixing zone and pump unit after
cleaning.
6. Ensure that the parts fit correctly.
NOTE
Only store assembled pumps (rotor in stator) for a few
days, since longer storage may cause the rotor and stator
to become inseparably joined.
NOTE
It is essential to spray the pump (rotor in stator) with
assembly spray before assembly, as otherwise the break-
away torque required for the pump motor is too high.
Assembly spray for PFT rotor/stator item no. 00588821
5.13.5.3 Inserting the mixing shaft
2
1
1
3
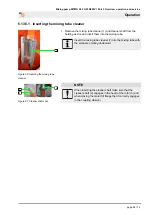
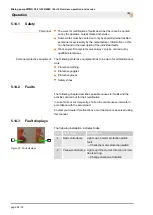
Figure 86: Inserting the mixing shaft
1. Insert mixing shaft (1) and ensure correct positioning at the rotor
(2).
2. When closing the tilt flange ensure that the mixing shaft (1)
engages properly into the drive dog (3).
3. Close the quick closure.
5.13.6
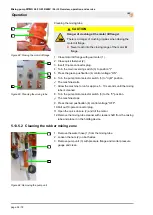
Cleaning the material hopper
The inside of the material hopper can be cleaned with a
water hose after having been emptied completely.
5.14
Reaction in the event of faults
Reaction in the event of faults
The following applies as a general rule:
1. In the event of faults presenting immediate danger to persons or
property, activate the emergency OFF function immediately.
2. Determine cause of the fault.
3. If the rectification of faults requires works in the danger zone,
switch off the system and secure against restarting.
4. Inform the manager on site immediately about the fault.
5. Depending on the type of fault, commission authorised skilled
personnel or rectify the fault yourself.
The following fault table gives information on who is
authorised to rectify the fault.
page 57 / 76

