Container Mixing
Pump CMP 30 4.0
Part 2: Overview –
Operation – Spare Part Lists
End of work / Cleaning the machine
56
2021-02-10
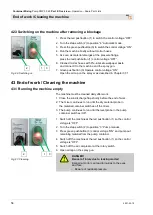
42.3 Switching on the machine after removing a blockage
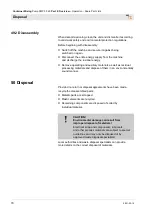
2
1 3
Fig. 86: Switching on
1. Press the red pushbutton (1) to switch the control voltage “OFF”.
2. Turn the step switch (2) to position “4” Automatic mode.
3. Press the green pushbutton (3) to switch the control voltage “ON”.
4. Run the machine briefly without mortar hoses.
5. As soon as material emerges at the pressure flange,
press the red pushbutton (1) control voltage “OFF”.
6. Cleaned mortar hoses with Pre-lubricate wallpaper paste
and connect it to the machine and the spray gun.
7. Green pushbutton (3) Operate control voltage “ON”,
Open the air tap on the sprayer as described in Chapter 37.1.
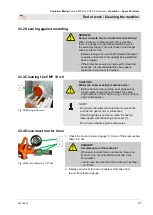
43 End of work / Cleaning the machine
43.1 Running the machine empty
The machine must be cleaned daily after work.
1. Close the silo discharge flap shortly before the end of work.
2. The mixer continues to run until the dry material probe in
the material container switches off the mixer.
3. The pump continues to run until the level probe in the pump
container switches it off.
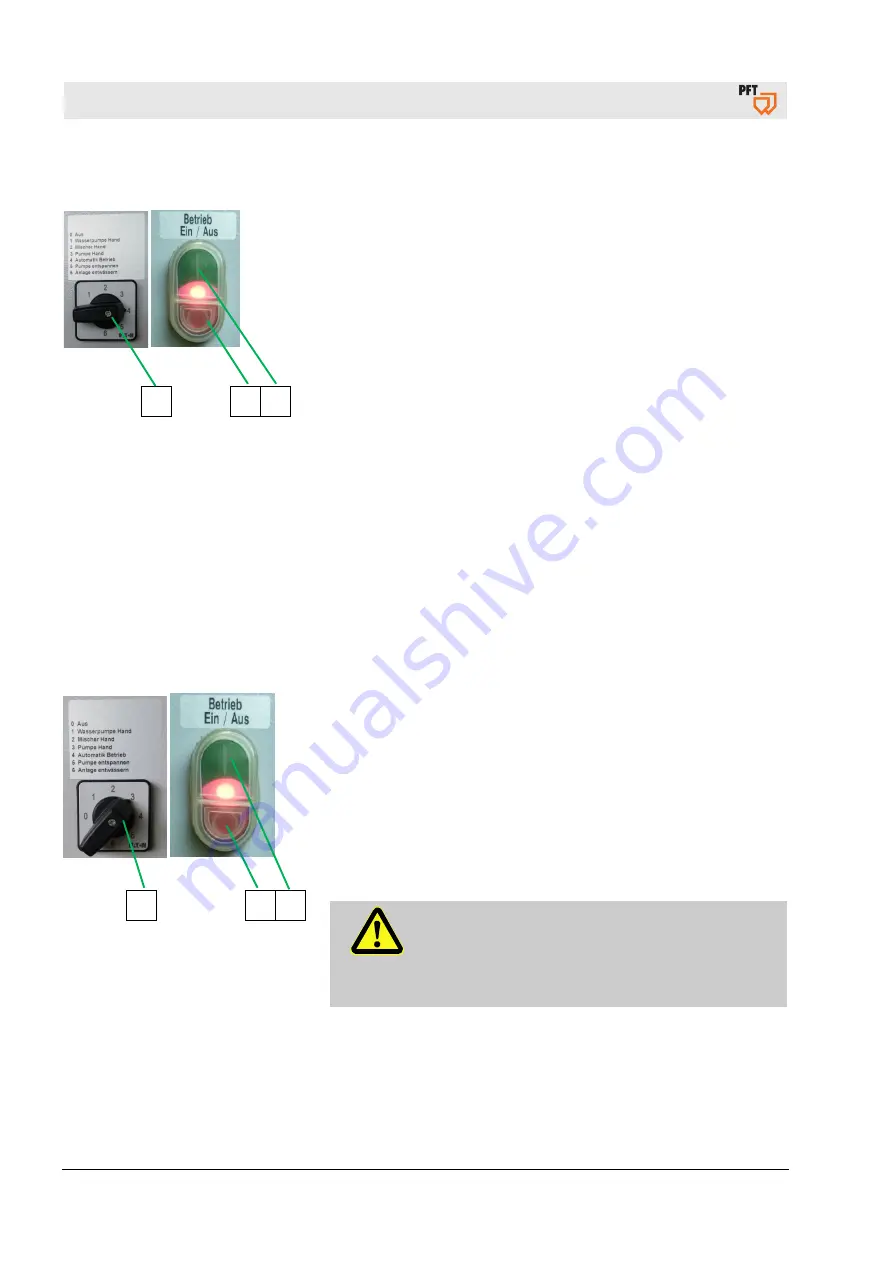
2
1 3
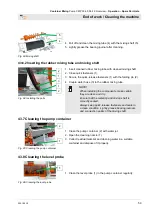
Fig. 87: Cleaning
1. Switch off the machine at the red pushbutton (1) so the control
voltage is “OFF”.
2. Turn the step switch (2) to position “3” Pump manual.
3. Press green pushbutton (3) control voltage “ON” and pump out
remaining material from the pump container.
4. Switch off the machine at the red pushbutton (1) so the control
voltage is “OFF”.
5. Switch off the air compressor at the rotary switch.
6. Open air tap on the spray gun.
DANGER!
Danger of injury due to leaking mortar!
Escaping mortar can lead to injuries to the eyes
and face.
Beware of residual pressure.

