FERRO 100 II Part 2 Overview – Operation - Spare parts lists
Cleaning
42
2018-03-26
28.2 Remove the material hoses
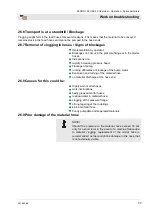
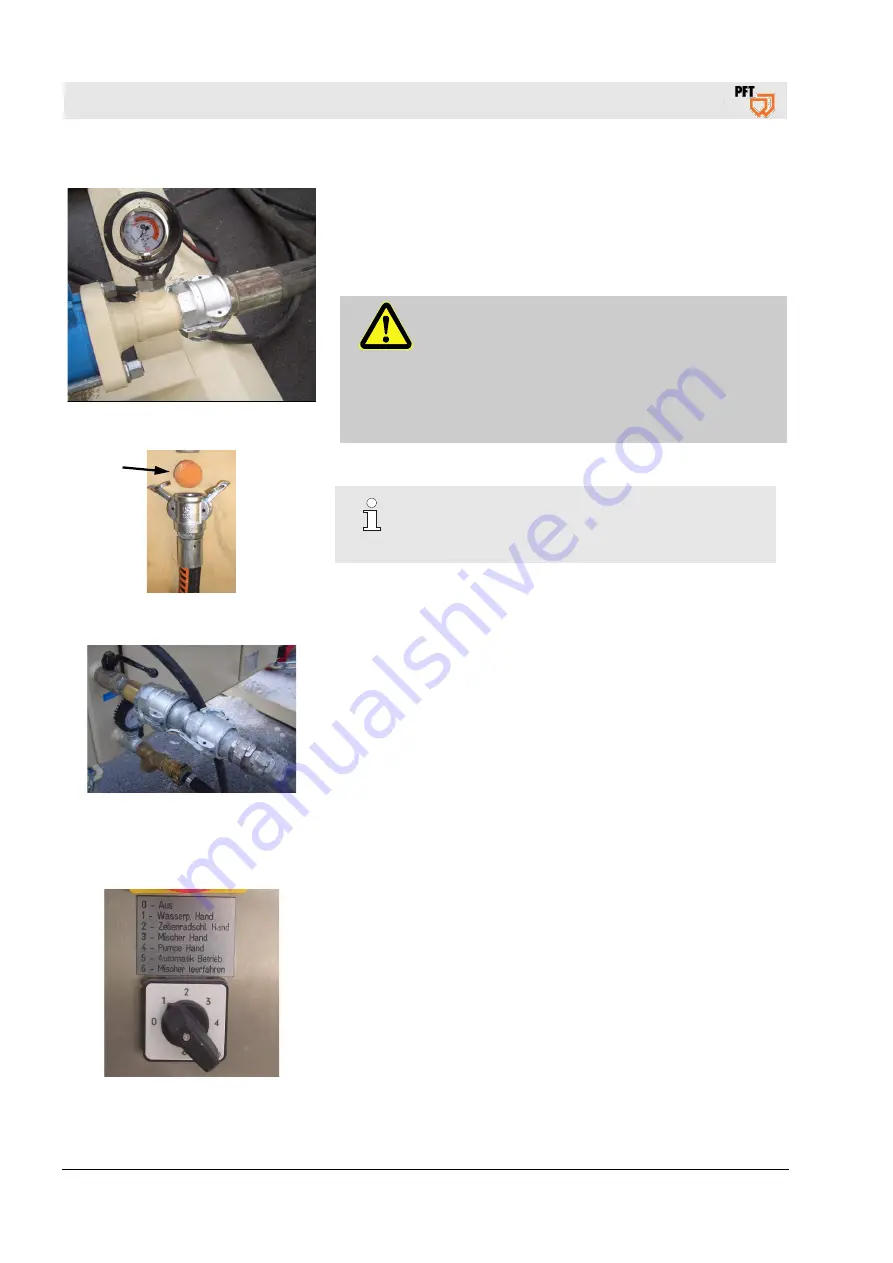
Fig. 60: Mortar pressure to "0”
Check the mortar pressure gauge if the mortar pressure has
lowered to "0".
If necessary, change the direction of rotation of the pump motor
and let the pump run backwards for a short time. See chapter
10.10
DANGER!
Overpressure on the machine!
When opening machine parts they can open in an
uncontrolled manner and injure the operator.
Therefore:
– Open the mortar hoses only when the pressure
has dropped to "0" bar.
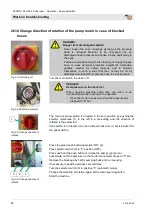
Fig. 61: Sponge ball
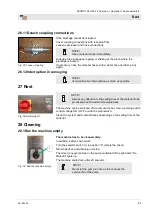
Disconnect material hose from pressure flange.
NOTE!
The mortar hoses must be cleaned immediately.
Press the sponge ball into the mortar hose.
Fig. 62:
Remove the material hoses
Connect the hose with inserted sponge ball to the cleaning nozzle.
28.3
Clean material hoses immediately
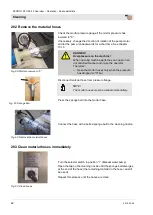
Fig. 63:
Clean hoses
Turn the selector switch to position “1” (Manual water pump).
Open the tap on the cleaning nozzle until the sponge ball emerges
at the end of the hose (the remaining material in the hose can still
be used).
Repeat this process until the hoses are clean.

