Mixing pump RITMO L plus FC-230V Overview – Operation
Replacing the pump / Cleaning the pump
58
2020-11-09
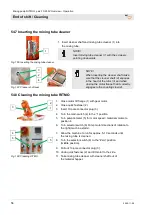
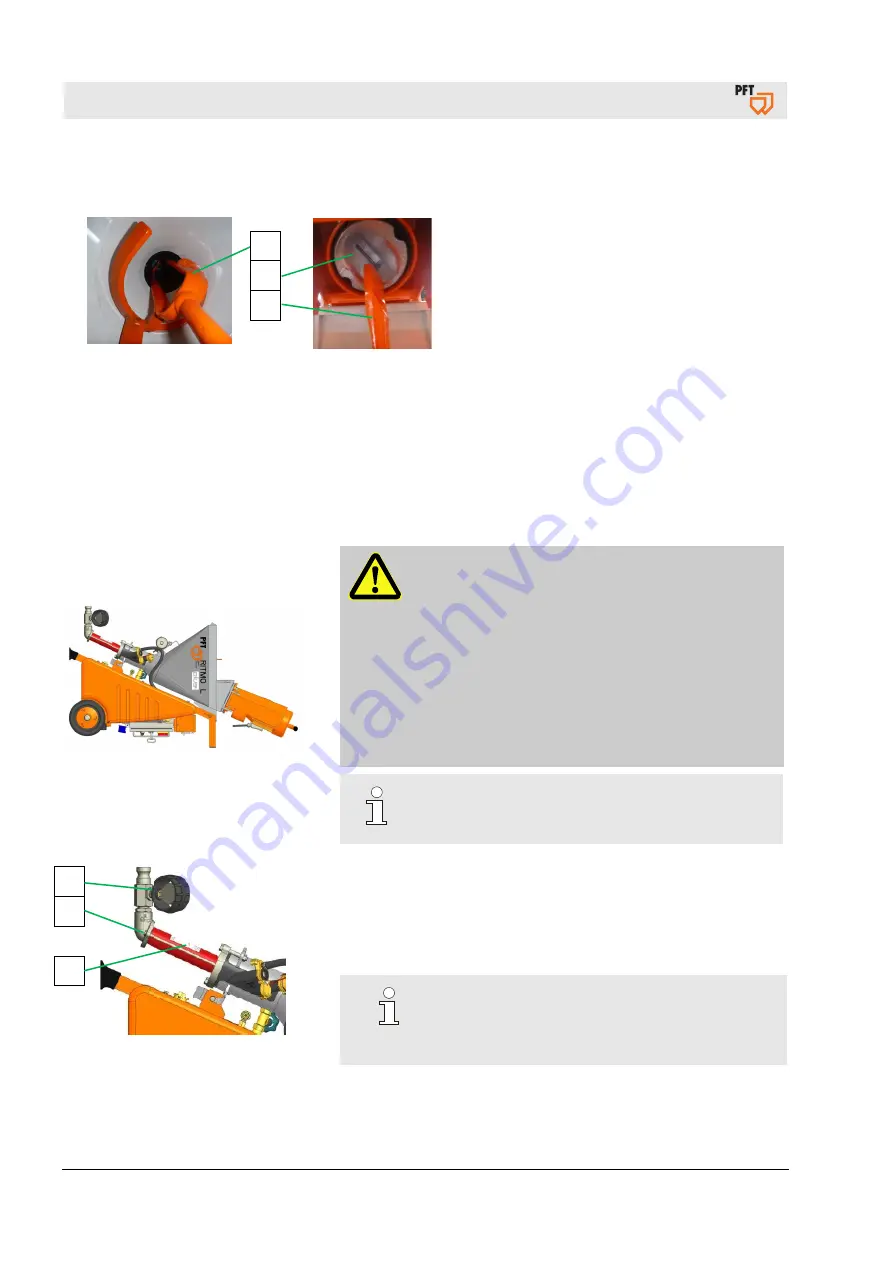
54.11 Inserting the mixing shaft
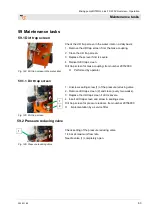
Fig. 113: Rotor seat
Fig. 114: Coupling claw seat
1. Pay attention to wear at the mixing
shaft (1) and at the coupling claw (2).
2. Insert mixing shaft (1) and ensure correct
fit on the rotor and in the coupling
claw (2).
3. Close motor flange.
54.12 Cleaning the material hopper
The material hopper can be cleaned using a water hose once
all material has been removed.
55 Replacing the pump / Cleaning the pump
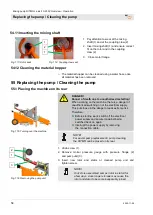
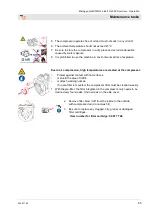
55.1 Placing the machine on its rear
Fig. 115:
Turning over the machine
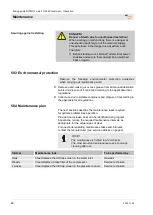
DANGER!
Danger of death due to unauthorised restarting!
When working on the machine, there is a danger of
unauthorised switching on of the electrical supply.
This puts those in the danger area at extreme risk.
Therefore:
Before starting work, switch off the electrical
power supply and secure it against being
switched back on again.
Interrupt the power supply by removing
the connection cable.
NOTE!
For easier pump replacement / pump cleaning,
the RITMO can be placed on its rear.
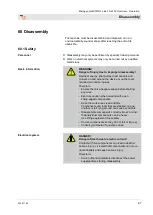
Fig. 116:
Removing the pump unit
1. Undo screw (1).
2. Remove mortar pressure gauge with pressure flange (2)
and pump unit (3).
3. Insert new rotor and stator or cleaned pump unit and
tighten screw.
NOTE!
Only store assembled pumps (rotor in stator) for
a few days, since longer storage may cause the
rotor and stator to become inseparably joined.
1
2
1
2
1
3

