Mixing pump RITMO XL 400V Overview – Operation
Mortar hoses
2019-12-11
27
19.2 Machine "Flying start"
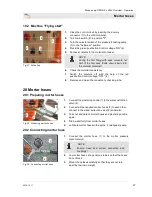
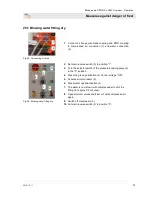
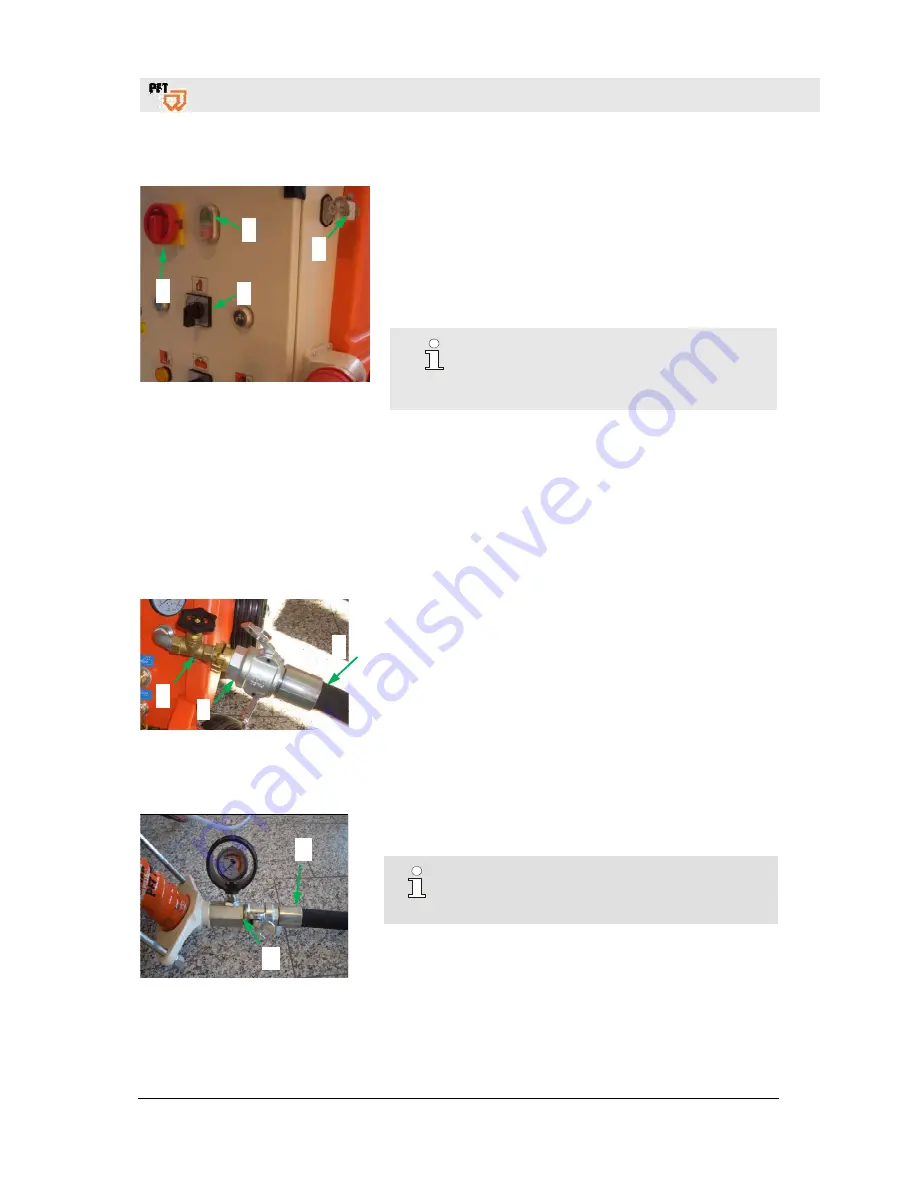
Fig. 37: Activation
1.
Close the control circuit by inserting the dummy
connector (1) in the control cabinet.
2.
Turn main switch (2) to position "I".
3.
Turn the selector switch of the pressure boosting pump
(3) to the "Automatic" position.
4.
Press the green pushbutton Control voltage "ON" (4).
5.
Put sack contents in the material container.
NOTE:
During the first filling with sack contents, let
half of the first sack trickle down slowly into
the material container!
6.
Check the material consistency
7.
Switch the machine off with the help of the red
pushbutton Control voltage "OFF" (4).
8.
Remove and clean the consistency checking tube.
20 Mortar hoses
20.1 Preparing mortar hoses
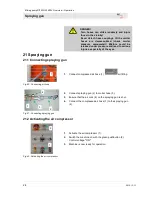
Fig. 38: Preparing mortar hoses
1.
Connect the plastering nozzle (1) to the water extraction
valve (2).
2.
Connect all the required mortar hoses (3) to each other,
connect to the water extraction valve (2) and water.
3.
Take out and detach mortar hoses and plastering nozzle
again.
4.
Drain water fully from mortar hoses.
5.
Lubricate mortar hoses with approx. 2 l wallpaper paste.
20.2 Connecting mortar hose
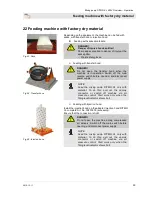
Fig. 39: Connecting mortar hose
1.
Connect the mortar hose (1) to the mortar pressure
manometer (2).
NOTE:
Ensure clean and correct connection and
couplings!
2.
Lay mortar hoses at a generous radius so that the hoses
do not break.
3.
Mount the uptakes carefully so that they are not torn
apart by their own weight.
3
1
2
2
1
1
2
3
4

