Mixing pump RITMO XL 400V Overview – Operation
Cleaning
34
2019-12-11
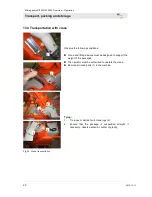
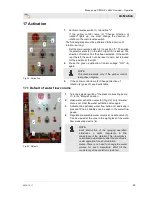
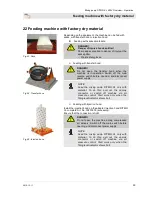
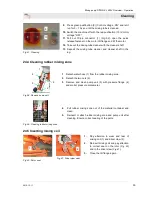
Fig. 53: Removing the mixing coil
3. Remove and clean mixing coil (4).
4. Clean mixing zone with scraper.
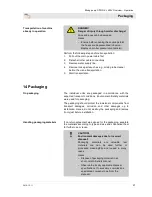
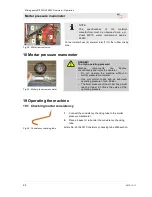
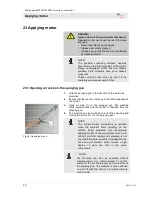
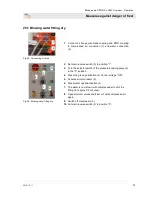
Fig. 54: Inserting the mixing tube
cleaner
5. Take out the mixing tube cleaner and cleaning shaft from the
holding device.
6. Insert the cleaning shaft and the cleaning tube cleaner into
the mixing tube.
NOTE:
Insert the mixing tube cleaner (5) with the scraper
in the downward direction.
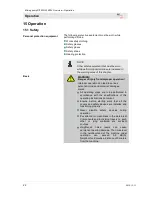
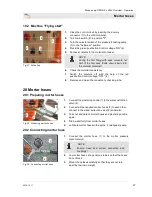
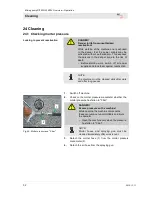
Fig. 55: Seat of the cleaning
shaft
NOTE:
While inserting the cleaning shaft,
ensure that the cleaning shaft (6)
is in the head of the rotor (7) and
while closing the motor tilt flange,
it reaches correctly into the driver
clutch( 8).
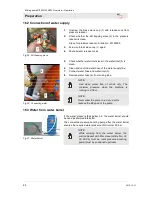
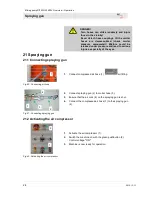
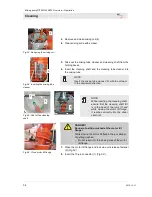
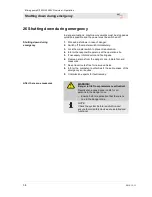
Fig. 56: Close motor tilt flange
7. Close the motor tilt flange and lock via quick release fastener
(2) (Fig.52:) .
8. Insert the 10-pin connector (1) (Fig.52:) .
DANGER!
Danger of getting crushed at the motor tilt
flange!
While closing the motor tilt flange, there is danger
of getting crushed.
– Do not reach into the closing area of the motor
tilt flange.
4
5
7
8
6

