Mixing pump RITMO XL 400V Overview – Operation
Cleaning
2019-12-11
35
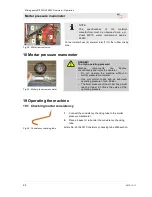
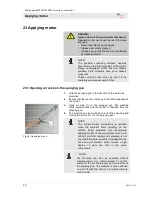
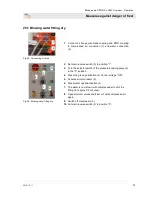
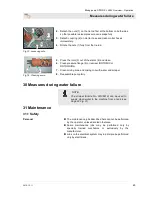
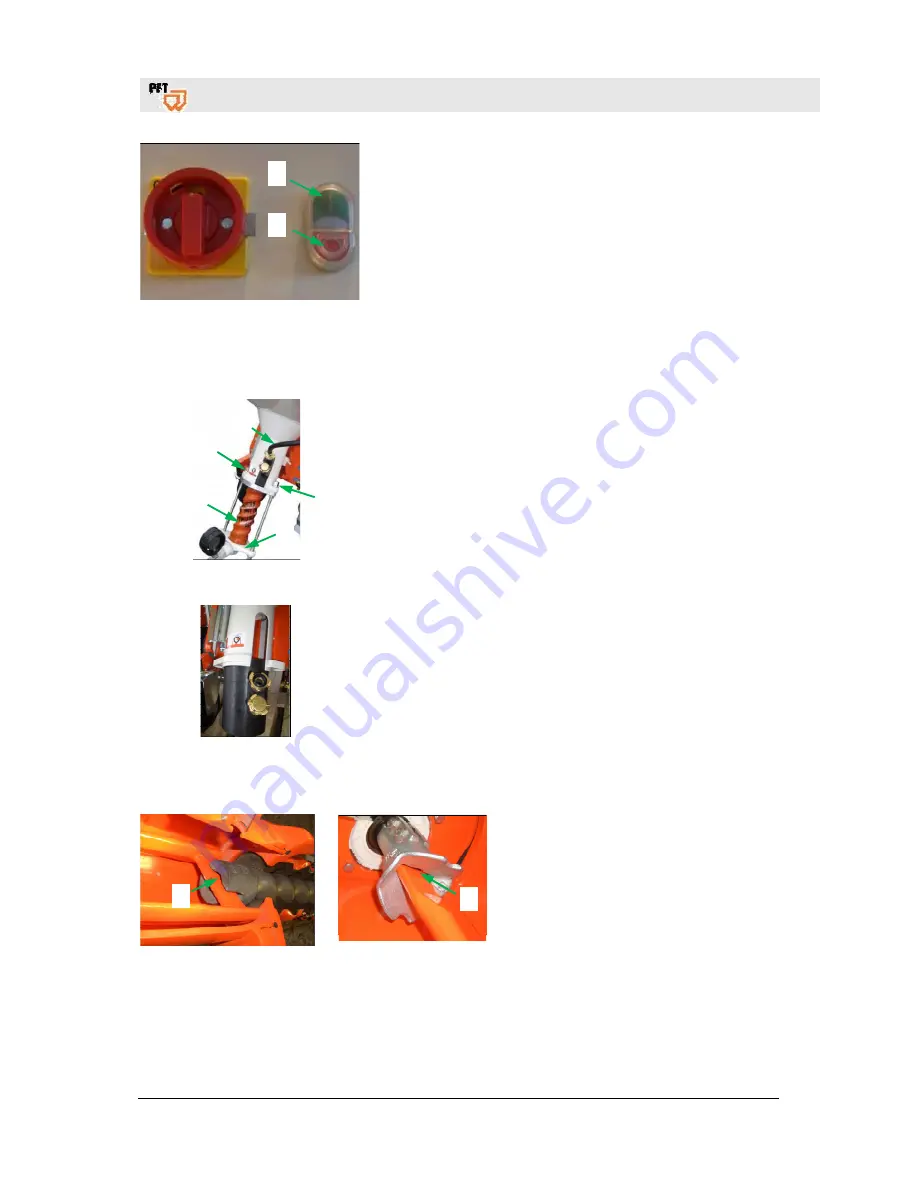
Fig. 57: Cleaning
9. Press green pushbutton (9) (Control voltage „ON“ and let it
run for 5 – 10 sec. until the mixing tube is cleaned.
10. Switch the machine off with the red pushbutton (10) Control
voltage "OFF".
11. Pull out 10-pin connector (1) (Fig.:52), open the quick
release fastener on the motor tilt flange and tilt the motor.
12. Take out the mixing tube cleaner with the cleaner shaft.
13. Deposit the mixing tube cleaner and cleaner shaft in the
lug.
24.4 Cleaning rubber mixing zone
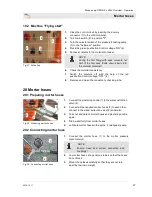
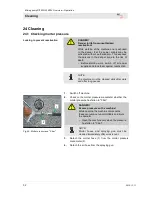
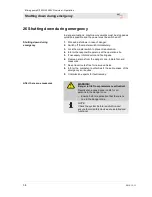
Fig. 58: Remove pump unit
1. Detach water hose (1) from the rubber mixing zone.
2. Detach the two nuts (2).
3. Remove and clean pump unit (3) with pressure flange (4)
and mortar pressure manometer.
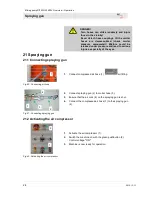
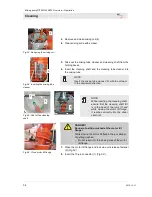
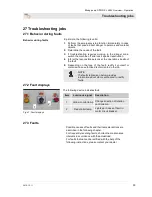
Fig. 59: Cleaning rubber mixing zone
4.
Pull rubber mixing zone out of the material container and
clean.
5.
Reinsert or attach rubber mixing zone and pump unit after
cleaning. Ensure correct seating of the parts.
24.5 Inserting mixing coil
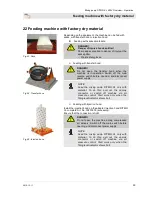
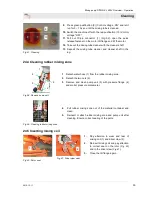
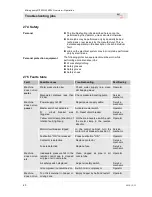
Fig. 60: Rotor seat
Fig. 61: Driver claw seat
1.
Pay attention to wear and tear of
mixing coil (1) and driver claw (2).
2.
Reinsert mixing coil and pay attention
to correct seat on the rotor (
Fig. 60
)
and in the driver claw (
Fig. 61
).
3.
Close the tilt flange again.
1
2
2
3
2
9
10
2
1

