Page 7
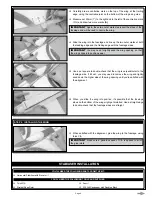
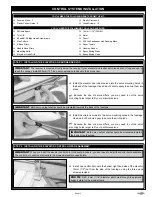
steP 1: iNstaLLiNG tHe eLeCtrONiC sPeed CONtrOLLer
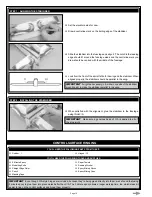
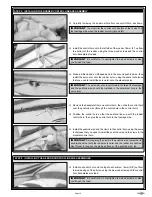
steP 2: iNstaLLiNG tHe reCeiver
q
Plug the servo and ESC leads into their proper slots in your receiver, then
mount your receiver to the fuselage floor, using a piece of double-sided
foam tape (not included).
IMPORTANT
The receiver is mounted onto the fuselage floor, directly below the canopy. You can access it by simply pushing
back the front of the canopy. The foam is flexible enough so that it won't break and it will retain its original shape when released.
Use a Y-Harness to connect the two aileron servo leads together.
q
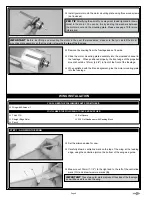
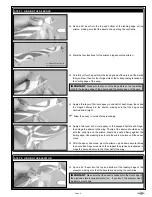
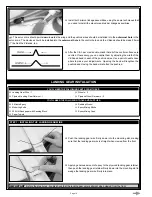
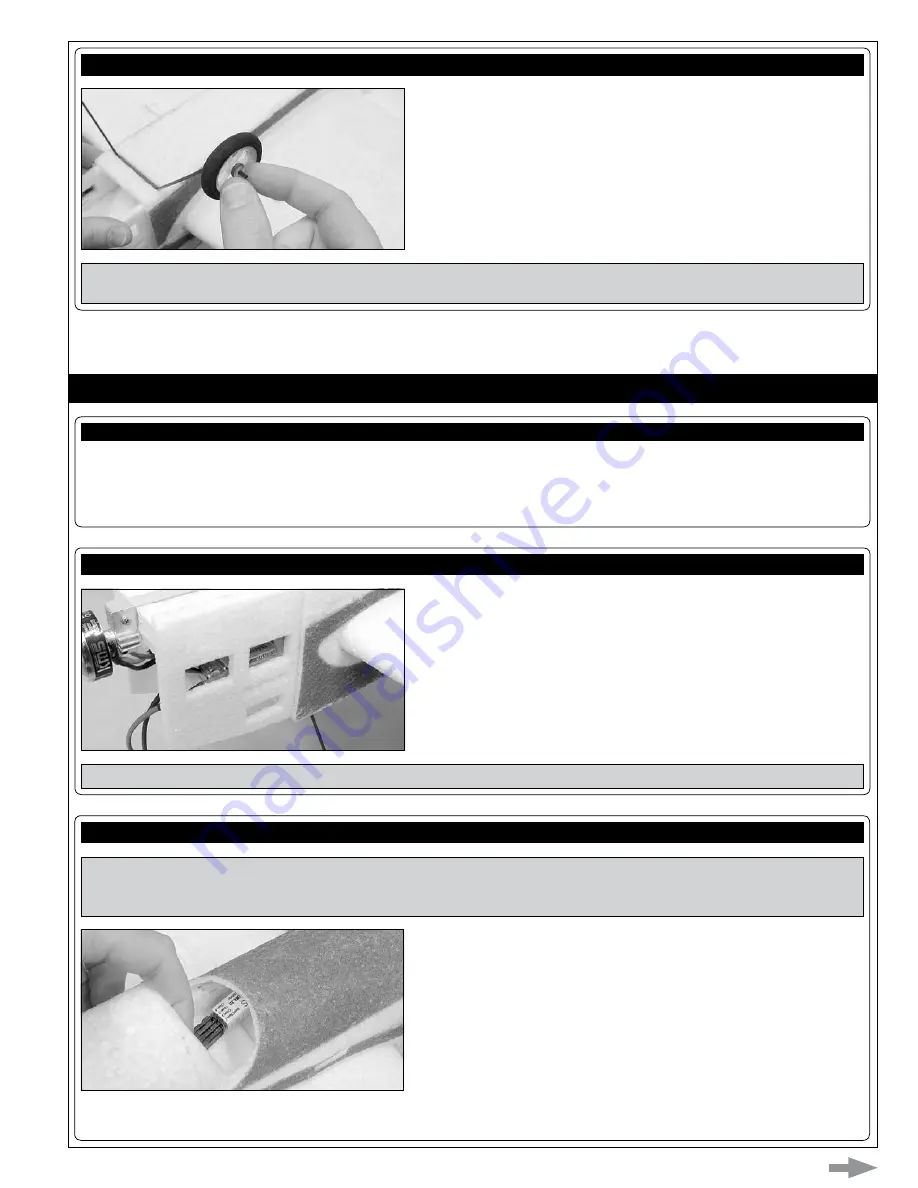
Slide one wheel onto each axle and secure the wheels into place, using
the two plywood wheel retainers.
steP 2: iNstaLLiNG tHe WHeeLs
fiNaL asseMBLy
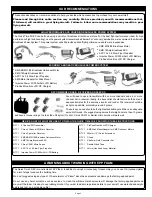
yOu'LL Need tHe fOLLOWiNG tOOLs aNd suPPLies:
q
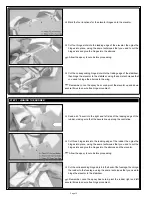
Run the aerial out the side of the fuselage and secure it along the side of the fuselage, using pieces of clear tape (not included).
Do not cut the aerial shorter. Allow the e
xcess to hang beyond the back of the fuselage.
IMPORTANT
Apply a dab of epoxy to the plywood wheel retainers to secure them to the axles. Be careful not to get glue
between the wheels and the axles.
q
Modelling Knife
q
Scissors
q
Electric or Hand Drill
q
2mm (5/64") Drill Bit
q
Soldering Iron
q
Solder
q
Heat-Shrink Tubing
q
Heat Gun (for Heat-Shrink Tubing)
q
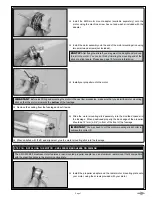
Mount your ESC to the top of the battery mount, using a piece of
double-sided foam tape (not included). Run the battery leads out the
front of the aircraft.
IMPORTANT
Run the throttle lead through the slot in the fuselage at the top of the wing and into the cockpit area.

