background image

20

19

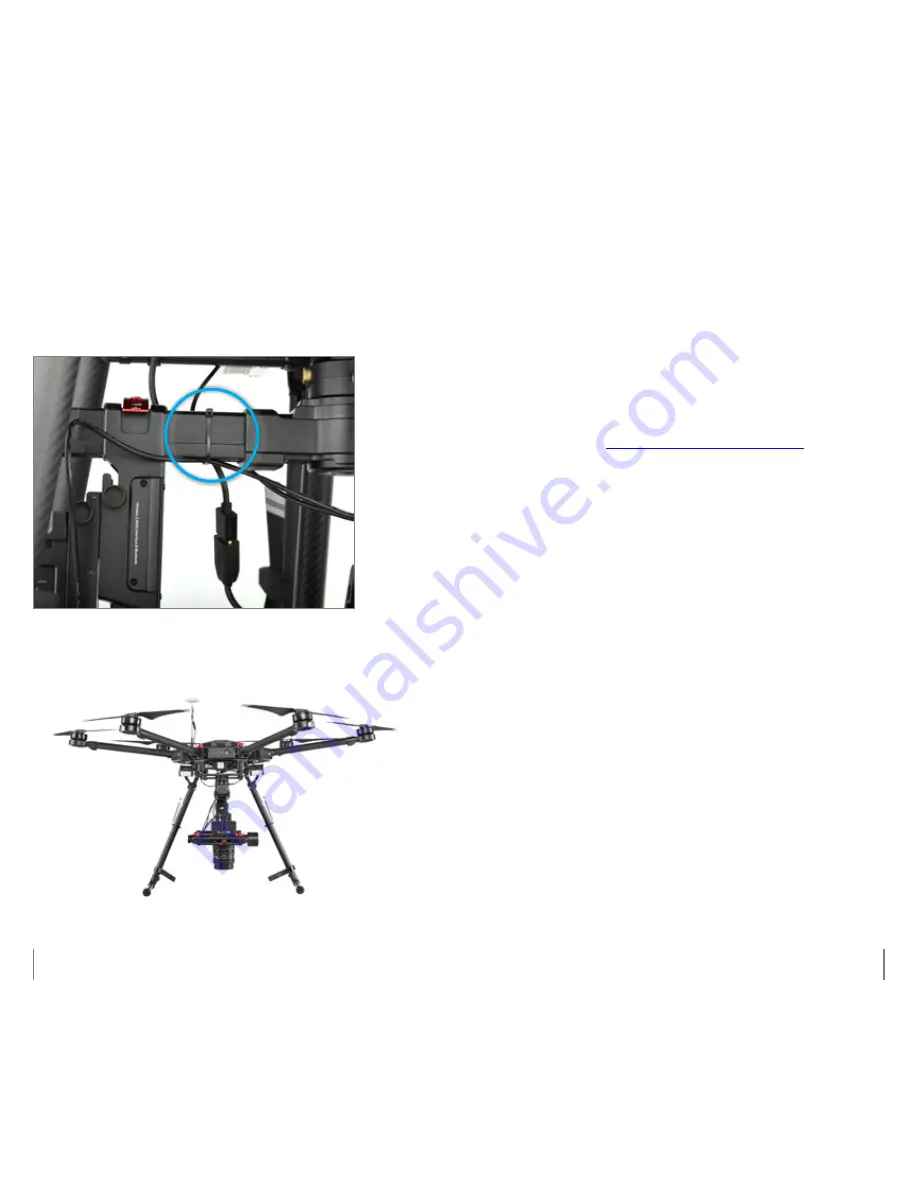
Step 7: Assembly 

Completion with Zip Tie

Secure the appropriate cables with a zip tie to ensure free 
movement with Ronin-MX rotation angles. 


Note:

 Make sure all cables are secured.

Step 8: Configuring Phase 

One Camera to work with 

DJI UAV

In order for Phase One Camera to work properly with DJI 
UAV perform the following procedures:
1.  Turn the camera on
2.  Verify that the latest Firmware version is installed on 

the camera. If not, install it using Phase One Firmware 
Updater (see 

https://industrial.phaseone.com

 for 

Firmware versions).

3.  Insert a CF card to the CF slot (any size, brand or model is 

applicable) and make sure it is identified by the camera

4.  Press ‘Menu’ tab
5.  Press ‘Serial Link’ tab
6.  Press ‘DJI Link (Data Terminal B)’
7.  Re-start the camera
After re-start the camera is able to communicate with DJI UAV. 
Note: if the camera is used for any other purpose, repeat the 
above procedure except step 4 where the ‘Off’ should be 
chosen.

Summary of Contents for iXU 1000

Page 1: ...1 Phase One iXU RS 1000 iXU 1000 iXU 150 UAV Camera Systems Installation Guide For DJI M600 M600 PRO...

Page 2: ...3 2 Phase One iXU RS 1000 iXU 1000 iXU 150 UAV Camera Systems Installation Guide For DJI M600 M600 PRO...

Page 3: ...UAV for Communication with the Phase One Camera System 9 Step 3 Installing the iXU DJI Communication Cable 11 Step 4 Assembling the Ronin MX Vibration Absorber 13 Step 5 Assembling the Phase One Camer...

Page 4: ...case at http industrial phaseone com support aspx Required items for complete configuration The following items are required for installing Phase One iXU camera on DJI M600 M600 Pro drone Phase One i...

Page 5: ...a single flat washer Connects communication cable between the Phase One Camera System and the DJI Drone see step 3 1 x iXU DJI Power cable Provides power for Phase One Camera System from DJI Gimbal se...

Page 6: ...mented according to their assembly manuals Step 1 Installing the DJI UAV Step 2 Configuring the UAV for Communication with the Phase One Camera System Step 3 Installing the iXU DJI Communication Cable...

Page 7: ...ion The following screen is displayed when the UAV is connected 5 Click the M600 icon The following screen appears 6 In the tree menu click SDK The following screen appears 7 Configure the following f...

Page 8: ...es of the body of the UAV from the bottom up 4 Once the cable is in place connect the DJI 4 pin connector to the SDK Port in the A3 Flight Controller and place the top cover back in its place 5 Undern...

Page 9: ...rber to the UAV according to the Ronin MX user manual Step 5 Assembling the Phase One Camera System into the Ronin MX Gimbal Mounting the Camera 1 Insert the four 4 x M4 screws with four 4 spring wash...

Page 10: ...the Ronin MX until the safety locks engage Adjust the vertical position of the crossbar to meet the Camera Upper Mounting Plate When the Phase One Camera System in place tighten the camera base side...

Page 11: ...connector of the iXU DJI Power cable to the power port of the Phase One Camera System 3 Connect the HDMI male connector of the HDMI extender cable to the Camera 4 Connect the HDMI extender female con...

Page 12: ...that the latest Firmware version is installed on the camera If not install it using Phase One Firmware Updater see https industrial phaseone com for Firmware versions 3 Insert a CF card to the CF slot...

Page 13: ...one via an internet connection and a Remote Control unit connected to a mobile device running DJI GO To link Phase One Camera with DJI UAV perform the following procedures 1 Using a USB cable connect...

Page 14: ...23 Top slider at 0 5 Bottom slider at 3...

Page 15: ...1000 iXU 150 UAV Camera Systems Installation Guide 1 2 30 4 2017 Phase One Support industrial phaseone com support aspx The content is subject to change Download the latest version from industrial pha...

Reviews: