Quick Installation Guide
WAS-103R Wireless Hotspot Gateway
Hardware Installation
Please follow the steps mentioned below to install the hardware of WAS-103R
1. Place the WAS-103R at a best location.
The best location for WAS-103R is usually at the center of your wireless network.
2. Connect WAS-103R to your outbound network device.
Connect one end of the
Ethernet
cable
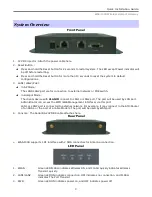
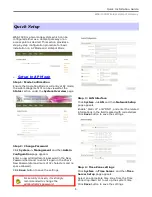
to the LAN1 port of WAS-103R on the front panel. On your
environment, connect the other end of the cable to the external Internet . The LAN1 LED indicator
should be ON to indicate a proper connection.
3. Connect WAS-103R to your network device.
Connect one end of the
Ethernet
cable
the LAN2 port of WAS-103R on the front panel. Connect the
other end of cable to a PC for configuring the system. The LAN2 LED indicator should be ON to indicate
a proper connection.
4. There are two ways to supply power over to WAS-103R
I.
Connect the
DC power adapter
to the WAS-103R power socket one the front panel.
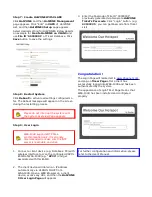
Please only use the power adapter supplied with the WAS-103R package. Using a different
power adapter may damage this system
II. WAS-103R is capable of transmitting DC current via its LAN1/LAN2 PoE port. Connect an IEEE
802.3af-compliant PSE device, e.g. A PoE Switch, to the LAN1/LAN2 port of WAS-103R with the
Ethernet cable.
Now, the hardware installation is completed.
To double verify the wired connection between WAS-103R and your switch/router/hub,
please check the LED status indication of these network devices.
4


