16
Revision 07/2015
Copyright © 2015, Fast ČR, a. s.
EN
Blender
Initial operation - general
KB 3 min
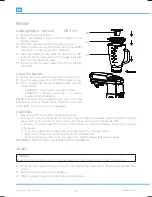
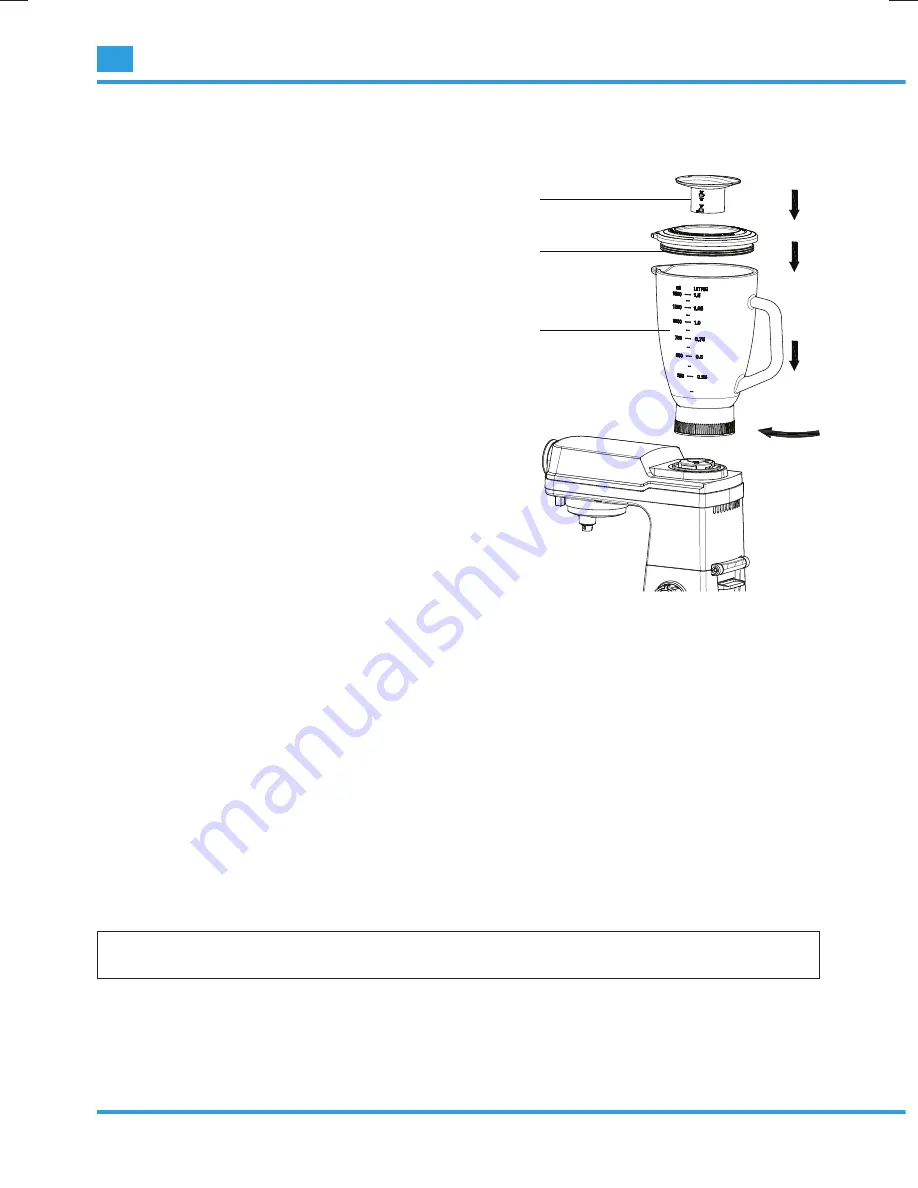
1) Remove the top cover (3b)
2) Place the ingredients that you wish to blend into the
blending beaker.
3) Put on the lid and check that it is properly seated.
4) Place the measuring cup (27) into the hole in the lid (28)
and secure it in place by turning it clockwise.
5) Place the blending beaker (29) into the cut-out, after
removing the top cover, and turn the beaker clockwise
until it is fi rmly secured in place.
6) Install the food processor bowl (7) and the protective
cover (30).
Using the blender
1) Ensure that the speed control dial (5) is in position "0".
2) Insert the power plug into a 230 V, 50 Hz power socket.
3) Turn on the blender and set the desired speed using the
control dial (7).
•
SPEED 5 for mixing liquids and light mixtures
• SPEED 6 for thicker consistencies - for mixing
liquids and solid ingredients.
PULSE function for short and powerful use. (The control dial
does not remain in the "Pulse" position. Hold the control dial
in the "Pulse" position or turn it on repeatedly.
27
28
29
Useful tips:
•
Risk of burns! Be careful when handling hot liquids.
•
The hole for removing the measuring cup (27) is used for adding ingredients without needing to interrupt
the operation of the blender. To do so, remove the stopper from the lid of the blender (28).
•
If necessary, turn the blender off from time to time and remove ingredients that are stuck on the inner walls
of the beaker.
•
Turn off the appliance and disconnect the power plug from the power socket.
•
Remove the measuring cup (27) and the lid of the blender (28).
•
Remove the pieces stuck on the inner wall of the blending beaker (29) using a spatula.
BE CAREFUL NOT TO TOUCH THE BLADES WITH THE SPATULA.
Juicer
WARNING:
Make sure that the blender cover is securely seated in its place before starting to use the appliance.
1)
Check that the speed control dial is in position “0” and that the power cord is disconnected from the power
socket.
2) Remove the front cover from the appliance.
3) Place the hopper tray on to the feed tube of the feed tube.
Summary of Contents for PHSM 9000
Page 1: ...PHSM 9000 User s Manual N vod k obsluze N vod na obsluhu Haszn lati tmutat Instrukcja obs ugi...
Page 97: ...19 Revison 07 2015 Copyright 2015 Fast R a s NOTES POZN MKY POZN MKY MEGJEGYZ SEK UWAGI...
Page 98: ...20 Revison 07 2015 Copyright 2015 Fast R a s NOTES POZN MKY POZN MKY MEGJEGYZ SEK UWAGI...
Page 99: ...21 Revison 07 2015 Copyright 2015 Fast R a s NOTES POZN MKY POZN MKY MEGJEGYZ SEK UWAGI...
Page 100: ...is a registered trademark used under license from Electrolux International Company U S A...


