background image

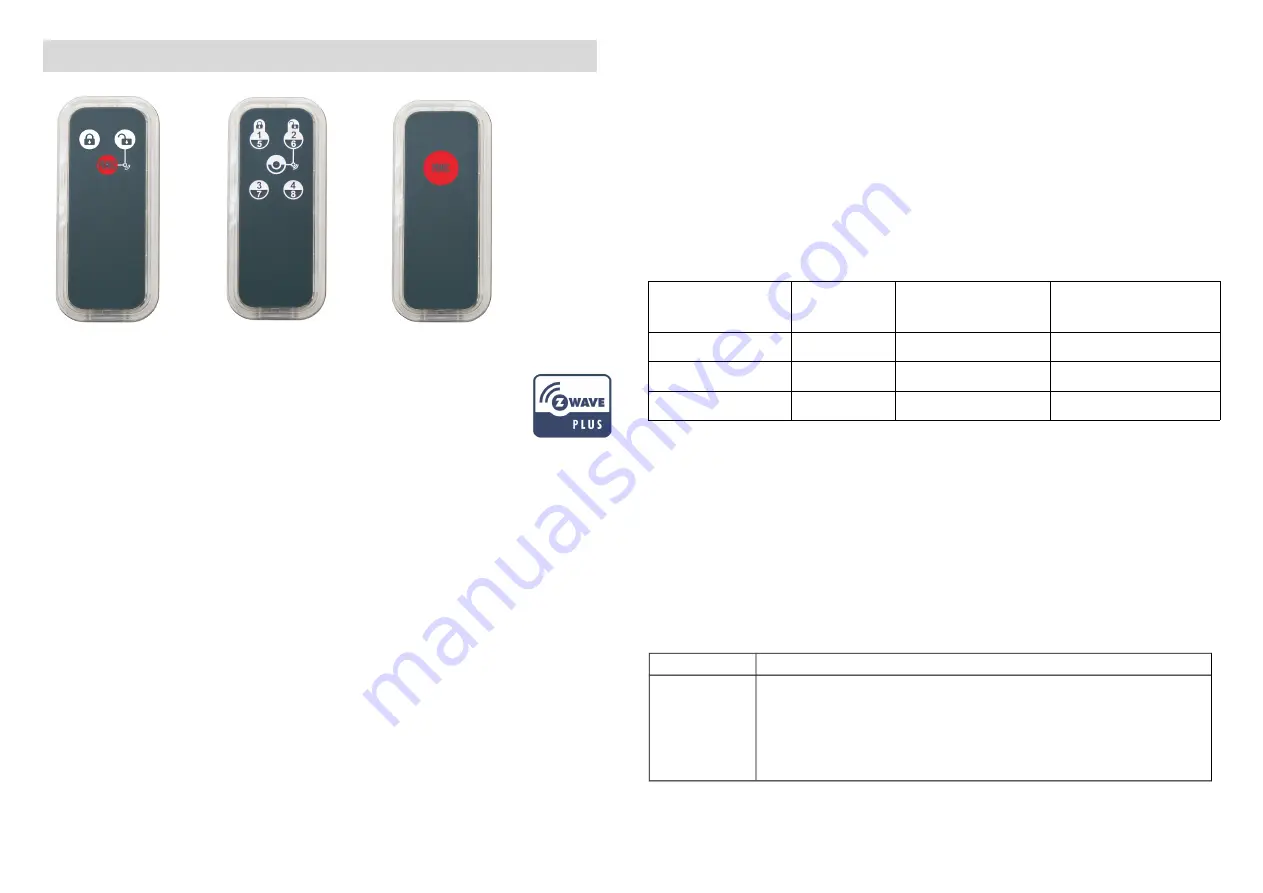
Z-Wave Remote PSR03-A/B/C                  


 PSR03-A            PSR03-B            PSR03-C

The Remote PSR03 is a simple control can control AV device through Z-

Wave-to-IR extender, and it can also controls 8 lighting groups ON/OFF

via basic set, based on Z-Wave

TM

 technology.

It is the  Z-Wave

TM

  plus product, it support the security, OTA... Those

newest  features   of  the  Z-Wave

TM

  technology.  Z-Wave

TM

  is   a  wireless

communication protocol designed for home automation, specifically to

remotely   control   applications   in   residential   and   light   commercial

environments. The technology uses a low-power RF radio embedded or

retrofitted into home electronics devices and systems, such as lighting,

home access control, entertainment systems and household appliances.

This product can be included and operated in any Z-Wave

TM

  network

with other Z-Wave

TM

 certified devices from other manufacturers and/or

other applications.  All non-battery operated nodes within the network

will act as repeaters regardless of vendor to increase reliability of the

network. 

The device adopts the Z-Wave

TM

 500 series chip, when your Z-Wave

TM

network   system   is   all   made   by   Z-Wave

TM

  500   series   devices.   The

network system will have the advantages as below.

Concurrent multi-channel support reduces external interference.

Better RF range, improve about 10 meters in indoor.

Support 100 Kbps transmit speed, speed up communication.

Function Compare A/B/C

Group

Control

AV Control

Panic

PSR03-A

V

V

V

PSR03-B

V

V

V

PSR03-C

V

Adding to Z-Wave

TM

 Network

In the first time, activate the device through micro USB, then it can be

added   into   the   Z-Wave

TM

  network.     First,   make   sure   the   primary

controller  is in  the  add  mode.  And  then  power  on  the device.  The

device will auto start the NWI (Network Wide Inclusion) mode. And it

should  be  added   in   5   seconds.   You  will  see   the   LED  light  ON   one

second.

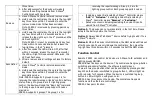
Function

Description

Add

1. Have Z-Wave

TM

 Controller entered add mode.

2. Hold down the central key, then press the top-right 

key three times within 1.5 seconds to enter the add

mode.

Note: PSR03-C is added by pressing panic key 

Summary of Contents for PSR03-A

Page 1: ...work will act as repeaters regardless of vendor to increase reliability of the network The device adopts the Z WaveTM 500 series chip when your Z WaveTM network system is all made by Z WaveTM 500 series devices The network system will have the advantages as below Concurrent multi channel support reduces external interference Better RF range improve about 10 meters in indoor Support 100 Kbps transm...

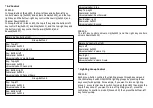
Page 2: ...nd the Basic Set command to these groups And each group support 4 nodes maximum PSR03 A supports 3 groups The group 1 is for receiving the report message Group 2 3 are for lighting group control Each group supports 4 nodes Including a node ID allocated by Z WaveTM Controller means Add or Inclusion Excluding a node ID allocated by Z WaveTM Controller means Remove or Exclusion Failed or success in i...

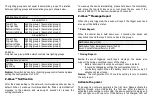
Page 3: ...Button 2 Key Top left Command 0x0013 Universal Label Play Key Bottom left Command 0x0014 Universal Label Stop Key Top right Command 0x0016 Universal Label Fast Forward Key Bottom right Command 0x0017 Universal Label Rewind PSR03 A The left key controls Volume Up 0x0003 and the right key controls Volume Down 0x0002 Simple AV Control Set V4 Key Left Command 0x0003 Universal Label Volume Up Key Right...

Page 4: ...nds for receive the setting commands To wake up the device immediately please hold down the central key and press the top right key once or just press the key once if the device is PSR03 C The device will wake up 10 seconds Z WaveTM Message Report When the panic triggered the device will report the trigger event and also report the battery status Panic Report When the central key is held down over...

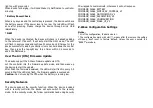
Page 5: ...date via OTA Let the controller into the firmware update mode and then wake up the device to start the update After finish the firmware download the LED will start flash in every 0 5 second Wait the LED stop flash the firmware update is succeeded Caution Do not running the OTA when the battery is running low Security Network The device support the security function When the device included with a ...

Page 6: ...All Setting the BASIC command value to turn on the light in the association group 3 0 means using the value of configuration 2 to set 84 Association Group 4 Basic Set Level 0 All Setting the BASIC command value to turn on the light in the association group 4 0 means using the value of configuration 2 to set 85 Association Group 5 Basic Set Level 0 All Setting the BASIC command value to turn on the...

Page 7: ...JP TW 921 40 MHz 919 80 MHz ANZ 869 00 MHz RU 865 20 MHz IN 916 00 MHz IL Range Minimum 40 meters indoor 100 meters outdoor line of sight Operating Temperature 0o C 40o C For indoor use only Specifications subject to change without notice due to continuing product improvement FCC ID RHHPSR03 Disposal This marking indicates that this product should not be disposed with other household wastes throug...

Page 8: ...t to which the receiver is connected Consult the dealer or an experienced radio TV technician for help This device complies with Part 15 of the FCC Rules Operation is subject to the following two conditions 1 This device may not cause harmful interference and 2 This device must accept any interference received including interference that may cause undesired operation FCC Caution Any changes or mod...

Reviews: